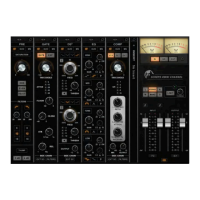
Scheps Omni Channel / User Guide
Using Scheps Omni Channel
Practical examples
Andrew Scheps gives us a few examples of using Scheps Omni Channel in the studio.
Example #1: Kick Drum
• When mixing a kick drum, you’ll usually want to start with the EQ.
• You can get to work right away on the main interface and start with the EQ while completely ignoring the rest of
the modules in the strip. May
be boost a little 60 Hz shelf, boost 12 kHz shelf for air, and somewhere around 5
kHz to 7.5 kHz broad tone for the beater.
• While adjusting the low shelf, you may notice it’s getting a little messy in the low end. Head over to the Pre
module and dial in the HPF at 30 Hz with an 18 dB-per-octave slope to clean up the sub while keeping the
boom.
• While still in the Pre module, check out the Saturation and the Thump sections to see if either gives you more of
what you’re looking for. You might find that with the Thump engaged you can reduce gain of the low shelf a bit.
• Now that the EQ is sculpted (with some other goodies along the way), you can decide whether or not to
compress with a slow attack time to bring out a little punch (quickly auditioning the three compressor types to see
what suits this recording), or possibly use the gate to try to better isolate the drum mic.
• Now, with dynamics engaged, you’re into processing where the order can really make a difference. Therefore,
drag the Compressor module pre- and post-EQ and see what works better for you. You can even expand the
dynamics controls and see if putting a high-pass filter on the compressor sidechain keeps it from pumping too
much. You can also try smashing a little more than you otherwise would and then dialing back the wet/dry
control to turn it into a parallel compressor.
• While trying to tweak the gate, you realize that it’s working OK, but what you’re really trying to get rid of is bleed
ringing from the floor tom that happens every time the drummer plays the kick drum. A gate can’t help

 Loading...