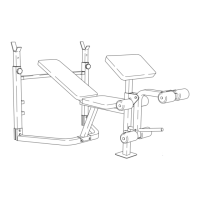
14
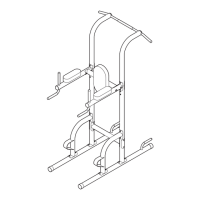
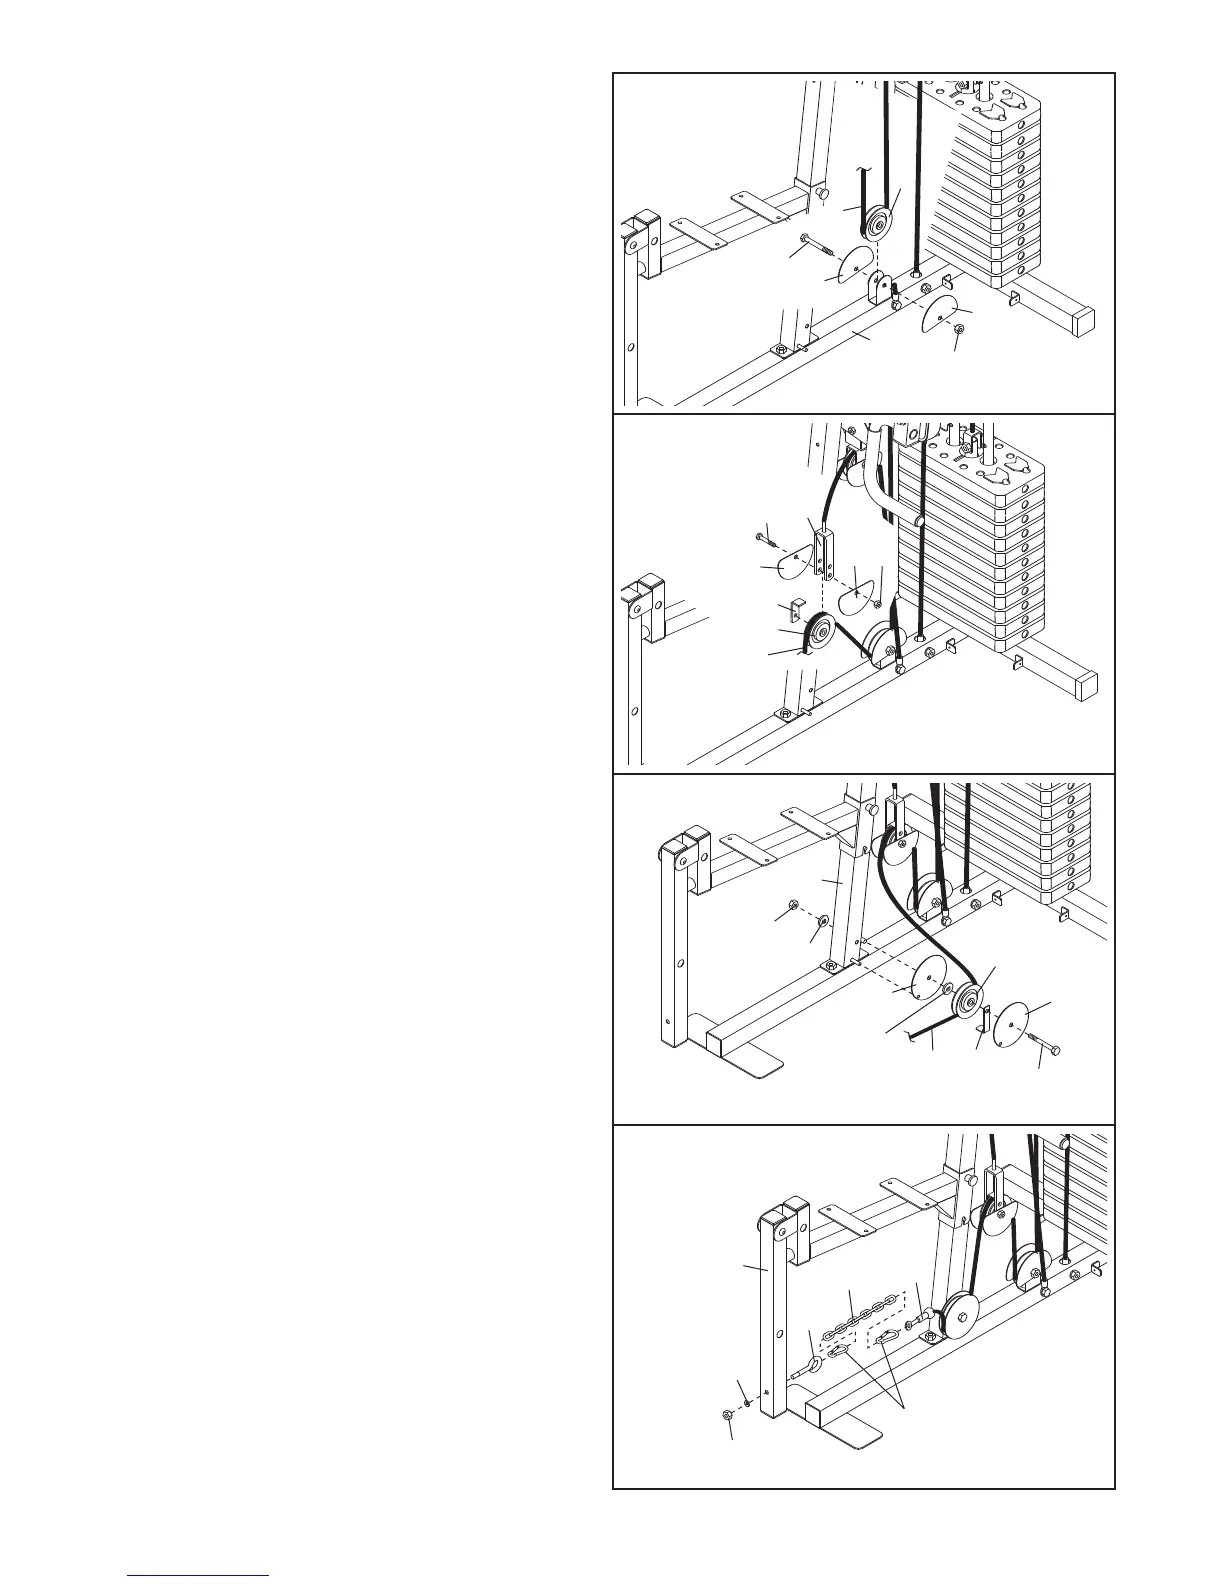
27. Route the Low Cable (48) over a 90mm Pulley
(34). Attach the Pulley, a Cable Trap (36), and
two Finger Guards (35) to the lower set of holes
in the “U”-bracket (43) with an M10 x 52mm
Bolt (52) and an M10 Nylon Locknut (68).
Make
sure that the Cable Trap is oriented to hold
the Cable in the groove of the Pulley.
28. Route the Low Cable (48) under a 90mm Pulley
(34). Attach the Pulley, a Cable Trap (36), and
two Guards (14) to the Upright (3) with an M10
x 100mm Bolt (46), two M10 Washers (70), and
an M10 Nylon Locknut (68). Make sure that
the Cable Trap is oriented to hold the Cable
in the groove of the Pulley.
26. Wrap the Low Cable (48) under a 90mm Pulley
(34). Attach the Pulley and two Finger Guards
(
35) to the bracket on the Base (1) with an M10
x 46mm Bolt (53) and an M10 Nylon Locknut
(
68).
3
5
35
68
34
1
4
8
53
26
34
48
35
36
35
52
43
68
27
70
48
36
70
68
14
14
34
3
28
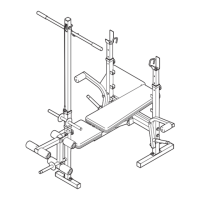
29. Attach the Cable Hook (30) to the Leg Lever (9)
with an M10 W
asher (70) and an M10 Nylon
Locknut (68).
Attach the Low Cable (48) to the Chain (83)
and to the Cable Hook (30) with two Cable
Clips (33).
70
9
68
46
48
33
83
30
29