2. Depress the FEED button to advance any remaining paper through
the printer. Do not pull paper backwards through the printer. Remove
and discard old paper roll, saving the black spindle.
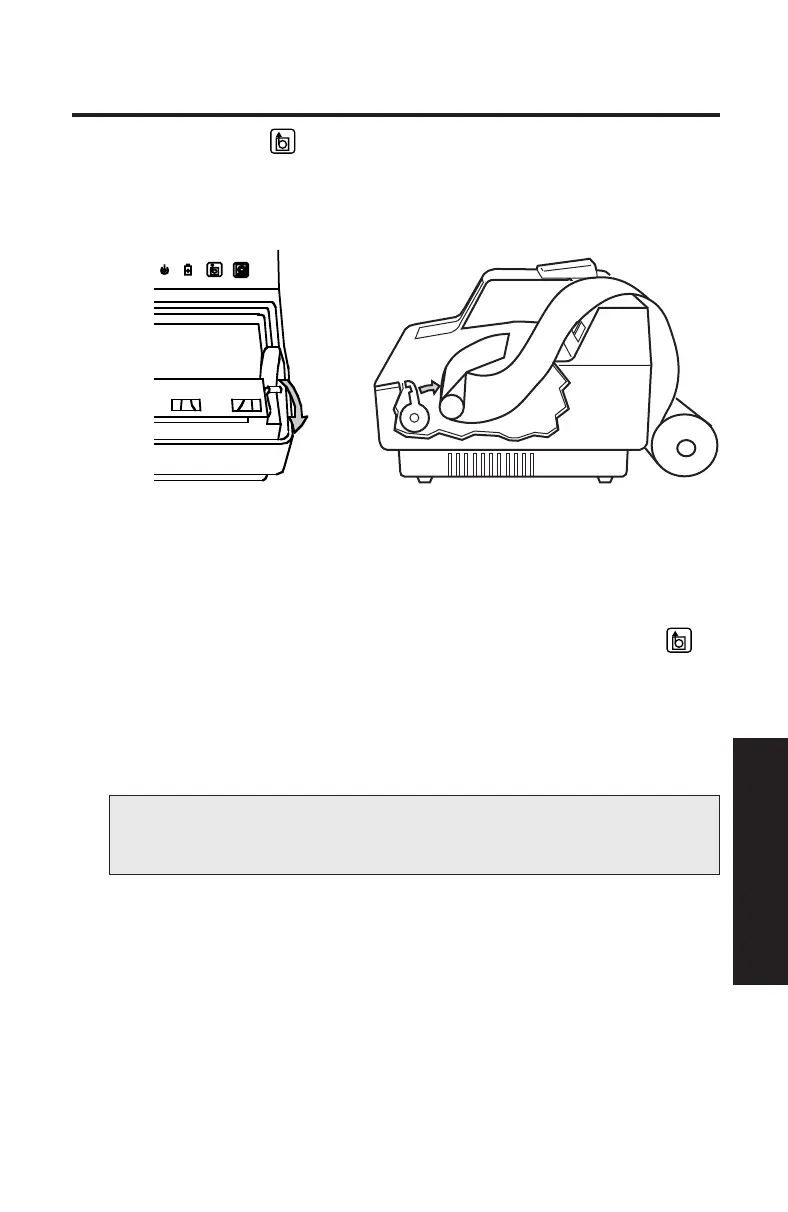
3. Pull the paper lever forward. See Figure 41.
Figure 41 Figure 42
4. Place the roll of paper behind the Printer/Charger for easier handling.
5. Insert the paper (from of the bottom of the roll) into the slot under the
pinch roller, making sure that the paper is centered. See Figure 42.
6. Return the paper lever to its original position, and press the FEED
button to advance several inches of paper beyond the pinch roller.
7. Tighten the paper on the paper roll, reinsert the black spindle through
the roll, and place the paper roll in the paper cradle.
8. Feed the paper through the slot in the paper access cover.
NOTE: Make sure that the paper is taut before replacing the
paper access cover. Loose paper can cause printer malfunction.
9. Replace the cover by sliding the back edge into place first and lowering
the front of the paper access cover.
C-49
Appendix C