OPERATOR’S)MANUAL))
Page!14!)
To change the Primary Belt:
!
1. Disconnect the power and ensure the handle is in the upright position.
2. Unscrew the handle control cable (K) (Fig 5) from the VFD.
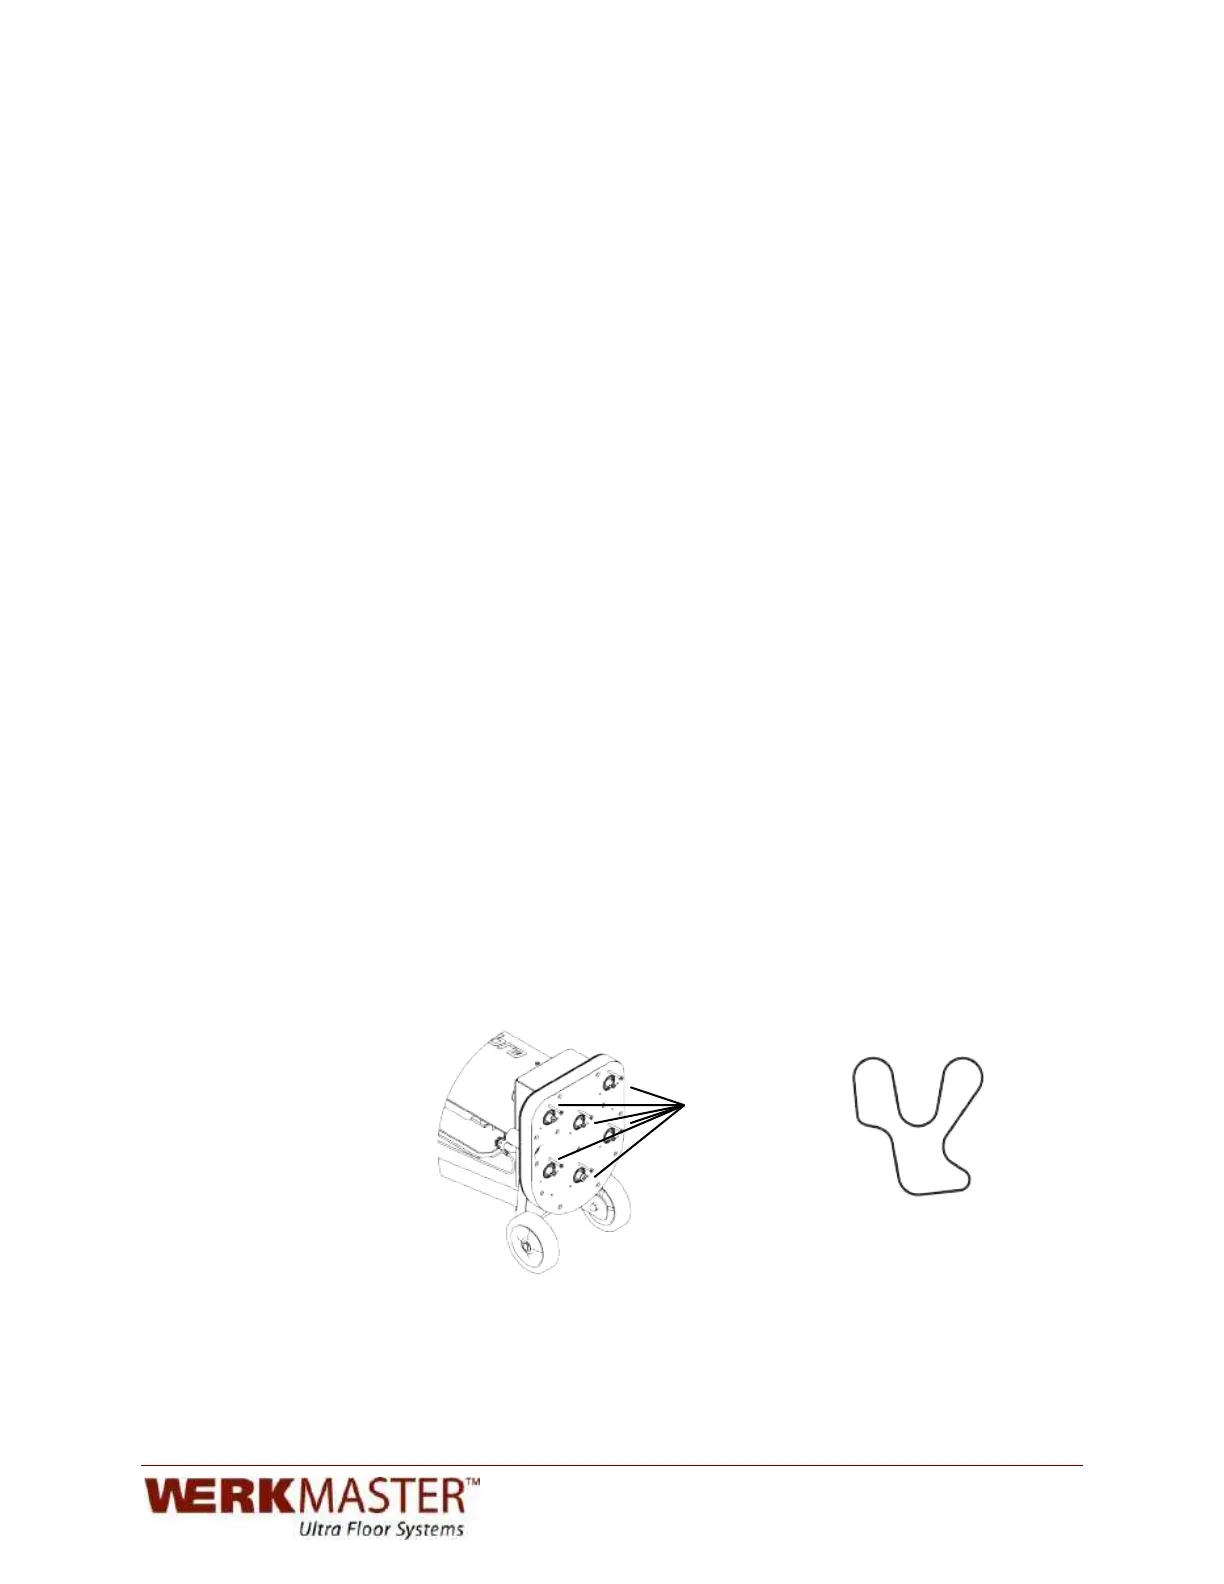
3. Remove the five button cap screws holding the Shroud (M) Fig 2) in place.
4. Remove the Shroud.
5. Remove the four M10 hex head bolts holding the Motor Mount Assembly (Fig
6) onto the Lower Assembly.
6. Lift the Motor Mount Assembly straight up until the Motor Sprocket is
completely clear of the base.
7. Remove four M10 flat socket cap screws from the Primary Driven Housing
and remove the Housing.
8. Remove and replace the belt.
9. Replace the Primary Driven Housing, apply blue thread locker (Loctite 243)
and insert the four M10 flat socket cap screws.
10. Lower the Motor Mount Assembly onto the Primary Driven Housing cover, tilt
the Motor Mount Assembly back and loop the belt around both the Primary
Driven Sprocket and the Motor Shaft Sprocket.
11. Maintain tension on the belt and pull the Motor Mount Assembly forward and
into place.
12. Apply blue thread locker (Loctite 243) to the M10 hex head bolts and insert,
thread in half way.
13. Tilt the machine 45 degrees forward for steps 14 and 15.
14. Rotate a pad driver two full rotations to seat the belt completely.
15. Complete tightening the M10 hex head bolts.
16. Return machine to level.
17. Replace the Shroud.
18. Apply blue thread locker (Loctite 243) to the button cap screws and replace.
19. Reconnect the handle control cable (K) in the VFD.
!
!
!
!
!
!
!
Jack Points
Secondary Belt Path
Fig. 7 Fig. 8
 Loading...