GETTING STARTED
8
WD CLOUD USER MANUAL
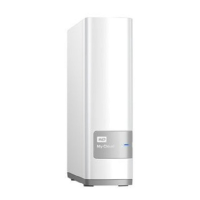
1. Using the provided Ethernet cable, connect one end of the Ethernet cable to the
Ethernet port located on the back of the device.
2. Connect the other end of the Ethernet cable directly into a router or network switch
port.
3. Connect one end of the power adapter into the power supply socket on the back of
the device.
4. Plug the other end of the power adapter into a power outlet. The unit powers up
automatically.
5. When the power LED on your device turns a solid blue, continue to “Setting Up your
Device” on page 8.
Setting Up your Device
To setup your WD Cloud device, continue to Getting Started Using WD Setup Assistant.
If you chose not to set up the software for your device, you can still:
Use your WD Cloud device as an external hard drive, dragging and dropping files to
and from it. (See “Accessing Content” on page 13.)
Configure the device using the WD Cloud device’s dashboard. (See “The
Dashboard at a Glance” on page 16.)
Back up files using USB, Remote, Internal, Cloud, and Camera backup. (See
“Backing Up and Retrieving Files” on page 45.)
Getting Started Using WD Setup Assistant
Use the following steps to run the online setup software, discover the device, and get
started using it.
After connecting your device:
1. Open a web browser. (For browser requirements, see “Web Browsers” on page 3.)
Important: Wait for the WD Cloud device to finish powering up
(approximately two minutes) before configuring it. The device is
ready when the power LED stops blinking and turns a solid blue.