COMPONENT ACCESS
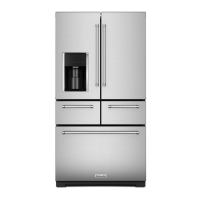
French-Door Boom Mount Refrigerator
n
3-7
Accessing Refrigerator Compartment Components (Continued)
1. Complete the steps 1-5 from
instrucons.
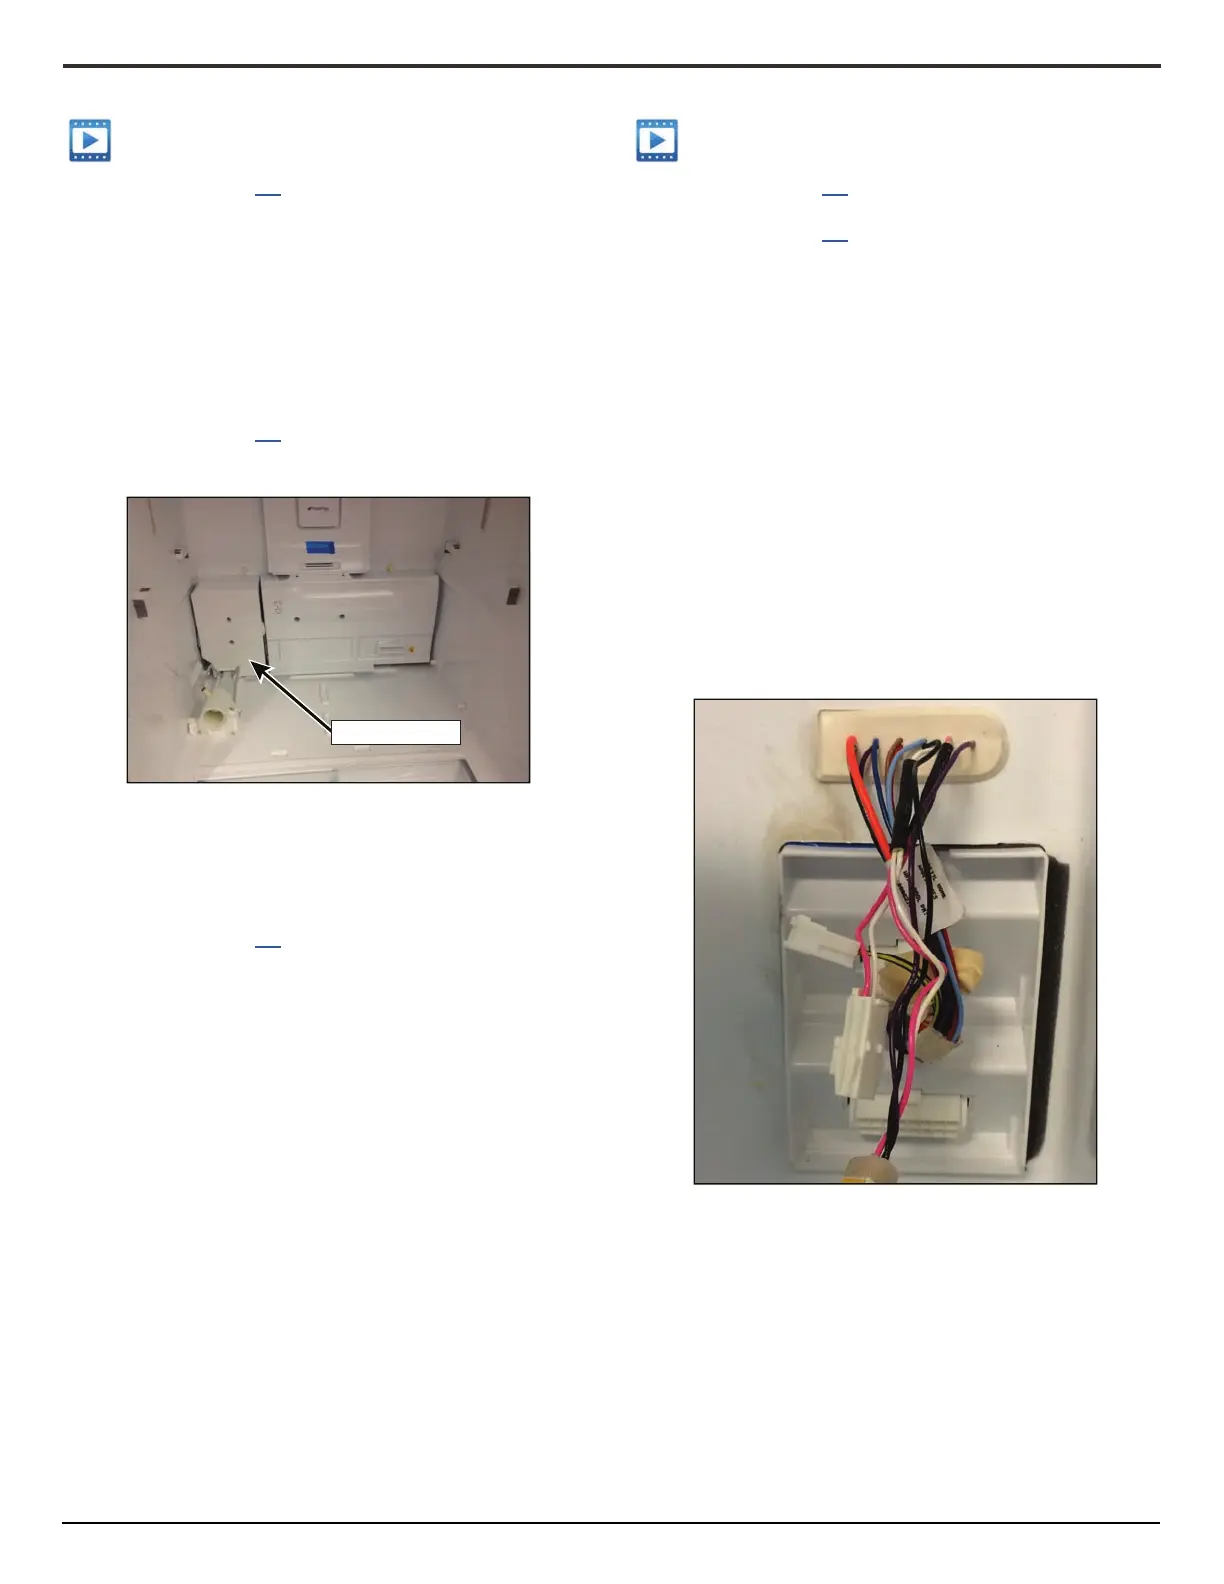
2. Remove the water valve cover.
3. Remove the 1/4" screw at the front of the ll tube cover.
Slide the cover forward to free the rear tabs and remove.
4. Disconnect the ll tube heater wiring connector located on
the water tank housing, and remove the heater.
NOTE: During assembly, install the ll tube cover prior to the
water valve cover.
1. Complete the steps 1-5 from
instrucons.
2. Remove the water valve cover.
3. Disconnect the wiring connector(s).
4. Remove the ground wire from the valve solenoid frame.
5. Disconnect the water connecons.
1. Complete the steps 1-5 from
instrucons.
2. Remove the water valve cover.
3. Remove the two 1/4" screws at the top of the water tank
housing.
4. Remove the wire run from the retaining clip.
5. Remove the two outlet water tubes from the dual water
valve.
6. Pull the water tank Housing forward and cut the wire res
holding the water reservoir in place.
7. Remove the inlet and outlet water connecons from the
water reservoir and remove.
1. Complete the steps 1-3 from
instrucons.
1. Complete the steps 1-5 from
instrucons.
2. Remove the water valve cover.
3. Remove the tower cover base.
4. Remove the four 1/4" screws holding the evaporator cover
assembly in place and work the cover loose.
5. Compress the pinch clips on the yellow wiring plug at the
boom right of the cover and push back through the cover.
6. Unclip the thermistor from the evaporator tubing behind the
top right side of the cover.
7. Disconnect the two small wiring connectors located behind
the boom le poron of the cover.
8. Disconnect the boom wiring connector extending through
the liner behind the boom le poron of the evaporator
cover.
9. Remove the blue tape holding the wiring to the rear of the
cover assembly, feed the wiring through the hole on the le
side of the cover and remove the evaporator cover assembly.
NOTE: Certain areas of the liner are cut with a laser during
manufacturing. It is normal to see smoke staining on the liner
in these areas.
Water Valve Cover