Mounting Your Furnace (cont.)
Straighten the furnace by pushing furnace bottom intothe
stud space.
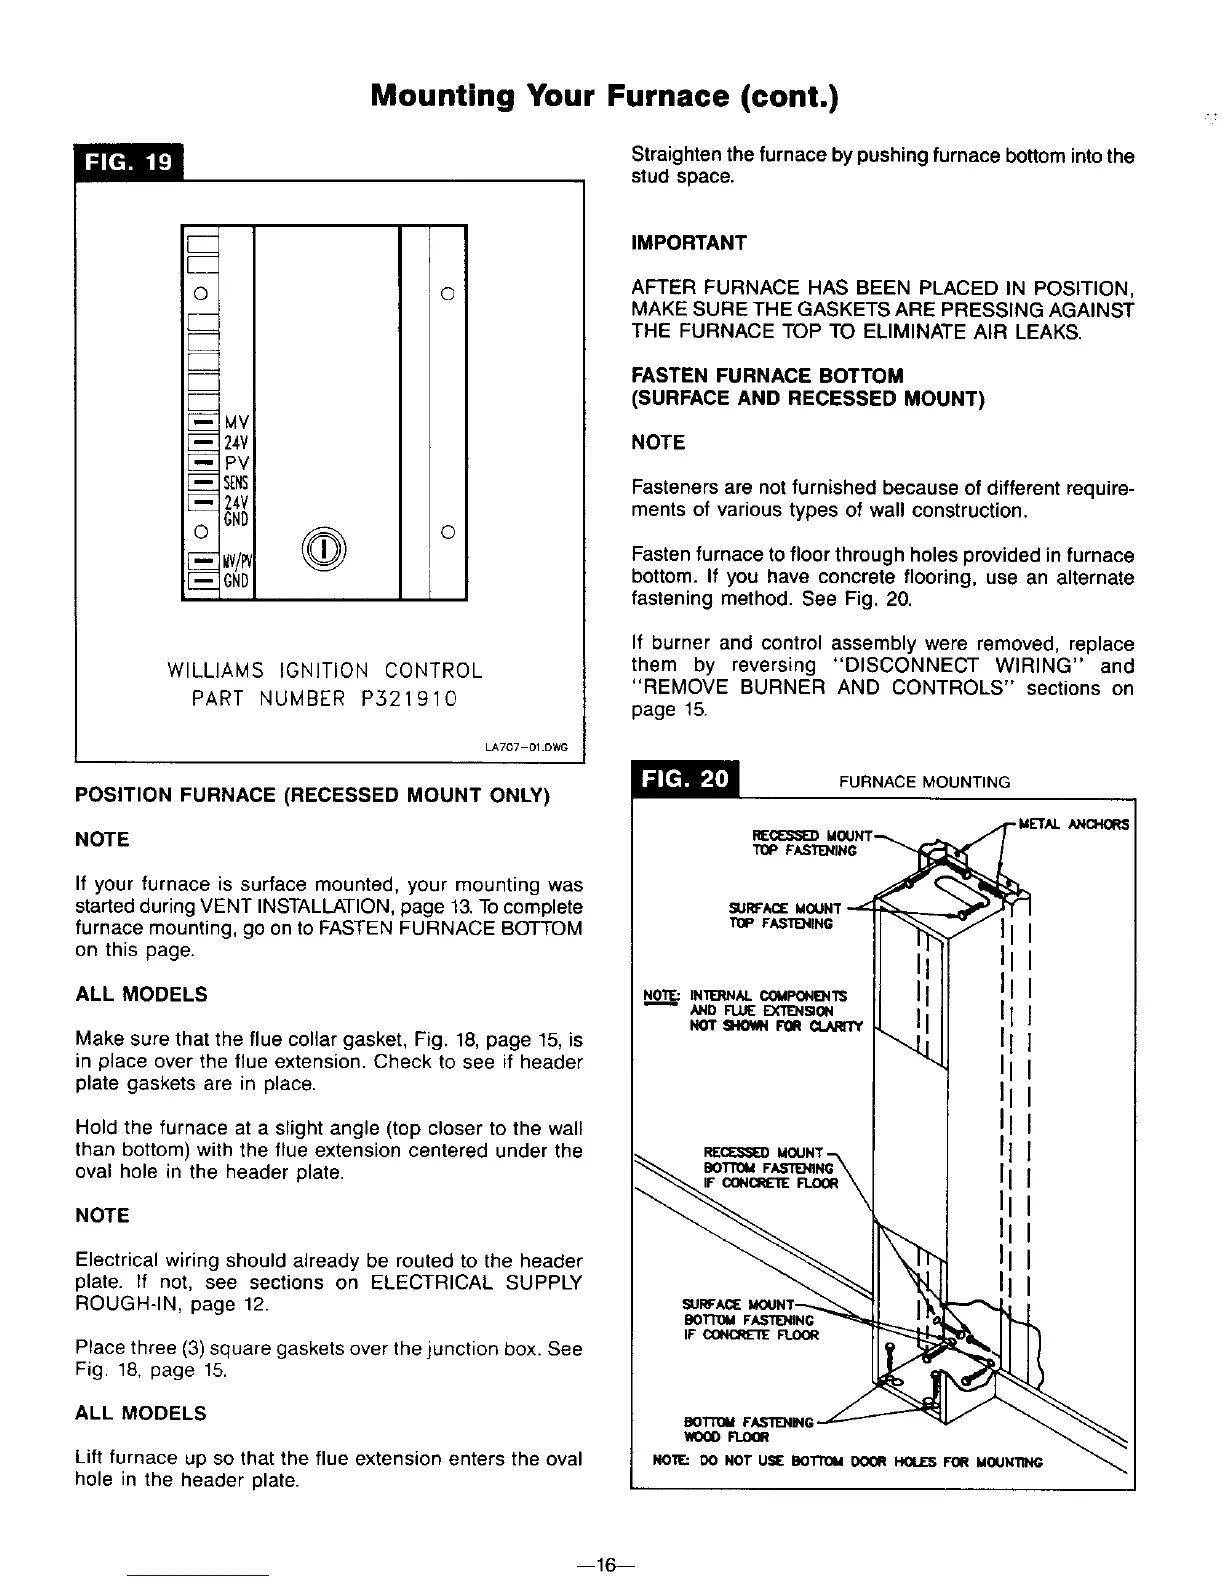
24V
PV
SEt6
24V
GND
lnV
GND
WILLIAMS IGNITION CONTROL
PART NUMBER P321910
LA707-01 .DWG
POSITION FURNACE (RECESSED MOUNT ONLY)
NOTE
If your furnace is surface mounted, your mounting was
started during VENT INSTALLATION, page 13.To complete
furnace mounting, go on to FASTEN FURNACE BOTTOM
on this page.
ALL MODELS
Make sure that the flue collar gasket, Fig. 18,page 15, is
in place over the flue extension. Check to see if header
plate gaskets are in place.
Hold the furnace at a slight angle (top closer to the wall
than bottom) with the flue extension centered under the
oval hole in the header plate.
NOTE
Electrical wiring should already be routed to the header
plate. If not, see sections on ELECTRICAL SUPPLY
ROUGH-IN, page 12.
Place three (3) square gaskets over the junction box. See
Fig. 18, page 15.
ALL MODELS
Lift furnace up so that the flue extension enters the oval
hole in the header plate.
IMPORTANT
AFTER FURNACE HAS BEEN PLACED IN POSITION,
MAKE SURE THE GASKETS ARE PRESSING AGAINST
THE FURNACE TOP TO ELIMINATE AIR LEAKS.
FASTEN FURNACE BOTTOM
(SURFACE AND RECESSED MOUNT)
NOTE
Fasteners are not furnished because of different require-
ments of various types of wall construction.
Fasten furnace to floor through holes provided in furnace
bottom. If you have concrete flooring, use an alternate
fastening method. See Fig. 20.
If burner and control assembly were removed, replace
them by reversing "DISCONNECT WIRING" and
"REMOVE BURNER AND CONTROLS" sections on
page 15.
FURNACE MOUNTING
- METAL ANOH(_
TOP FASTENING
II
I
I
NOTE: DO NOT U_ BOTTOM DOOR _ FOR MOUNTING
--16--