ME2100 Manager is a MS Windows application designed to simplify the process of entering new fuel
types into the ME2100 meter, downloading current fuel type information for modification or saving to file,
editing from a list of existing fuel types, etc.
ME2100 Manager is available on the flash drive that was provided with the meter and can be installed
simply by copying the folder labelled, “ME2100 Manager”, to the PC. It can also be executed directly
from the flash drive.
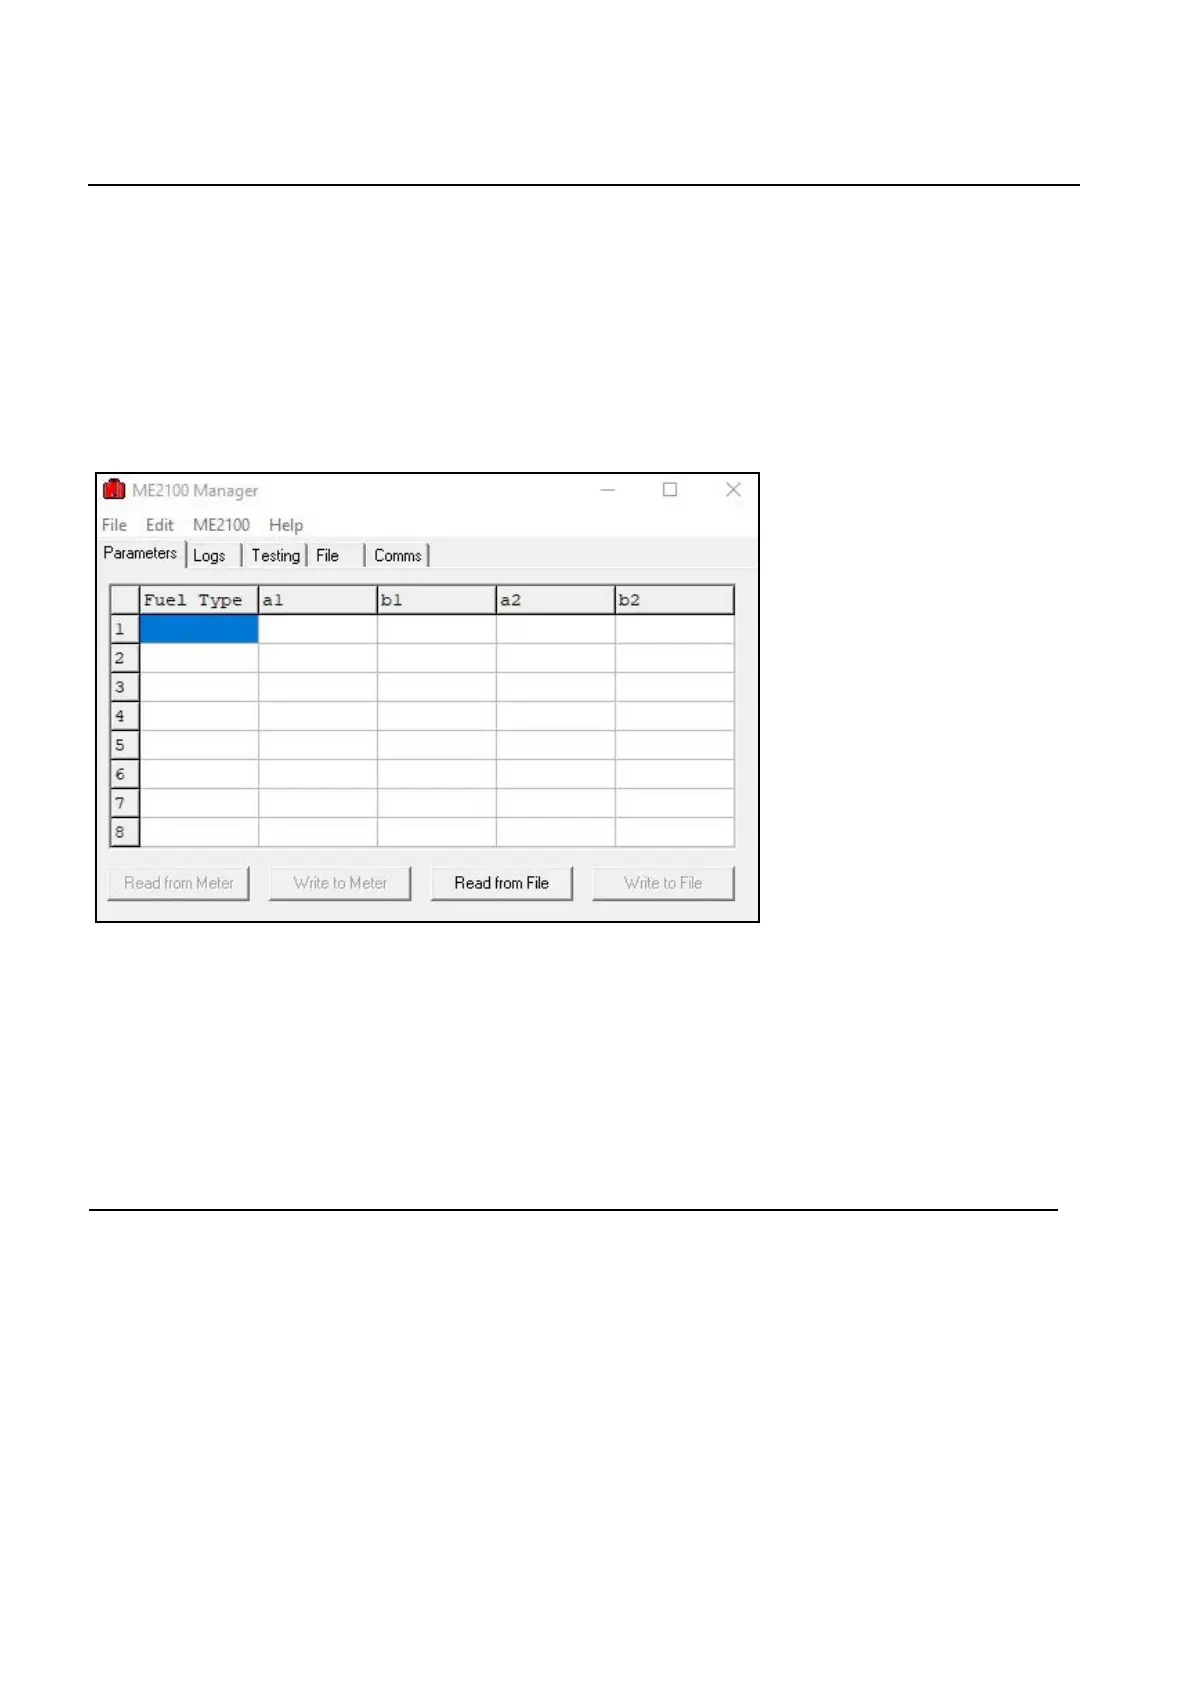
Once installed, run ME2100 Manager and the following window will be displayed...
Note that the tabbed page displayed may differ if the software has been previously run, since settings are
saved to the registry, when exiting the software, for use next time it is run.
Next, connect the ME2100 meter to the PC via USB port. See Appendix D for details on
establishing a serial communications connection between the ME2100 meter and a PC if uncertain
of the procedure. Ensure that the meter is switched on before proceeding further.
6. Using ME2100 Manager Software to
Upload / Download Parameters and Data.
Wiltronics Research Pty Ltd 13
561 DC1V1
6.1 To download data and fuel parameters to ME2100 Manager:
6.1.1
6.1.2
With the mouse, left-click the “Parameters” tab to display the parameters tabbed page.
Click the “Read from ME2100” button or select “ME2100 → Parameter/Data Download” from the menu.
Within a few seconds the table should be filled with fuel type names and parameters. These can be edited
in the grid if new parameters are desired as outlined in section 6.2 and then uploaded back to the meter
as detailed in section 6.3.
6.1.3 To save parameters, click the “Write to File” button or select “File → Save As”, then follow the normal
procedure for saving the parameters file using the “Save As” dialogue box. In this way, different sets of
parameters can be saved to different file names for convenience when loading previous parameters.
6.1.4 Click the “Logs” tab to select the logs tabbed page. Any previously downloaded logged data from the
ME2100 meter (from step 6.1.2) will appear in the logs tabbed page. To save any logged data,
select “File → Save Logs” from the menu and use the dialogue box. An automatically generated file name
will be displayed and this may be altered if so desired. Then select the “Save” button to save the logs file.