16
For the Installer
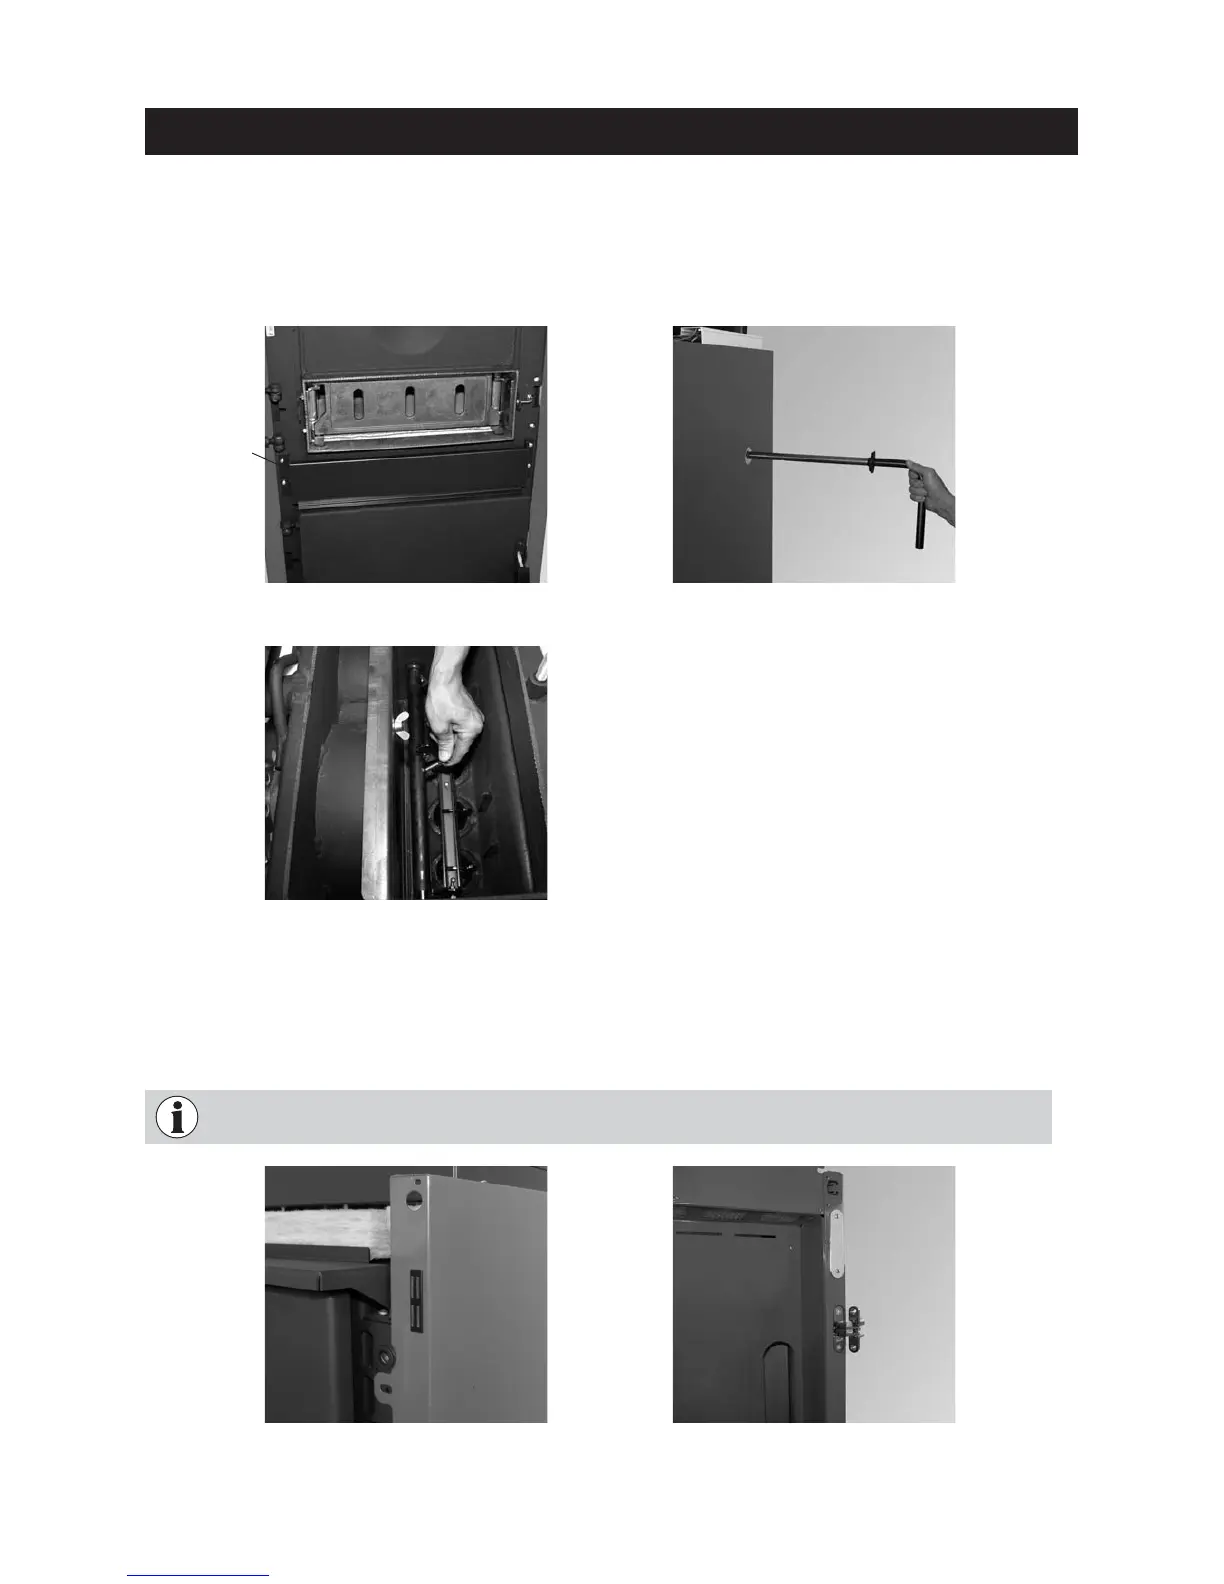
Fig. 22 Punching through the cut-out, inserting lever
for cleaning heating surfaces through opening
Fig. 23 Sliding lever through axle and secur-
ing with screw (inserted only)
Fig. 24 Punching through 2 cut-outs for magnetic
catches and pushing in catch
Fig. 25 Punching through 2 cut-outs for door
hinge and screwing on door hinge
Fig. 21 Screwing on hook-in plate ash pan with 4
TT self-tapping screws
– Screw hook-in plate ash pan on between lighting and ash doors with 4 TT self-tapping screws – Fig. 21.
– Depending on accessibility, either fit lever for cleaning heating surfaces on the left or right side. Punch through
the cut-out, insert lever through opening in side wall and slide inwards through the cleaning heating sur-
faces axle and secure with screws (inserted only) – Figs. 22, 23.
– Punch through 2 cut-outs for magnetic catches at top/bottom from side wall and push in catch – Fig. 24.
– Punch through 2 cut-outs for door hinge at top/bottom from cladding door and screw on door hinge – Fig. 25.
Hook-in plate
ash pan
Punch through for the door hinge on the door catch side chosen. Punch through for magnetic catch-
es on the opposite side.