17
For the Installer
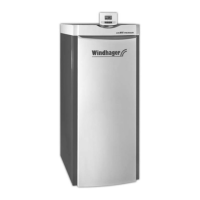
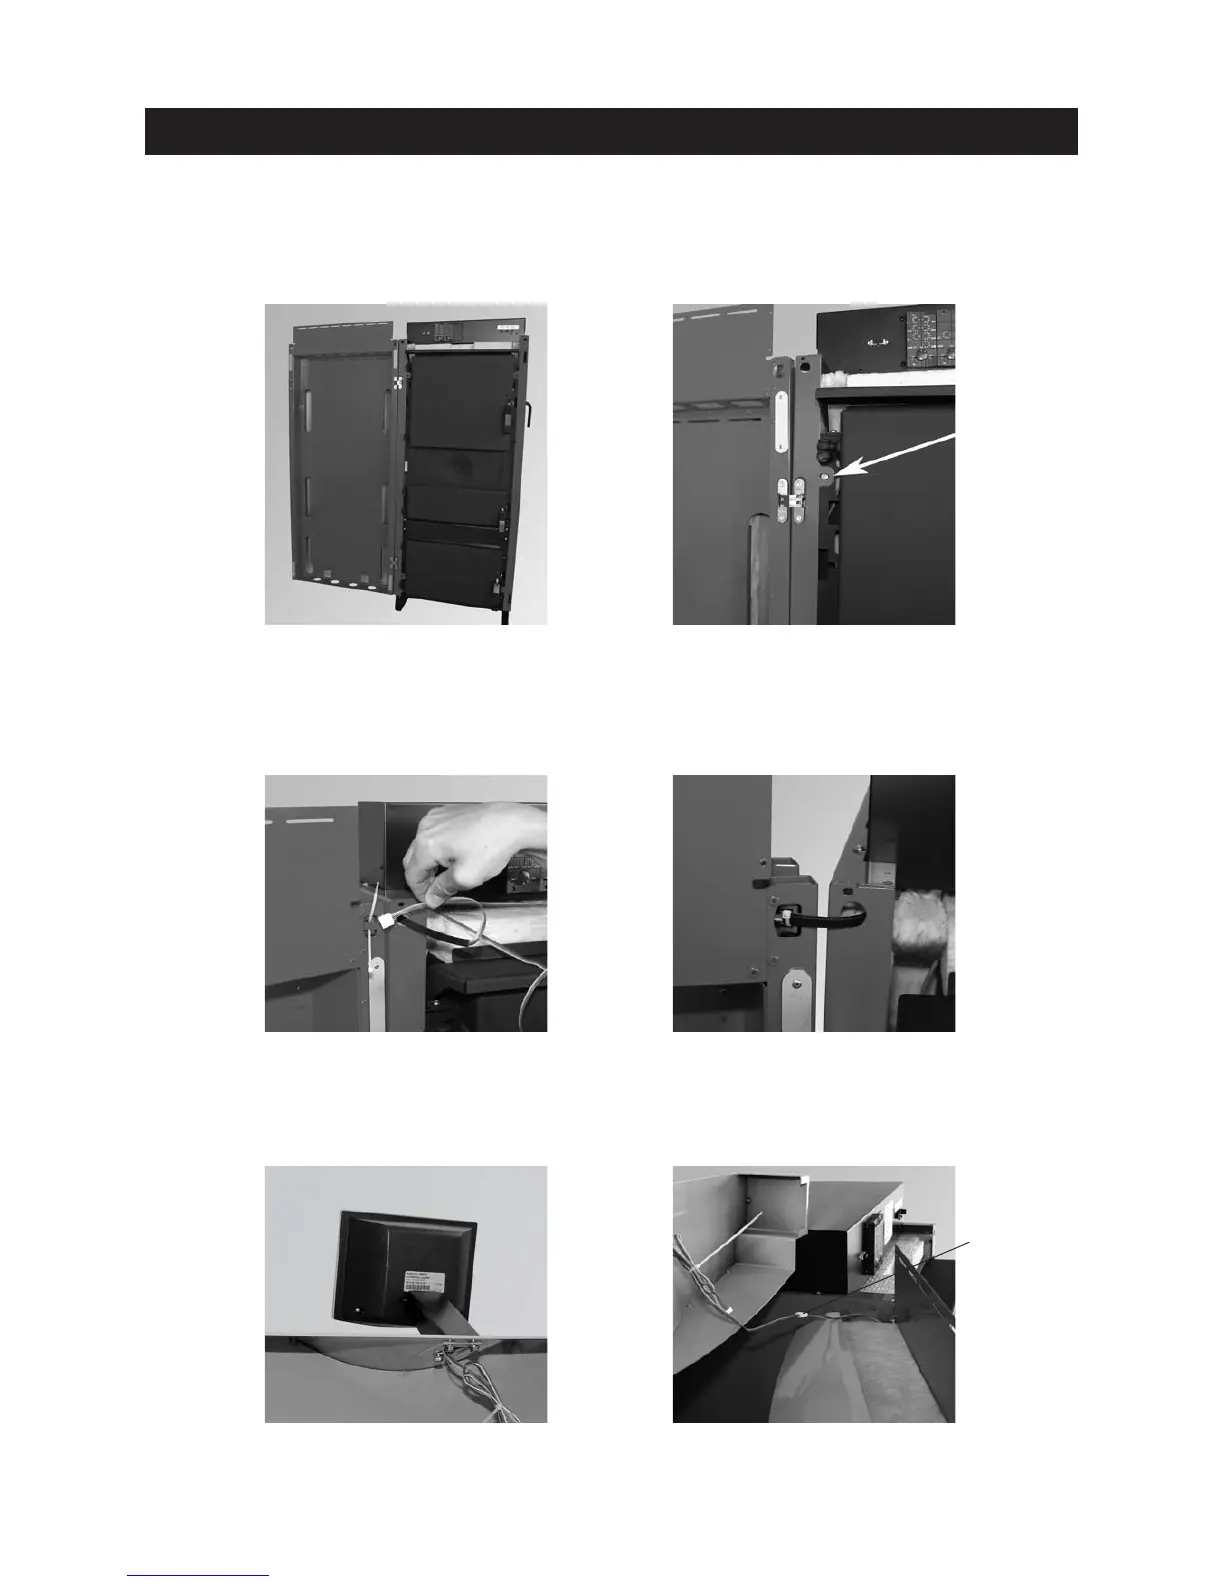
Fig. 26 Mounting the cladding door. Fig. 27 Straightening side walls
Fig. 31 Connecting InfoWIN cables
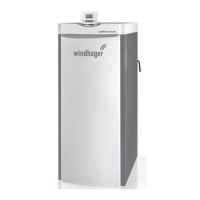
Fig. 28 Threading in InfoWIN cable
– Punch through 2 cut-outs for door hinge at top/bottom from side wall and screw on cladding door – Fig. 26.
– Straighten the side walls by eye using the width of the cladding door and screw down at front bottom/top
using 4 TT self-tapping screws – Fig. 27.
– Thread cable for Info-WIN from the control panel, sideways through the opening in the side wall and cladding
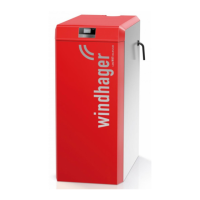
door – Fig. 28. Cable protection must be in position at the transition between the side wall and door. Use
cable ties to secure cable to the door – Fig. 29.
– Screw InfoWIN onto cladding door cover – Fig. 30.
– Connect InfoWIN cable with control panel cable – Fig. 31.
Fig. 29 Securing InfoWIN cable with cable
ties at cable protection
Fig. 30 Screwing InfoWIN onto cladding door
cover
Connecting
cables