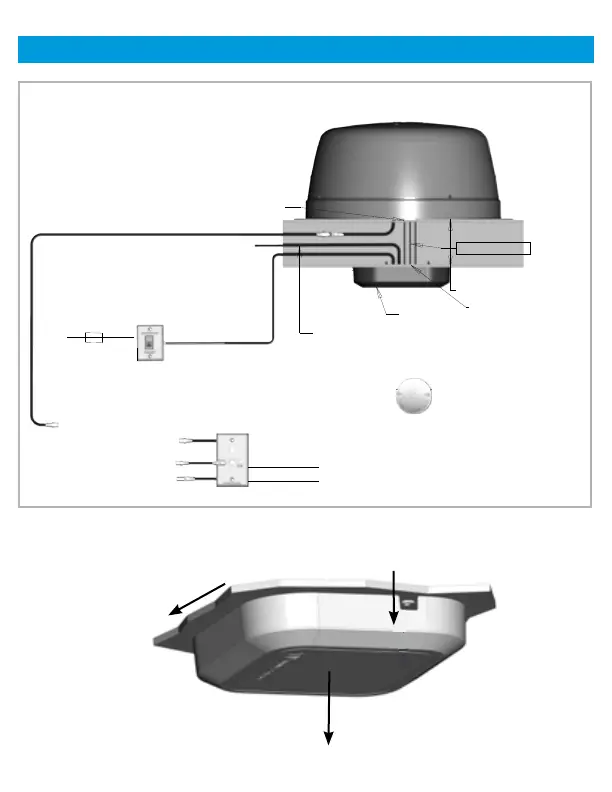
A. Ceiling Mount Install Diagram
To remove the Gateway from the mount, pull the lever down (1) and slide the
Gateway housing away from the lever (2). Next, gently pull the Gateway down (3).
Installation (cont.)
5
7" MAX ROOF THICKNESS
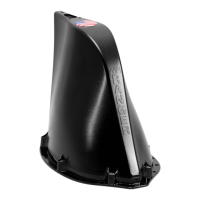
OPTION 3 - GATEWAY ON CEILING
COMPATIBLE WITH ROOF RADIUS OF 230 INCHES TO FLAT
1" HOLE IN ROOF
OTA CABLE
WIFI/4G CABLES
1" HOLE IN CEILING*
GATEWAY
ETHERNET CABLE (UP TO 2 - OPTIONAL)
PREWIRE HOLE COVER
*MUST BE BELOW OUTDOOR UNIT
RED WIRE - TO SWITCH
BLACK WIRE - TO GROUND
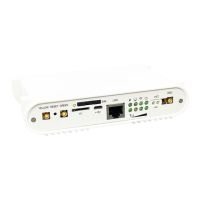
PARK ANT IN
TV OUT 1
TV OUT 2
TO ANT IN
+12V DC
3A FUSE RECOMMENDED
WIFI POWER CABLE
*Must be below outdoor unit
Compatible with roof radius
of 230 inches to flat
Gateway
1" hole in roof
OTA cable
WiFi power cable
Red wire to switch
Black wire to ground
Ethernet cable (up to 2 - optional)
7" max roof thickness
To Ant in
3A fuse
recommended
+12V DC
1" hole in ceiling*
Prewire hole cover
7" MAX ROOF THICKNESS
OPTION 3 - GATEWAY ON CEILING
COMPATIBLE WITH ROOF RADIUS OF 230 INCHES TO FLAT
1" HOLE IN ROOF
OTA CABLE
WIFI/4G CABLES
1" HOLE IN CEILING*
GATEWAY
ETHERNET CABLE (UP TO 2 - OPTIONAL)
PREWIRE HOLE COVER
*MUST BE BELOW OUTDOOR UNIT
RED WIRE - TO SWITCH
BLACK WIRE - TO GROUND
PARK ANT IN
TV OUT 1
TV OUT 2
+12V DC
GROUND
+12V DC
3A FUSE RECOMMENDED
WIFI POWER CABLE
+12V DC
TV out 2
TV out 1
Park Ant in
Ground
1
2
3
3
1
2

 Loading...