1107200 Shadow VI User Manual
page 124 Appendix C Installation of Shadow VI-WPC Control Board
Wiring Shadow VI optic heads to the board
You will be connecting the two interchangeable quick-connect cables, and plugging them
into the bottom of the transmitter and receiver. Remember that the connection is keyed. Be
sure to twist the locknut so the connection is tight.
To make proper wiring connections from the optic head(s) to the board, consult in the
manual:
• "Wiring the transmitter and receiver to the control" in Chapter 2
• Table C-1 Receiver & Table C-2 Transmitter wiring tables
• Figure 8 (Shadow VI-WPC wiring schematic) at the end of the manual
• Figure 10 (Shadow VI-WPC 1000 wiring schematic) at the end of the manual
Run the cables through separate 1/2" flexible, liquid-tight conduits from the Shadow VI
transmitter and receiver to the knockouts at the bottom of the WPC enclosure. Because the
enclosure is rated NEMA 4, you must use conduit of the same rating and make proper
connections to ensure suitable protection with the enclosure.
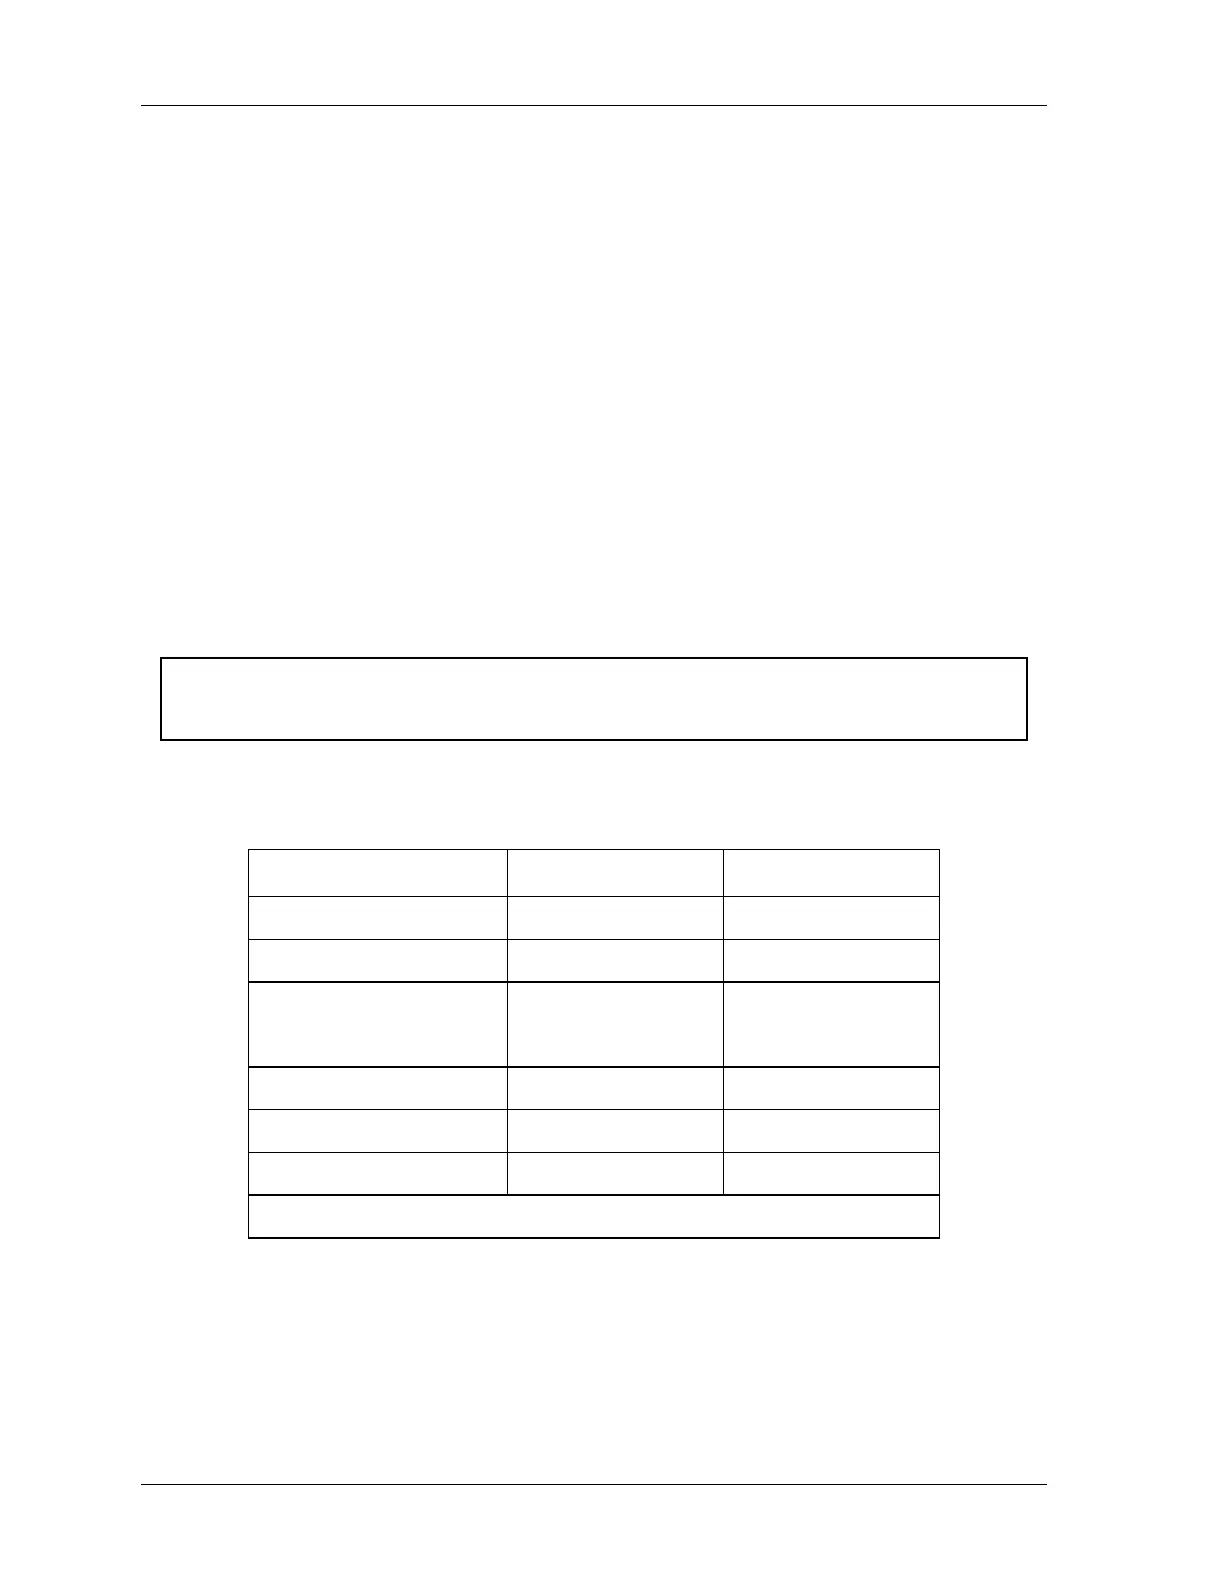
The following are the wiring tables for receiver and transmitter.
NOTICE
Remember to use the upper level TB2 for set #1, and the lower for set #2.
Table C-1. Connecting Light Curtain Receiver Head to TB2 in Controller
Set #1 Heads to Upper Level; Set #2 Heads to Lower Level
RCVR TB2 Wire color Terminal signal
Pin #1 orange FWIN
Pin #2 red VCC
Pin #3
blue
and
black
GND
Pin #4 brown 1B
Pin #5 green 1A
Pin #6 yellow SYNC
Terminate shield to chassis near entry point
 Loading...