Product Overview
Xerox 8254E / 8264E Color Wide Format Printer
User Guide
2-11
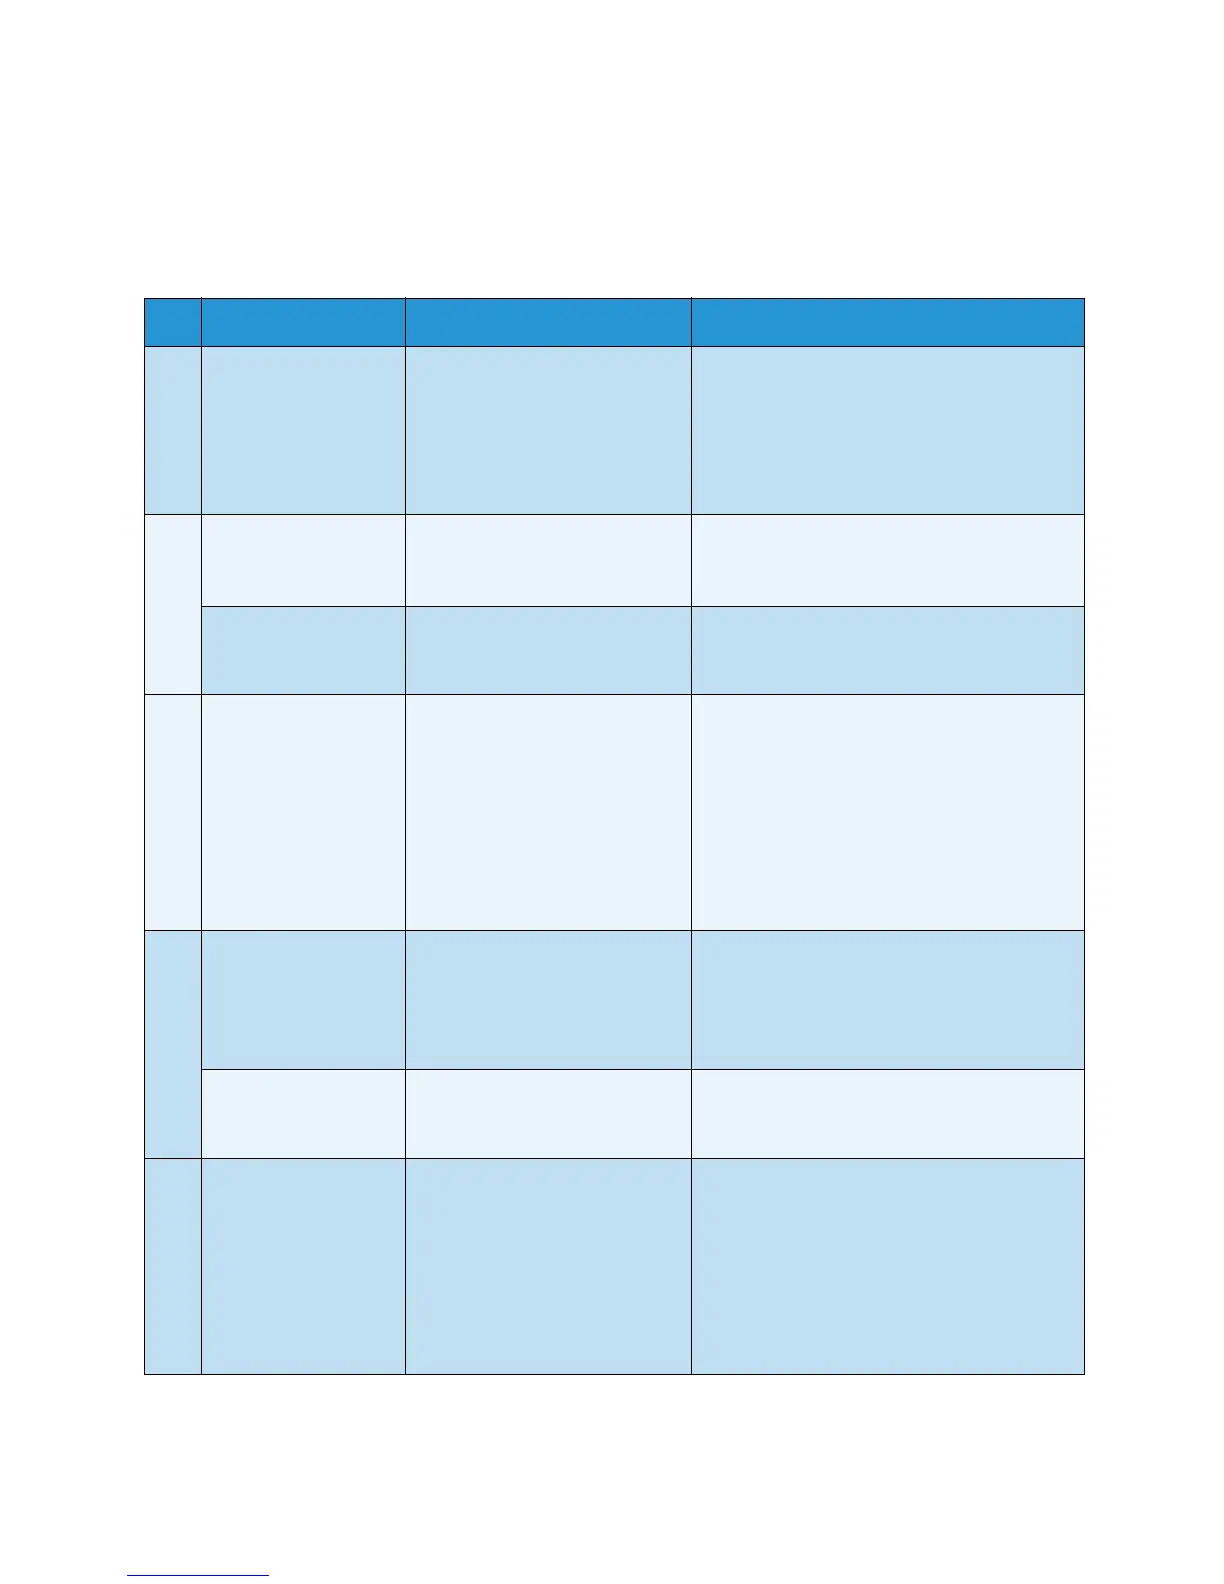
Operation Keys
Note:
• The operation keys are assigned with different names and functions, depending on the
printer’s status. For details about printer status, refer to Printer Status.
No. Name Standard menu display Setup menu display
1 [Menu] key Causes the Setup menu to
display.
•Pressing the [Menu] key causes "Menu 1:
Setup>" to be displayed.
•This is the first of seven menus that can be
displayed.
•Pressing the [+] key or [–] key allows you to
select any of the other six menus.
2 [Enter] key 8254E only - Restarts printing
during printing.
•The menu to set is selected and it shifts to
the next hierarchy.
• The setting is determined and saved.
[Cleaning] key Press and hold this key for two
seconds or more to begin the
Head Cleaning procedure.
—
3 [Cancel] key •While printing:
Forcefully terminates printing
and deletes one file of the
remaining data.
•While receiving or analyzing:
Deletes the data file that has
already been received and
analyzed, then deletes the
subsequent data file.
•Returns to the previous menu hierarchy,
discarding any changes that have not been
saved.
•Shifts from the Setup menu display to the
Standard menu display.
4 [<] key
—
• Increments you up the menu level in the
directory tree.
• In the Origin menu, pressing the [<] key
increases the print head transferring
distance.
[Nozzle Check] key Press and hold for two seconds
or more to perform the Nozzle
Check procedure.
—
5 [>] key Sets Cleaning Mode.
•The lamp of the particular
Cleaning Mode you select
lights up in green.
• Moves the display to the sub-menu of a
selected menu if there is one.
• Used, along with the < key, in the sub-
menus of the Selection menu to select and
de-select items that will be displayed in the
Setup menu.
• Increments you down the menu level in
the directory tree.