Xerox CopyCentre/WorkCentre/WorkCentre Pro 123/128 User Guide 131
6 Check Mailbox
This chapter describes the methods for checking, printing, or deleting documents in a
mailbox. You can store the following types of documents (marked with matching icons
in the Document List) in a mailbox.
• Incoming confidential fax documents ( ) – Refer to Polling in the Fax/Internet Fax
chapter on page 100.
• Incoming confidential Internet Fax documents ( ) – Refer to Polling in the Fax/
Internet Fax chapter on page 100.
• Fax documents for confidential polling ( ) – Refer to Store for Polling in the Fax/
Internet Fax chapter on page 101.
• Scanned documents ( ) – Refer to Save in: - Scan to Mailbox in the Scan/E-mail
chapter on page 113.
You can also link a mailbox to a job flow sheet to process the stored documents
manually and automatically. For more information, refer to Document List on page 132.
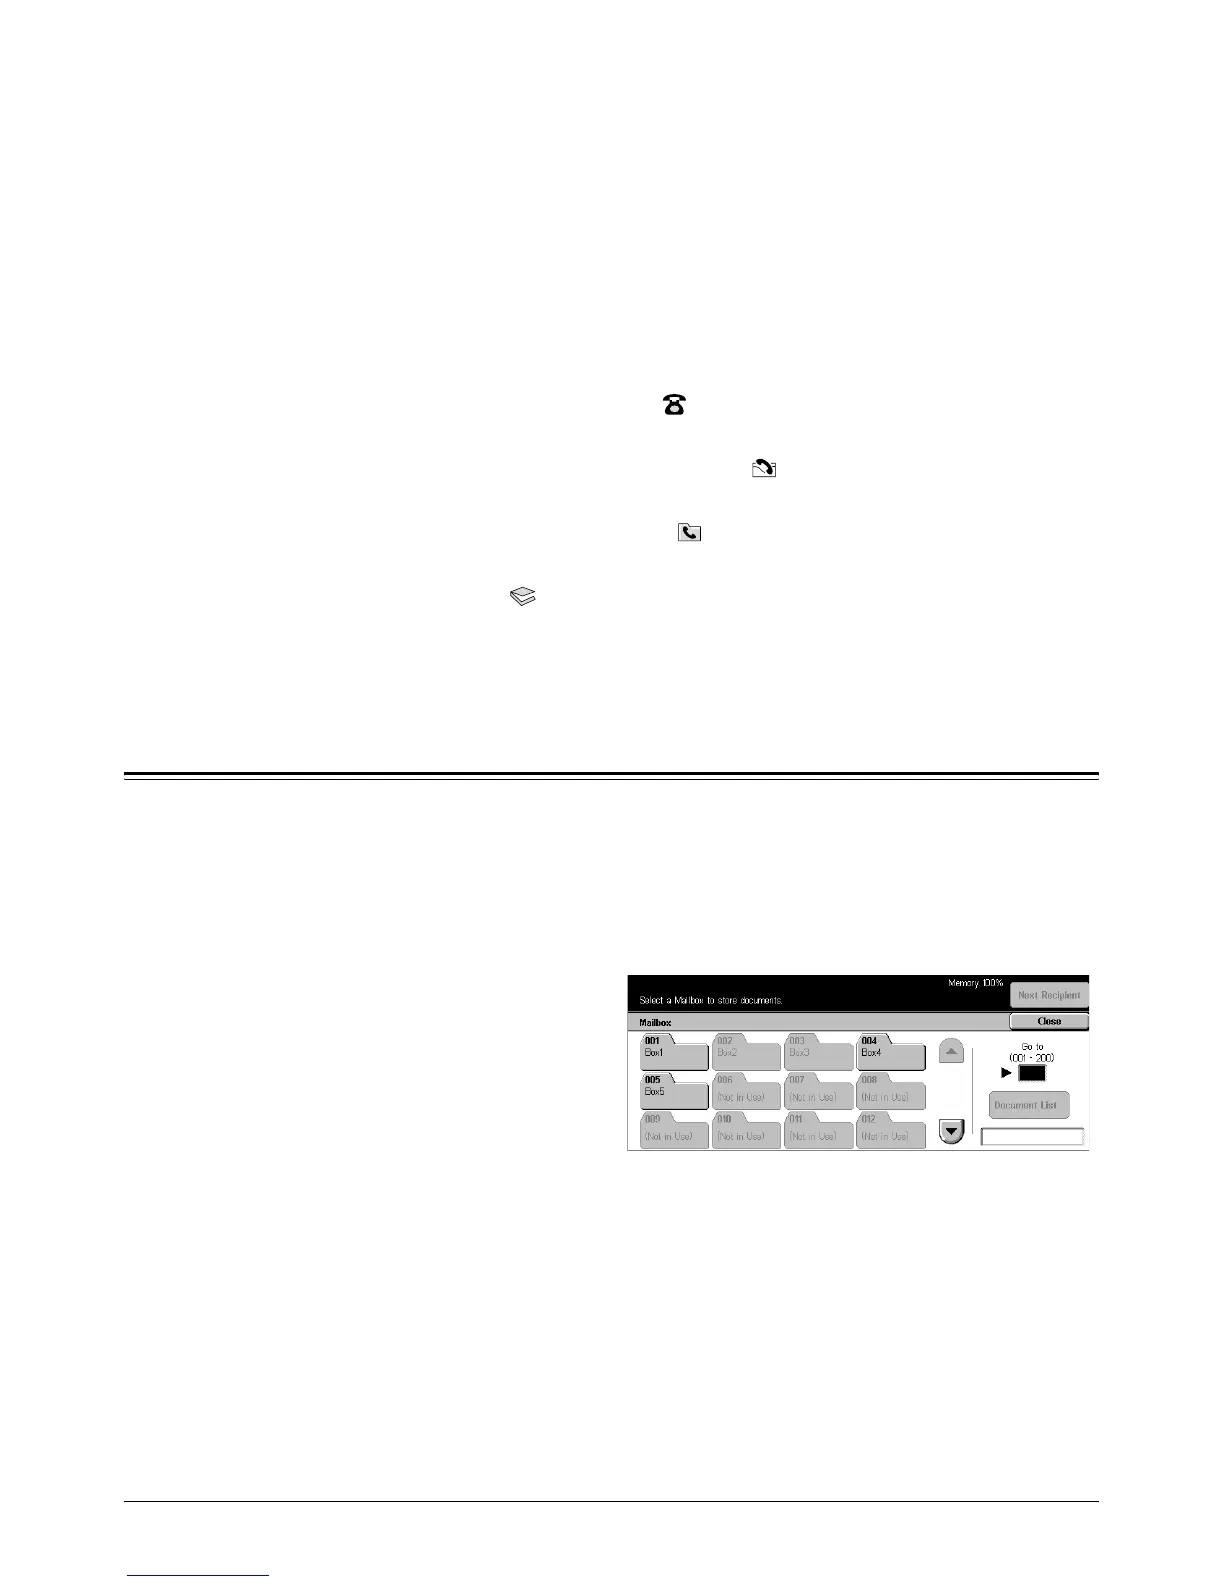
Check Mailbox
You can check, print, or delete documents in the private mailboxes displayed on the
[Check Mailbox] screen. Some mailboxes, however, may require you to enter a
password, depending on the operation you attempt. Private mailboxes created by other
users are inactive and inaccessible to you. For information on how to create a mailbox,
refer to Mailbox in the Setups chapter on page 242.
1. Press the <All Services> button
on the control panel.
NOTE: If the Authentication feature
is enabled, you may be required to
enter a user ID and a password (if
one is set up). If you need
assistance, contact the Key
Operator.
2. Select [Check Mailbox] on the touch screen.
Go to
Specify the first mailbox number to be displayed on the screen, using the numeric
keypad on the control panel.
Document List
Refer to Document List on page 132.
 Loading...


