Using Your Printer in Linux
19
9
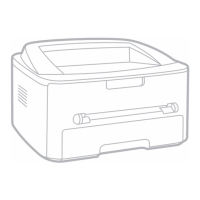
Click the
Connection
tab and ensure that the printer port
is set properly. If it is not, change the device setting.
10
You can use the
Settings
tab and the
Queue
tab to view
the printer’s current settings. If necessary, you can change
the settings.
N
OTE
: Options may differ depending on the printer in use.
The
Description
and the
Location
field in the Queue screen
may not appear depending on the printing system in use.
11
To exit, click
OK
.
12
When the window indicates that the new printer is
successfully configured, click
OK
.
13
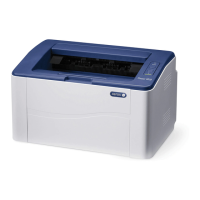
The Linux Printer Configuration window reappears. From
the
Info
tab, you can view information about your printer
driver. If necessary, you can change the printer’s
configuration. For details about changing the printer’s
configuration, see “Using the Configuration Tool” on page
20.
Changing the Printer Connection
Method
If you change the printer connection method from USB to
parallel or vice versa while in use, you must reconfigure your
Linux printer by adding the printer to your system. Take the
following steps:
1
Make sure that you connect the printer to your computer.
Turn both the computer and the printer on.
2
When the Administrator Login window appears, type in
“
root
” in the Login field and enter the system password.
N
OTE
: You must log in as a super user (root) to install a new
printer to the printing system. If you are not a super user, ask
your system administrator.
3
From the Startup Menu icon at the bottom of the desktop,
select
Linux Printer
and then
Configuration Tool
.
You can also access the Linux Printer Configuration window
by typing in “
linux-config
” from the Terminal screen.
4
When the Linux Printer Configuration
window appears,
click the
Add Printer
icon on the toolbar at the top of the
window.
5
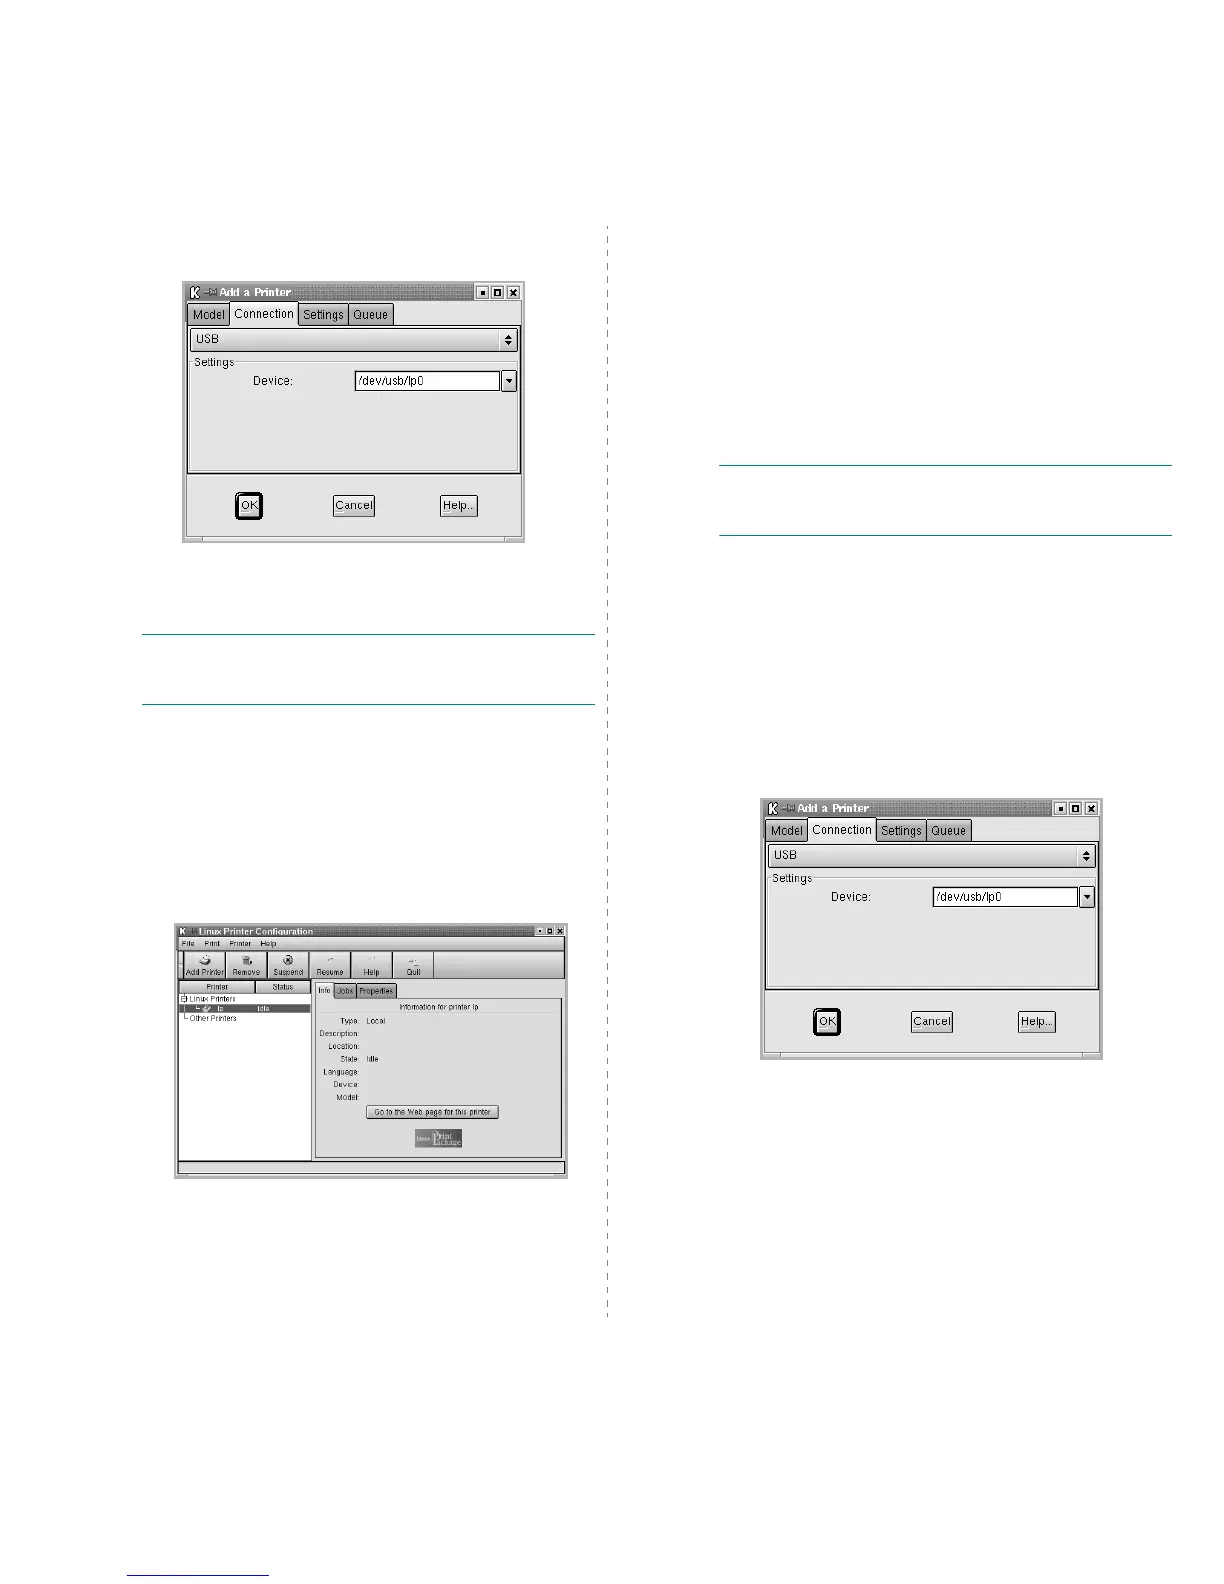
Click the
Connection
tab at the top of the Add a Printer
window.
Ensure that the printer port is set properly. If it is not,
change the device setting.
6
Click
OK
.