Printing
Phaser 7500 Color Printer
User Guide
68
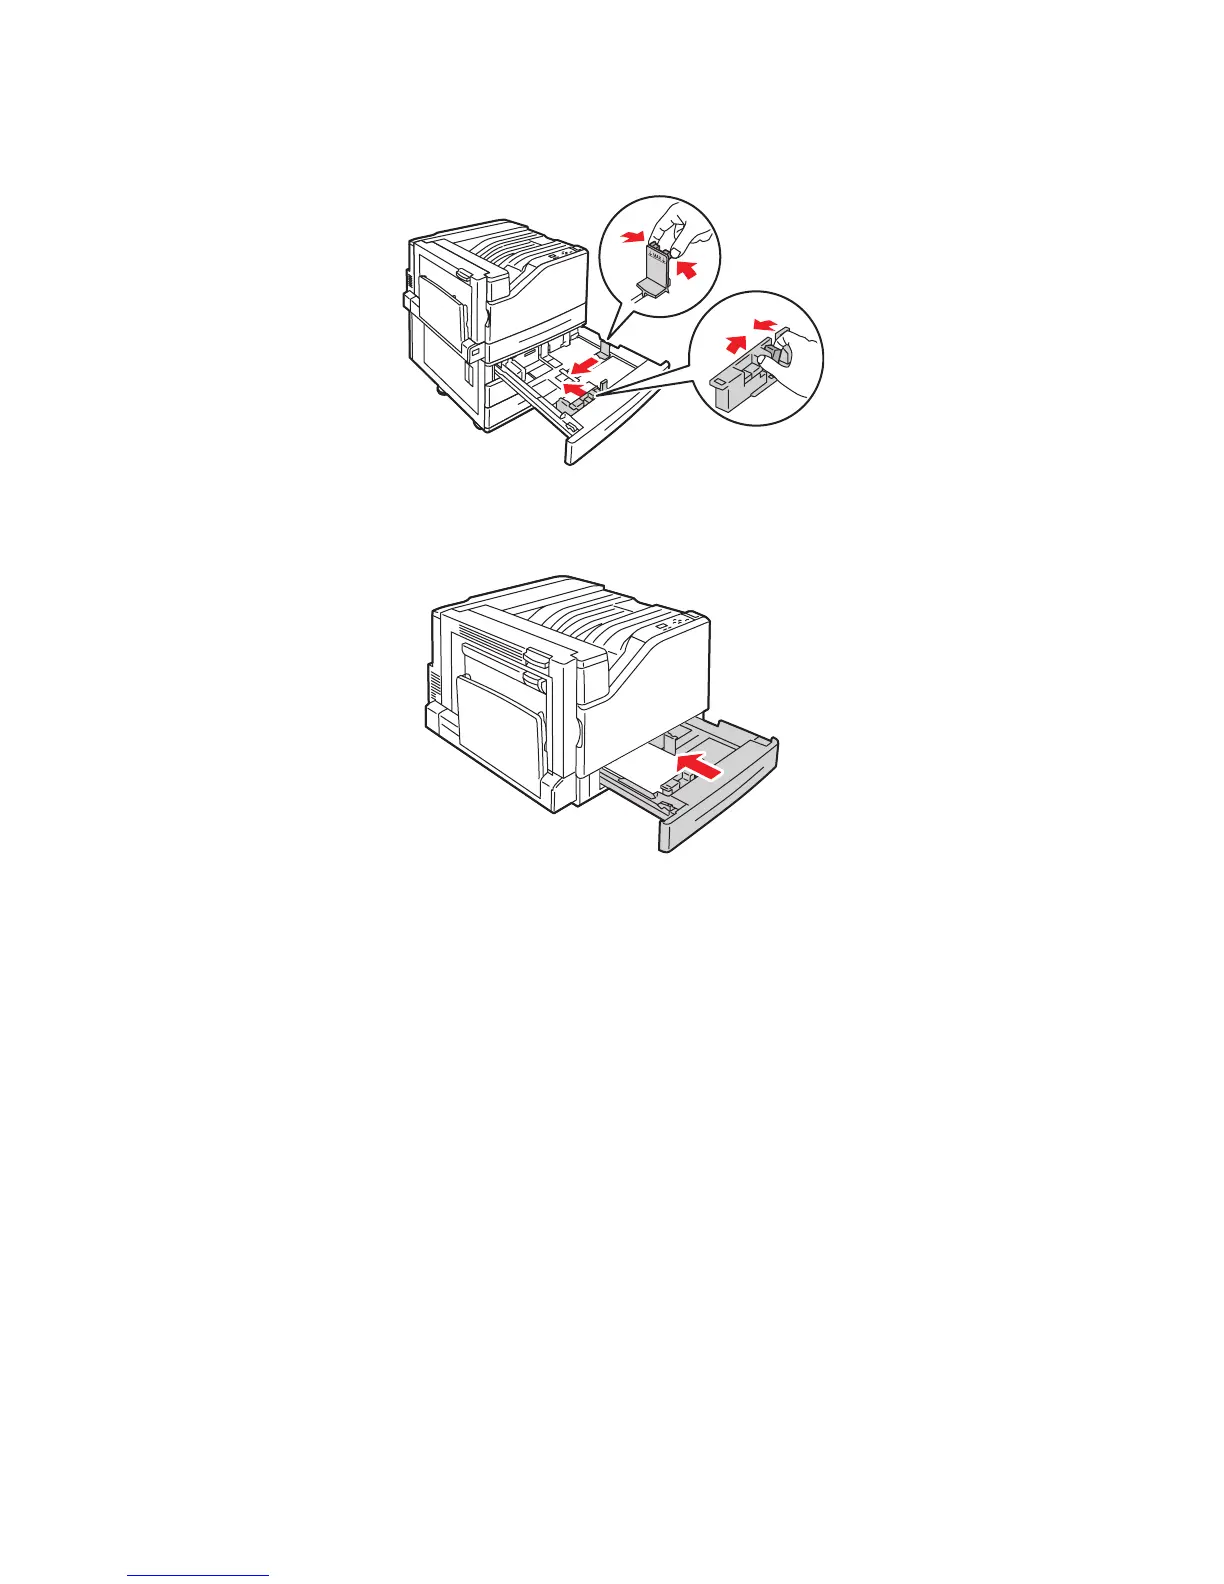
4. Adjust the guides to fit the paper.
5. Push the tray completely into the printer.
6. When the control panel prompts you to confirm the type and size of paper in the tray, press the OK
button to use the current tray setup. If you loaded a new type of paper in the tray or loaded a
custom size, do the following:
a. Select Change setup, then press the OK button.
b. Select the appropriate paper type, then press the OK button.
c. Select the paper size, then press the OK button.
Note: If you loaded custom size paper, select it if it is already defined. If not, select New Custom
Size for the paper size and follow the prompts; see Using Custom Size Paper on page 73 for more
information. If you loaded standard-size paper, select Auto Select for the paper size; the tray
guides are then used by the printer to determine the paper size in the tray.
7500-056
 Loading...


