Save in: - Scan to Mailbox
Xerox CopyCentre/WorkCentre/WorkCentre Pro 123/128 User Guide 113
File Name
Enter a file name to be assigned to the scanned data. After selecting this field, select
[Keyboard].
Clear Field
Clears the currently selected entry field.
Enter Sender’s Address
Adds the sender’s address as the reply-to-address.
Address Book
Displays the list of e-mail addresses registered in the address book. Use the address
book to select the sender’s e-mail address or reply-to-address.
Keyboard
Displays the screen keyboard. Use the keyboard to enter the sender’s address,
subject, reply-to-address, or file name. For more information on keyboard entry, refer
to Keyboard in the Fax/Internet Fax chapter on page 81.
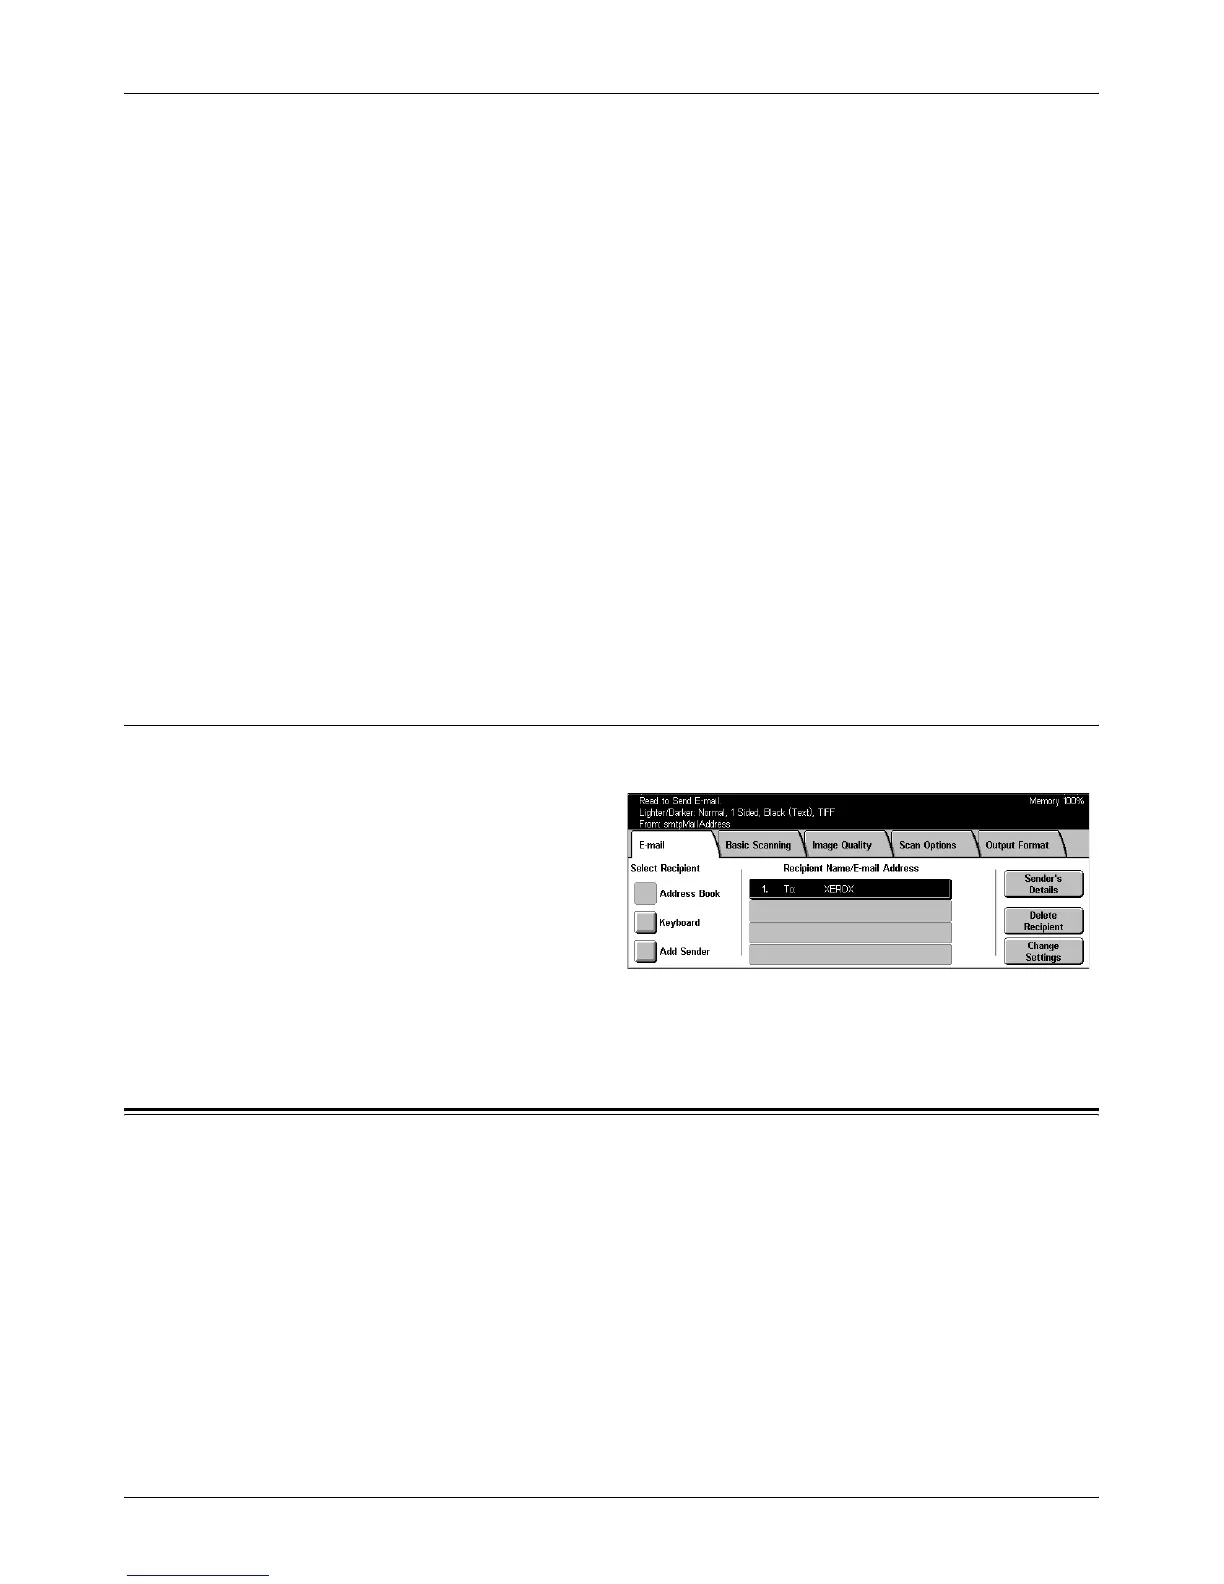
Change Settings
Use this feature to change the entered destination address.
1. Select [Change Settings] on the
[E-mail] screen.
2. Perform the necessary
operations.
3. Select [Save].
For more information on keyboard entry, refer to Keyboard in the Fax/Internet Fax
chapter on page 81.
Save in: - Scan to Mailbox
This section describes how to select a mailbox on the machine to save scanned
documents. For more information on this screen, refer to the following.
Mailbox list – Select a mailbox for saving scanned data.
Go to – Specify the start number of a mailbox from which mailboxes are to be displayed,
using the numeric keypad on the control panel.
Document List – Allows you to print or delete documents in the selected mailbox.
 Loading...


