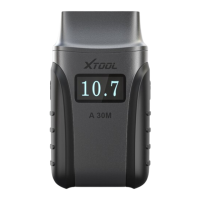
9 Power button: Turn on & off the device.
10
USB Type-C port: Charge the device or transfer data to PC.
11
Nameplate: Shows vital information of the device.
12
Sensor triggering area: When activating/programming sensors, put them close to this area.
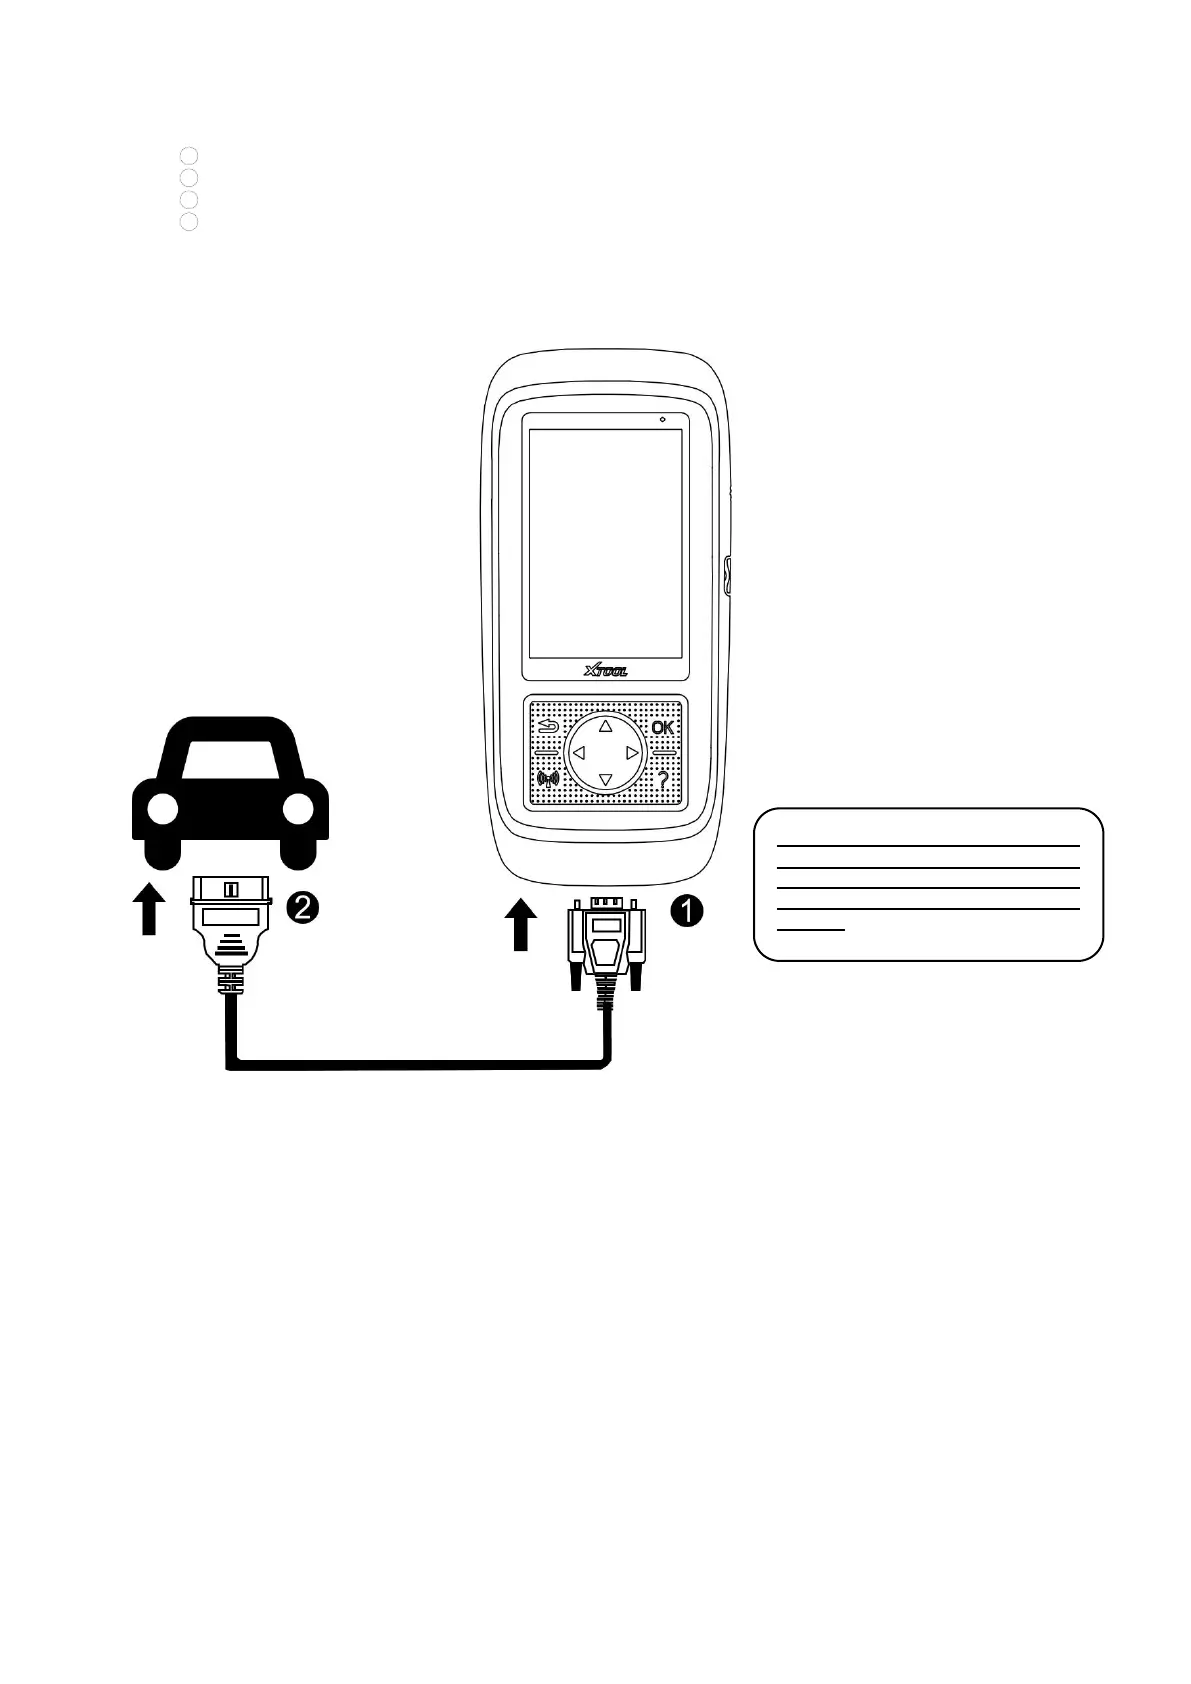
VEHICLE COMMUNICATION
The picture below shows how the device
connects to the vehicle.
1. Turn on the ignition switch of the
vehicle, and turn on the device.
2. Connect the DB15 plug of the
cable to the device.
3. Find the OBD port on the vehicle,
and plug the OBD socket of the cable
inside it.
4. Now you are ready for TPMS
diagnostics.
⚠
Note: The vehicle’s DLC is not
always located under the dash; for
the location of the DLC, please
refer to the vehicle owner’s
manual.
Precautions for Diagnosis
1. The voltage range on the car: +9~+16V DC;
2. The electronic control systems of different models are very complicated. If you encounter situations where it is
impossible to test or a large amount of test data is abnormal, you can search for the ECU of the vehicle and select the
menu for the model on the ECU nameplate;
3. If the vehicle type or electronic control system to be tested is not found in the diagnostic function, please update the
vehicle diagnostic software to the latest version or consult the XTOOL technical service department;
4. Only wiring harnesses provided by XTOOL and designed for the scan tool are permitted to be used with this scan tool to
avoid damage to the vehicle or the tool;