VESDA VLI Product Guide VESDA by Xtralis
18 www.xtralis.com
3.1 Mounting
The VLI detector can be mounted in an upright or inverted position. Do not mount the detector with a sideways
orientation as shown in Figure 3-2 below.
Figure 3-2: Sideways orientation
Ensure the mounting surface is flat as this allows an air tight seal to be achieved between the sampling pipe
and the tapered air inlet pipes on the detector.
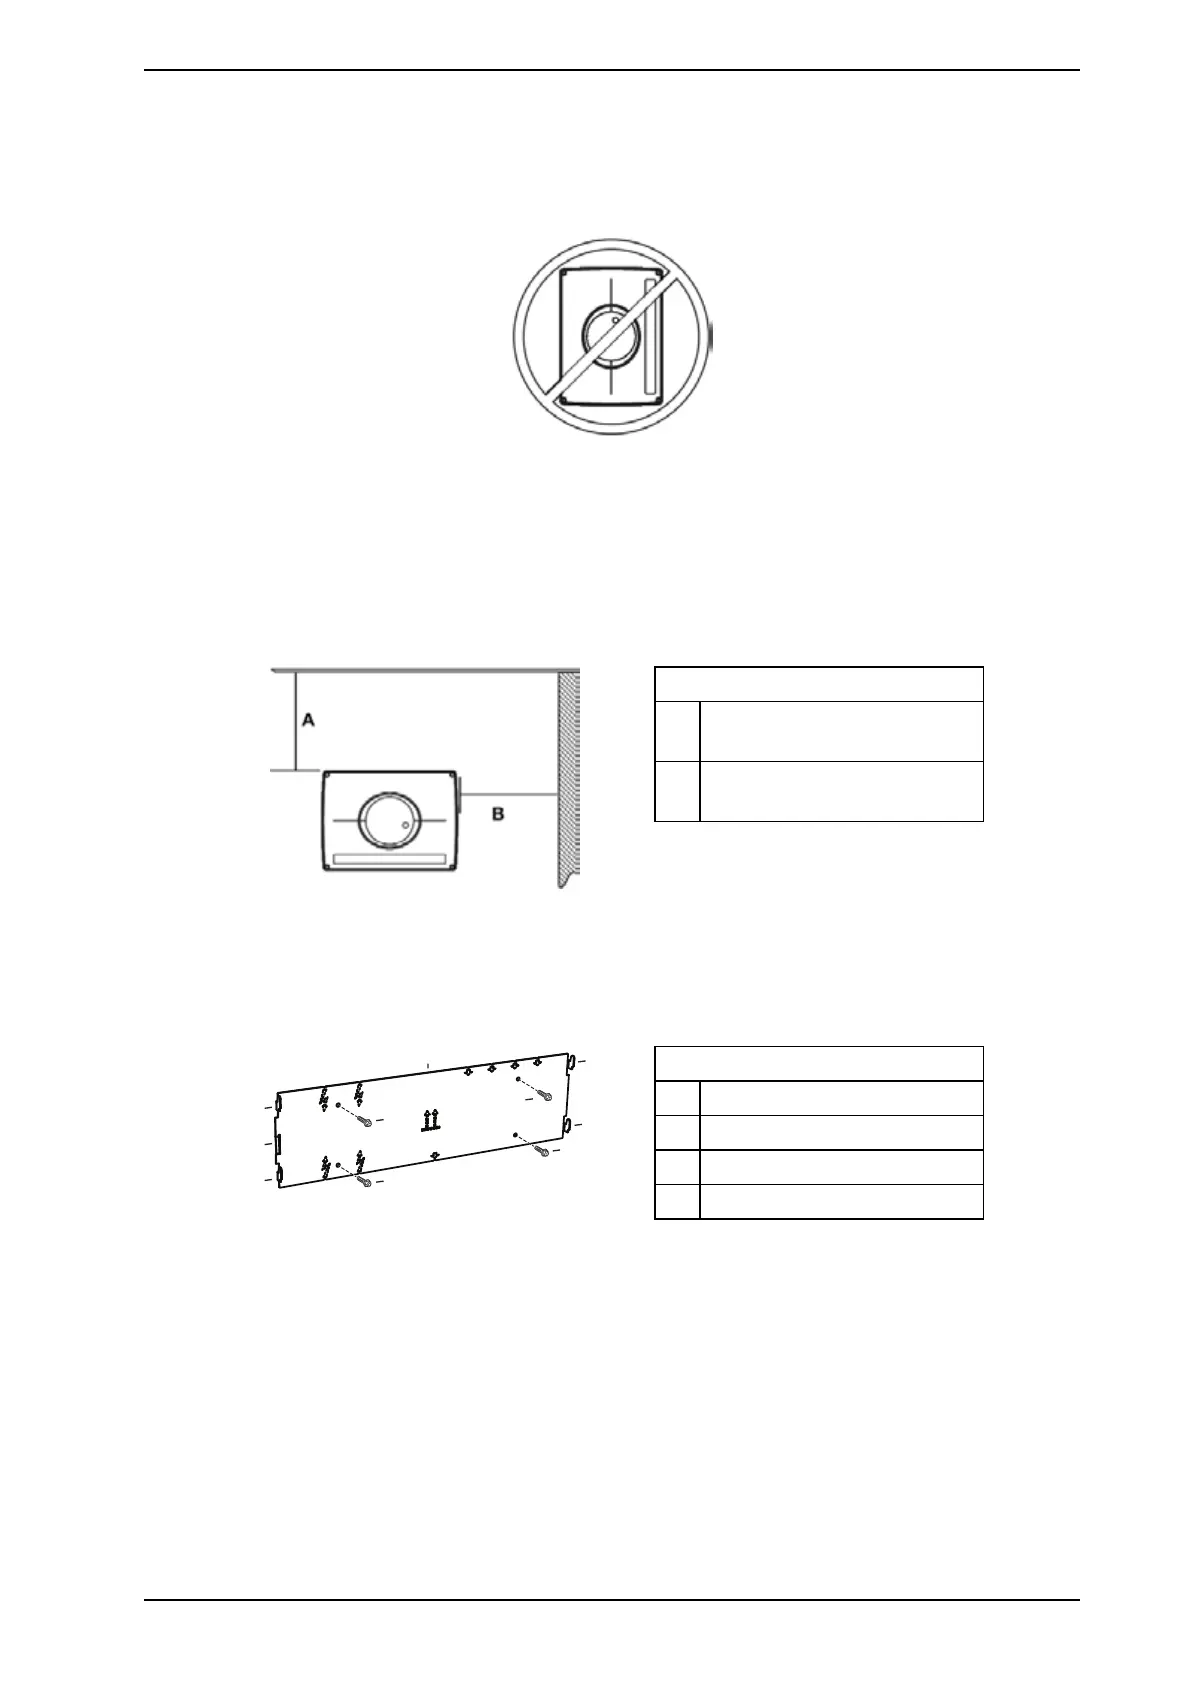
Ensure that there is sufficient clearance to mount the detector (Figure 3-3), noting the location of air sampling
pipes and cable entry points. Due to the rigid nature of the plastic pipe, installation must provide for sufficient
movement in all pipework (air inlet, air exhaust and cable pipes) to allow pipe ends to be easily fitted and
removed.
Legend
A Min. 200 mm (8 in.) below
ceiling level
B Min. 125 mm (5 in.) from a wall
or obstruction
Figure 3-3: Mounting location
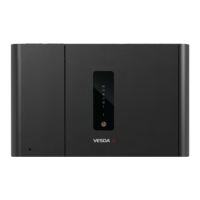
Mount the Detector
1. Horizontally align the mounting bracket (A) and place the flat side flush against the surface. Use
appropriate fasteners (B) to secure the bracket.
Legend
A Mounting bracket
B Fasteners
C Locking Mechanism
D Hooks
Figure 3-4: Mounting Bracket
2. Ensure that the locking mechanism (C)is bent outwards, as shown below in Figure 3-5.
3. Place the four slots located at the rear of the detector onto the hooks (D) of the mounting bracket.
4. Slide the unit downwards onto the hooks (D) until the locking mechanism (C) clicks.