4-29
Outboard Rigging Guide - 2001 704 Binnacle Mount Remote Control Ass’y.
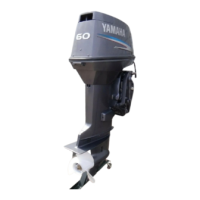
5. Remove the two screws and remove the throt-
tle lever assembly. Position the throttle lever
assembly so it faces downward and secure it
with the two screws.
Tightening Torque:
0.5 ~ 0.8m-kg (3.6 ~ 5.8 ft-lb.)
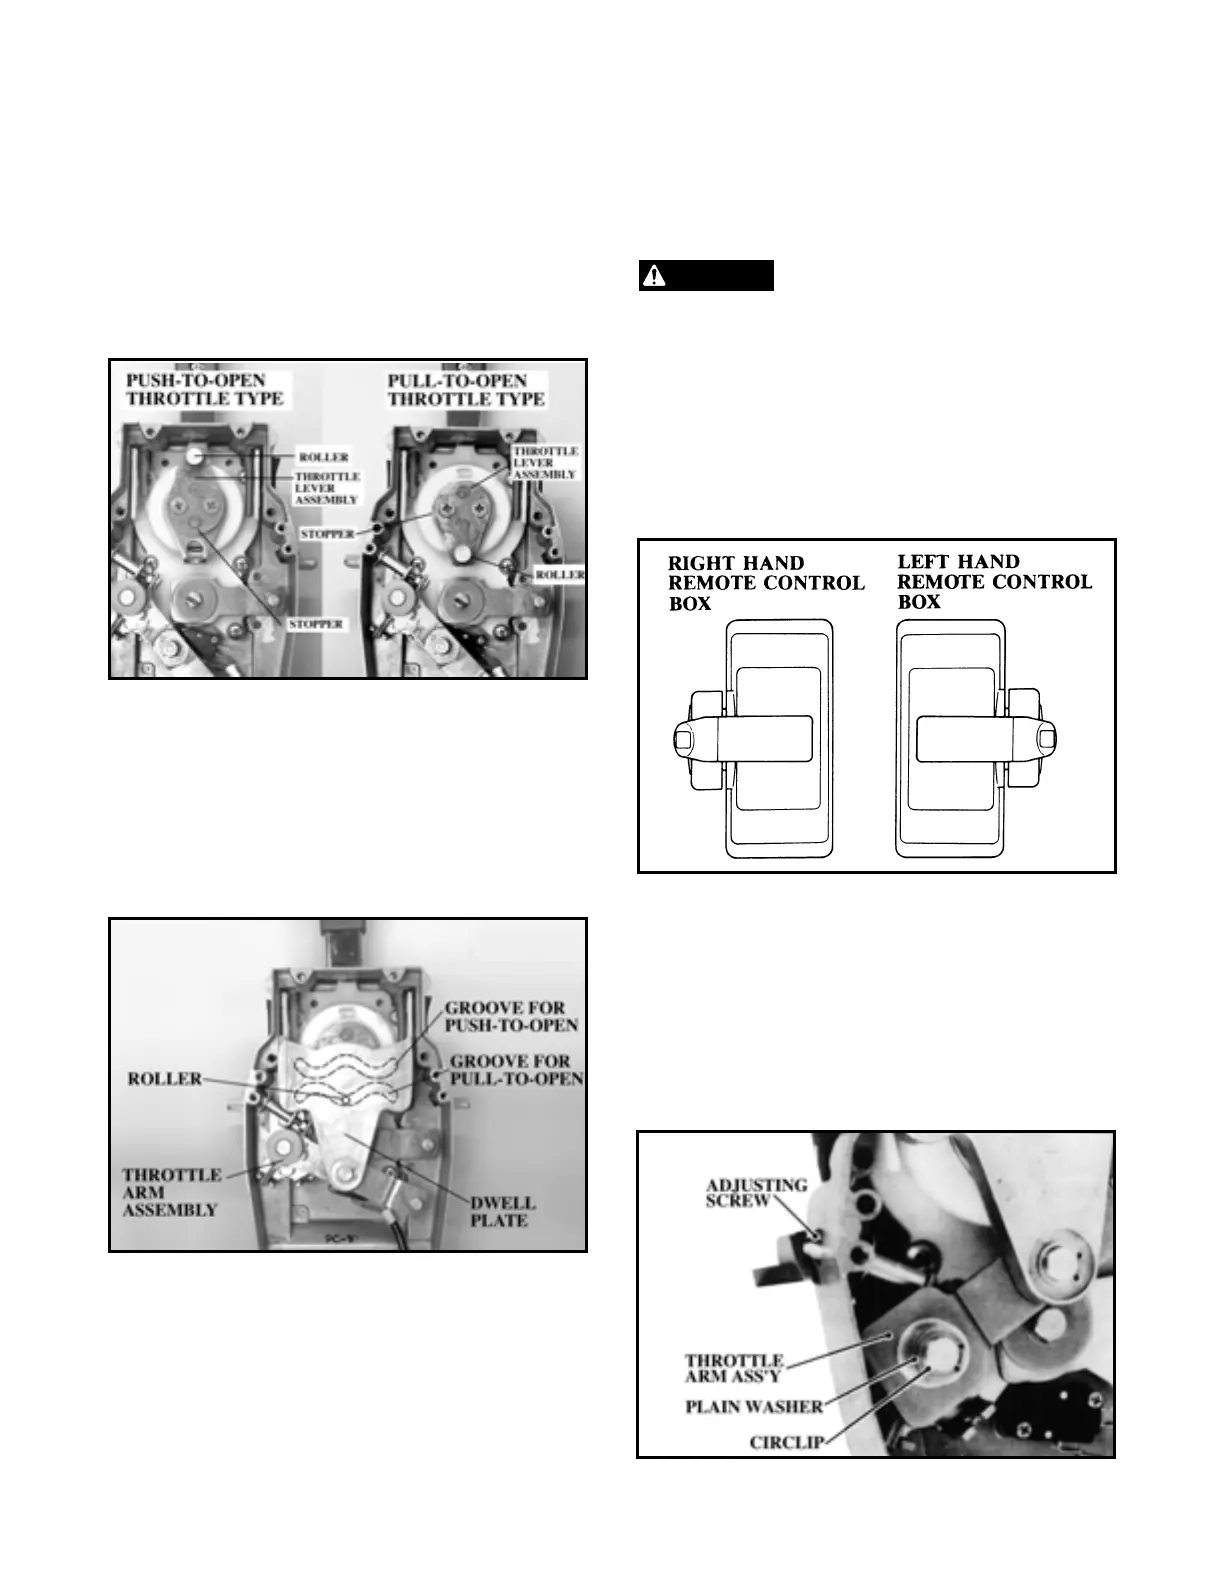
6. Align both the cam groove (for pull-to-open)
in the dwell plate and the roller in the throttle
lever assembly, with the specified position,
and lock the throttle arm assembly and dwell
plate with the circlip.
NOTE: Make sure the circlip is correctly fitted in
place.
7. Secure the dwell plate retainer with the four
screws.
8. Install the mounting flange, back plate, and
packing with the five screws.
NOTE: When installing the back plate, use care
so the wire harness is not pinched.
9. Install the cover on the body.
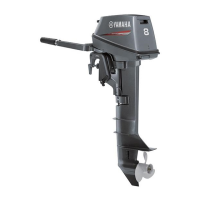
How To Change
The Control Lever Position
When using a right-hand remote control box
for a left-handed one without changing the
arrangement of the inner parts, do not forget
that the control levers have to be moved in
opposite directions from each other for proper
operation.
You can change the control lever position from
the right side to the left side or vice versa.
1. Remove the cover, packing, mounting flange,
back plate, and dwell plate from the remote
control box according to steps 1~4.
2. Remove the circlip and plain washer from the
throttle shaft, loosen the adjusting screw, and
remove the throttle arm assembly and bush-
ing.
 Loading...