Trouble Recovery
112
F150, LF150, F150A1, FL150A1
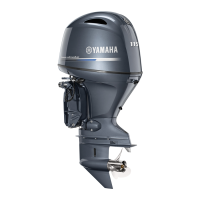
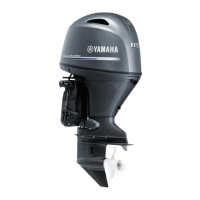
5. Unscrew the filter cup from the filter hous-
ing. NOTICE: Be careful not to twist the
water detection switch lead when un-
screwing the filter cup.
[ECM01960]
F115, LF115, F115A1, FL115A1
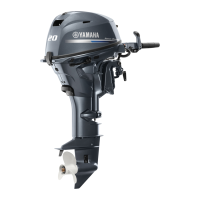
F150, LF150, F150A1, FL150A1
6. Drain the water in the filter cup by soaking
it up with a rag.
7. Firmly screw the filter cup onto the filter
housing. NOTICE: Be careful not to
twist the water detection switch lead
when screwing the filter cup onto the
filter housing.
[ECM01970]
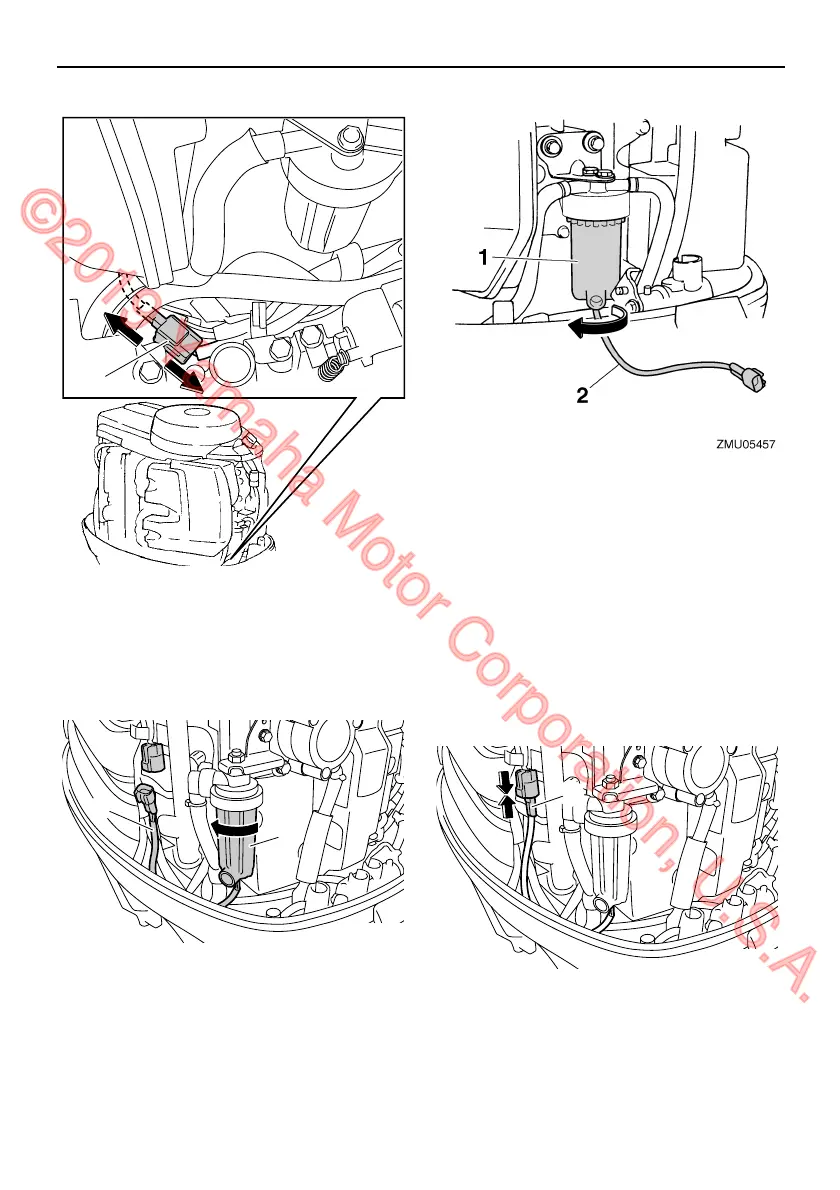
8. Connect the water detection switch cou-
pler securely until a click is heard.
F115, LF115, F115A1, FL115A1
1. Water detection switch coupler
1. Filter cup
2. Water detection switch lead
ZMU06222
1
1
2
ZMU07480
1. Filter cup
2. Water detection switch lead
1. Water detection switch coupler
1
ZMU07394
U63P1DE0.book Page 112 Tuesday, March 29, 2011 7:15 PM
©2019 Yamaha Motor Corporation, U.S.A.


 To Next Page