RECORDING
Recording adjustments and other operations are performed from the recording components. Refer to the operating
instructions for those components.
• When this unit is set to the standby mode, you cannot record between other components connected to this unit.
• The setting
of
the TONE CONTROL (see page 29), VOLUME, the speaker level (see page 76) and the sound field programs
(see page 59) do not affect recorded material.
• The source connected to the MULTI CH INPUT jacks
of
this unit cannot be recorded.
• Composite video signals pass independently through the video circuits
of
this unit. Therefore, when recording or dubbing video
signals input from a video source component that provides only a composite video signal, you can record only a composite video
signal on your VCR.
• Digital signals input at the DIGITAL INPUT jacks are not output at the analog AUDIO OUT (REC) jacks for recording.
• A given input source is not output on the same OUT (REC) channel.
• Check the copyright laws
in
your country to record from CDs, radio, etc. Recording
of
copyrighted material may infringe copyright
laws.
• The XM Satellite Radio signals cannot be output at the AUDIO OUT (REC) jacks.
,I,
~lfl~
Do a test recording before you start an actual recording.
If
you play back a video source that uses scrambled or encoded signals to prevent it from being dubbed, the picture
itself may be disturbed due to those signals.
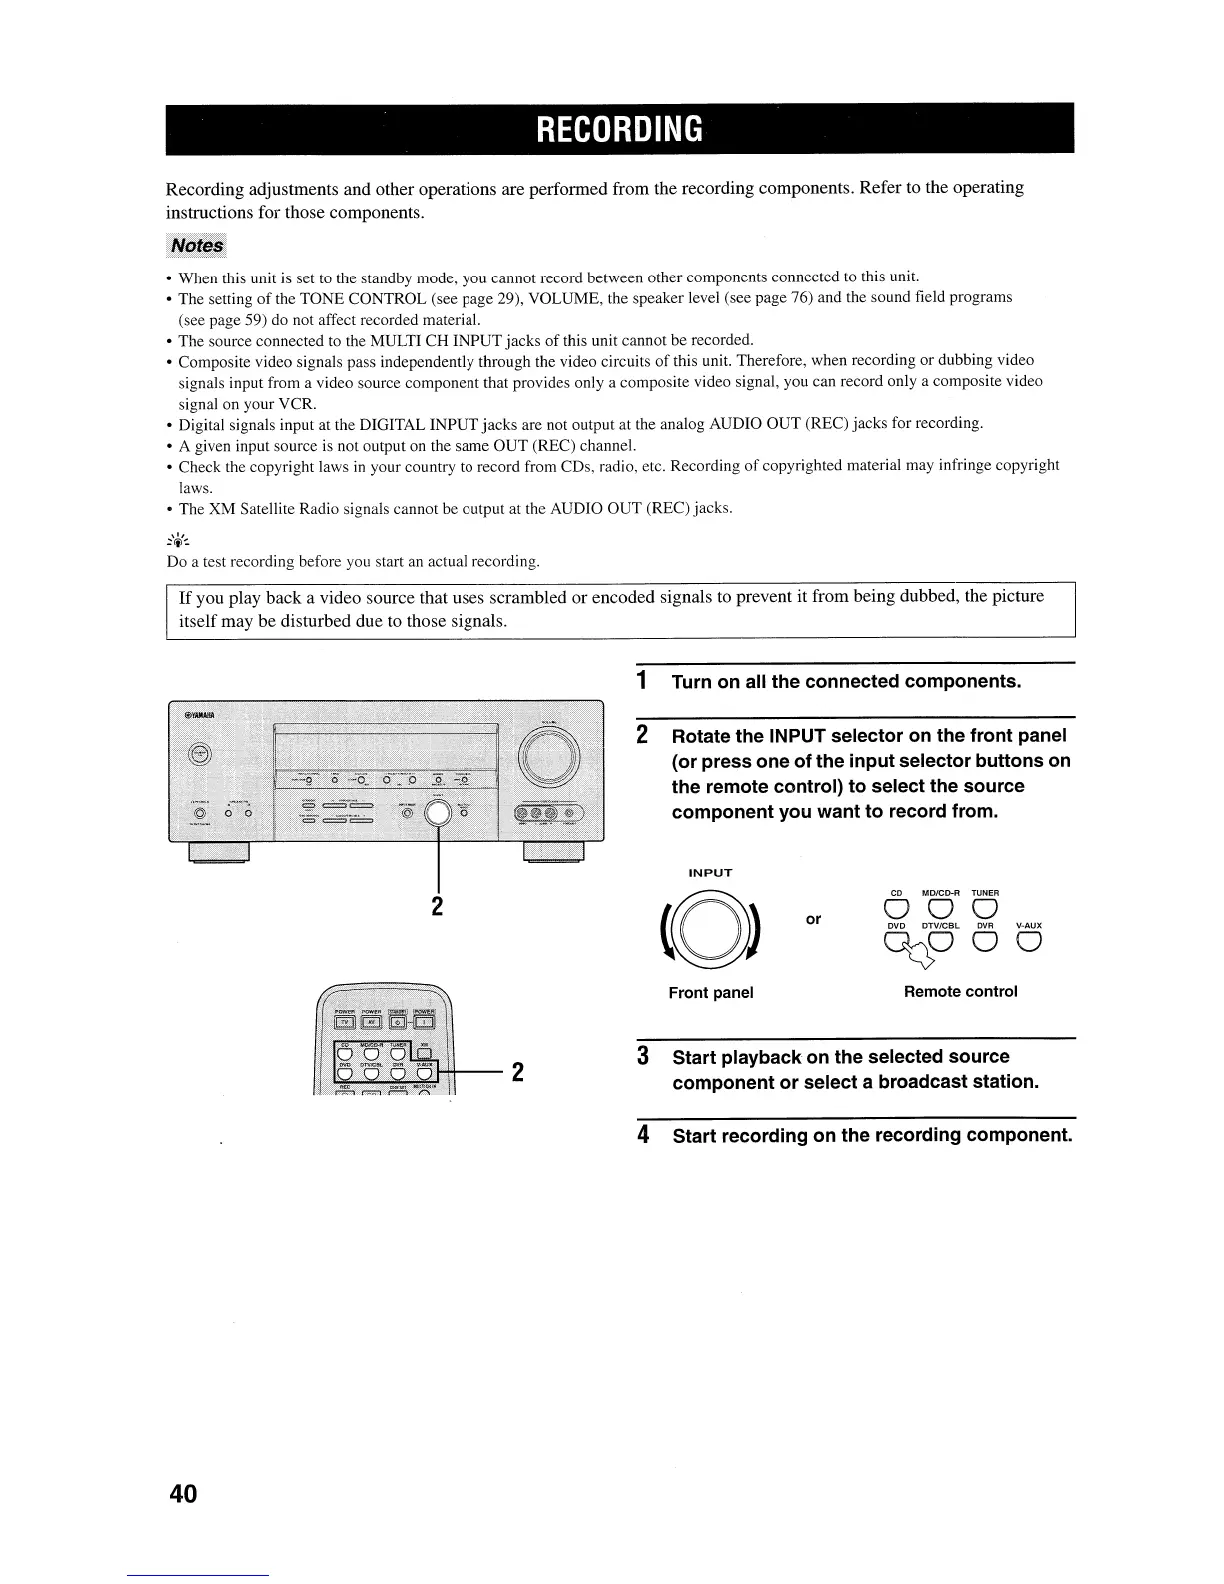
1 Turn on all the connected components.
2 Rotate the INPUT selector on the front panel
(or press one of the input selector buttons on
the remote control) to select the source
component you want to record from.
3 Start playback· on the selected source
component or select a broadcast station.
2
2
INPUT
Front panel
or
CO
MD/CD-R
TUNER
000
DVD
DTV/CBL
OVR
V-AUX
~ooo
Remote control
40
4 Start recording on the recording component.
 Loading...