90 Chapter 7—Input Channels
01V96—Owner’s Manual
Setting the Input Channels from the Control Surface
You can use the faders, [SEL] buttons, and various buttons and controls in the SELECTED
CHANNEL section on the top panel to directly control most parameters for Input Chan-
nels.
Setting Input Channel Levels and Panning the Channels
■ Input Channels 1–32
1 Press the LAYER [1–16] or [17–32] button to select a layer.
2 Press the [SEL] button of the channel for which you want to adjust the input
level and/or pan settings.
3 Use the faders to set the Input Channel levels.
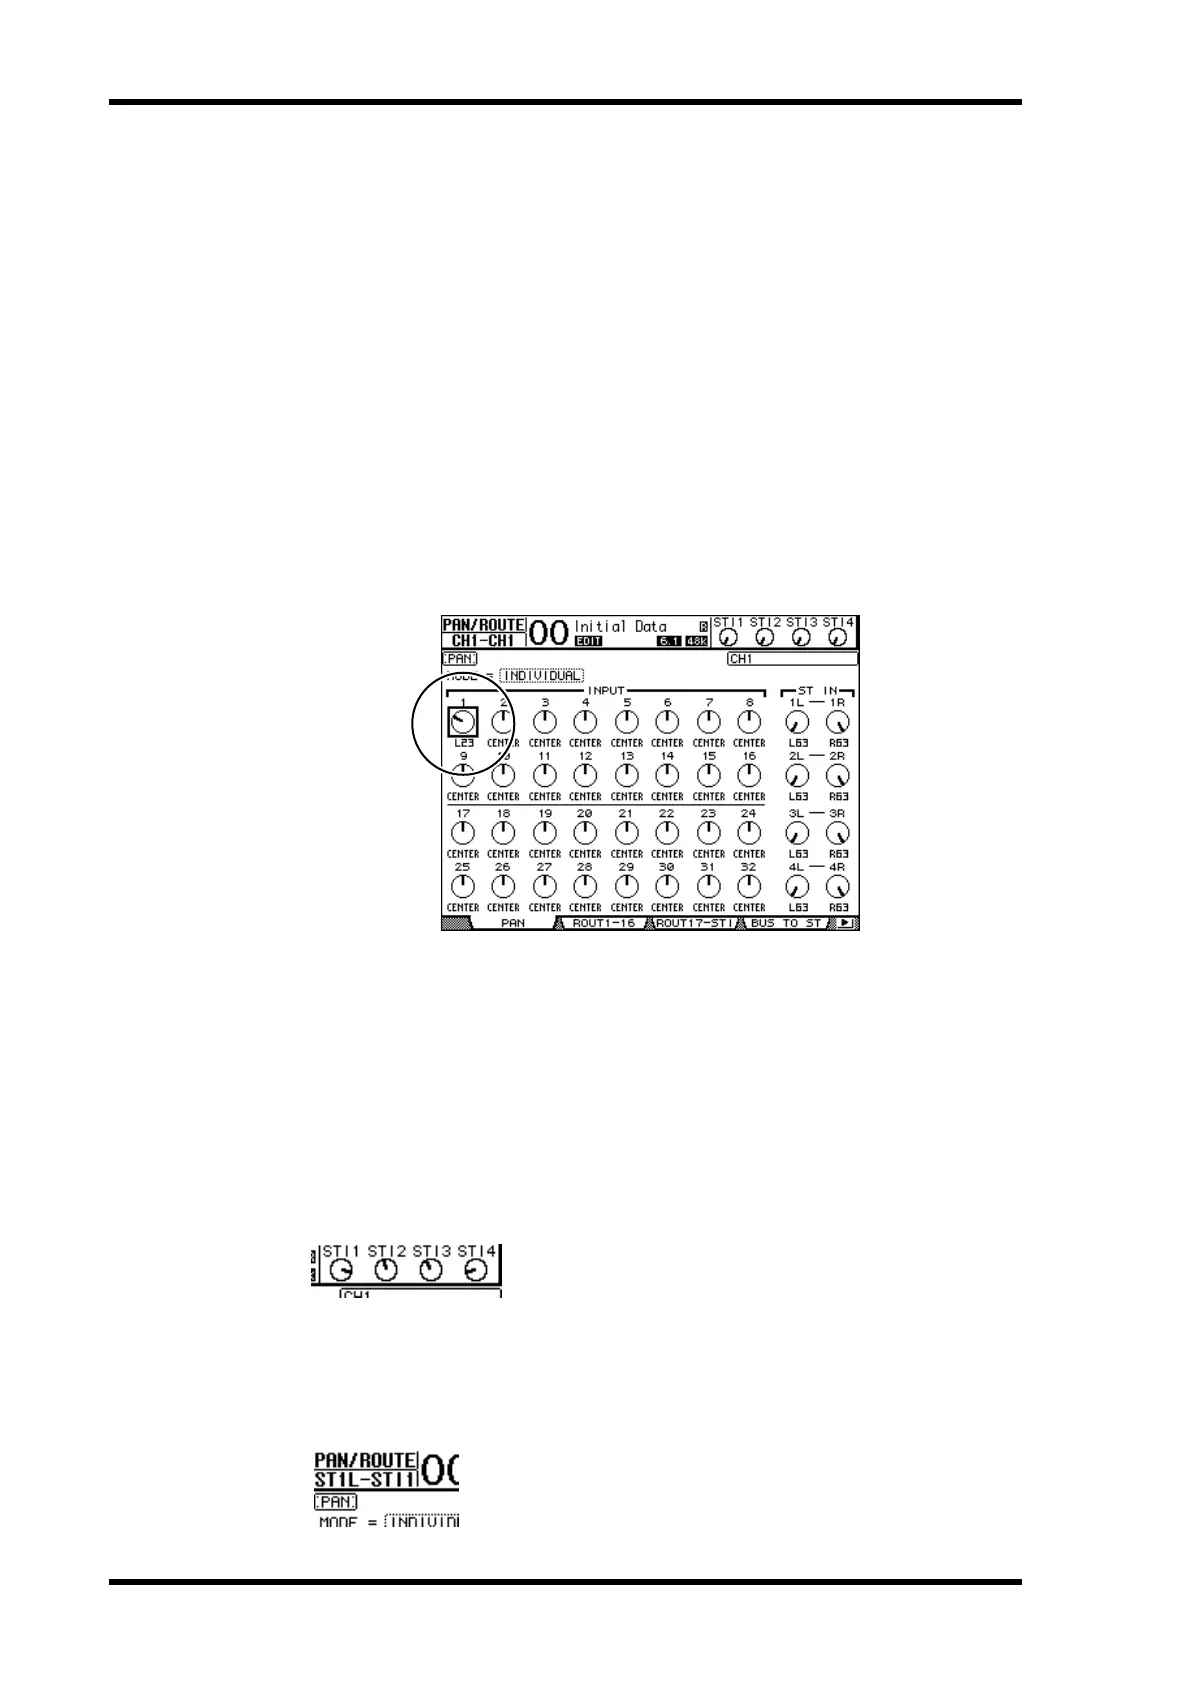
4 Rotate the SELECTED CHANNEL [PAN] control to adjust the pan settings.
When you rotate the [PAN] control, the Pan/Route | Pan page is displayed automatically.
■ ST IN Channels 1–4
1 Use the ST IN [ST IN] button to select the desired ST IN Channels.
The indicators next to the [ST IN] button display the ST IN Channels currently selected for
control by the ST IN section.
2 Press the [SEL] button for the channel for which you want to adjust the level
and/or pan settings.
3 Rotate the level control of the desired channel to set the level.
You can always view the current channel level at the top of the display.
4 Rotate the SELECTED CHANNEL [PAN] control to adjust the pan setting.
The pan setting can be applied to either ST IN channel L or R. To switch between channels
L and R for the pan setting, press the same [SEL] button repeatedly. (The channel currently
being controlled is indicated in the upper-left corner of the display.)