CRANKSHAFT AND BALANCER SHAFT
5-84
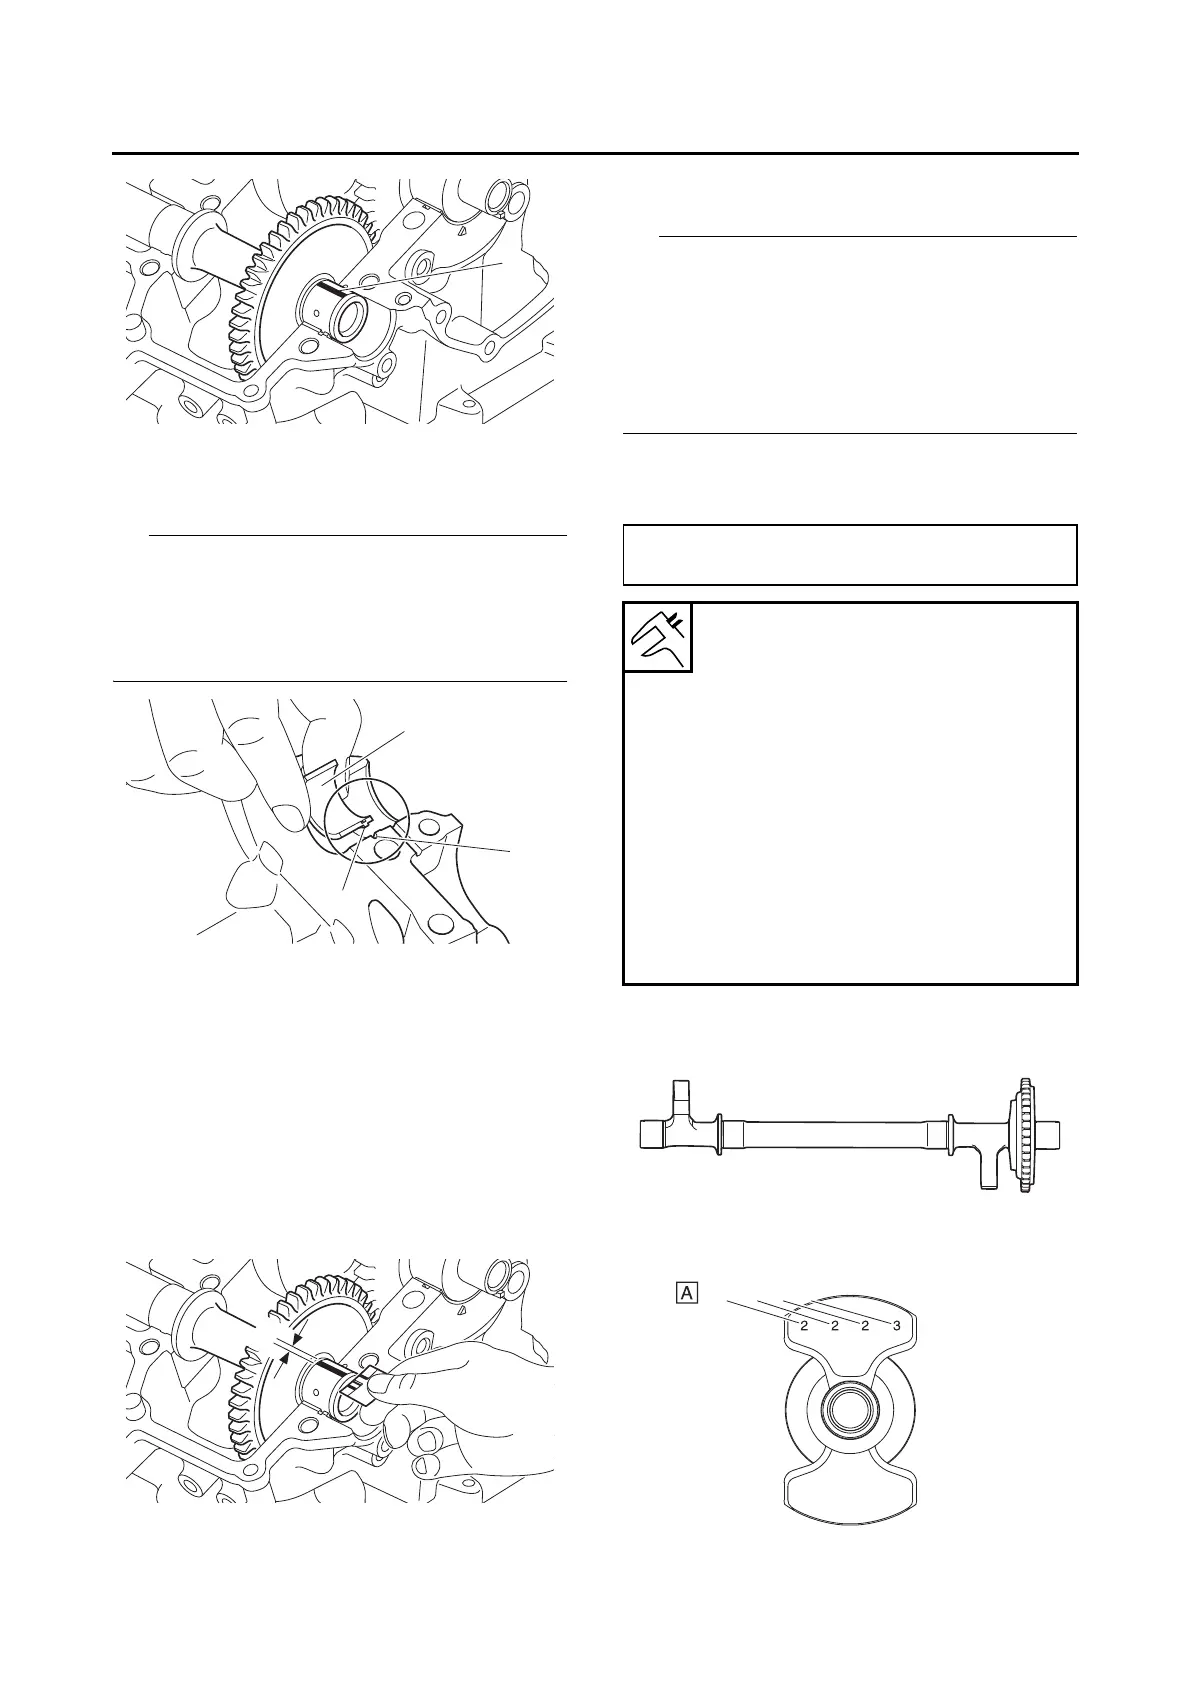
e. Install the balancer shaft journal lower bear-
ings “1” into the lower crankcase and assem-
ble the crankcase halves.
• Align the projections “a” of the balancer shaft
journal lower bearings with the notches “b” in
the crankcase.
• Do not move the balancer shaft until the clear-
ance measurement has been completed.
f. Tighten the bolts to specification in the tight-
ening sequence cast on the crankcase. Refer
to “CRANKCASE” on page 5-62.
g. Remove the lower crankcase and the balanc-
er shaft journal lower bearings.
h. Measure the compressed Plastigauge®
width “a” on each balancer shaft journal. If the
balancer shaft-journal-to-balancer shaft-jour-
nal-bearing clearance is out of specification,
select replacement balancer shaft journal
bearings.
▲▲▲▲▲▲▲▲▲▲▲▲▲▲▲▲▲▲▲▲▲▲▲▲▲▲▲▲▲▲▲▲
4. Select:
• Balancer shaft journal bearing (J
1
–J
4
)
• The numbers “A” stamped into the balancer
shaft web and the numbers “B” stamped into
the lower crankcase are used to determine the
replacement balancer shaft journal bearing siz-
es.
• “J
1
”–“J
4
” refer to the bearings shown in the bal-
ancer shaft and lower crankcase illustration.
For example, if the crankcase “J
1
” and bal-
ancer shaft web “J
1
” numbers are 6 and 2 re-
spectively, then the bearing size for “J
1
” is:
“J
1
” (crankcase) - “J
1
” (balancer shaft web) - 1 =
6 - 2 - 1 = 3 (brown)
Bearing color code
Code 0
White
Code 1
Blue
Code 2
Black
Code 3
Brown
Code 4
Green
Code 5
Yellow
Code 6
Pink



 To Next Page