Periodic maintenance and adjustment
7-11
7
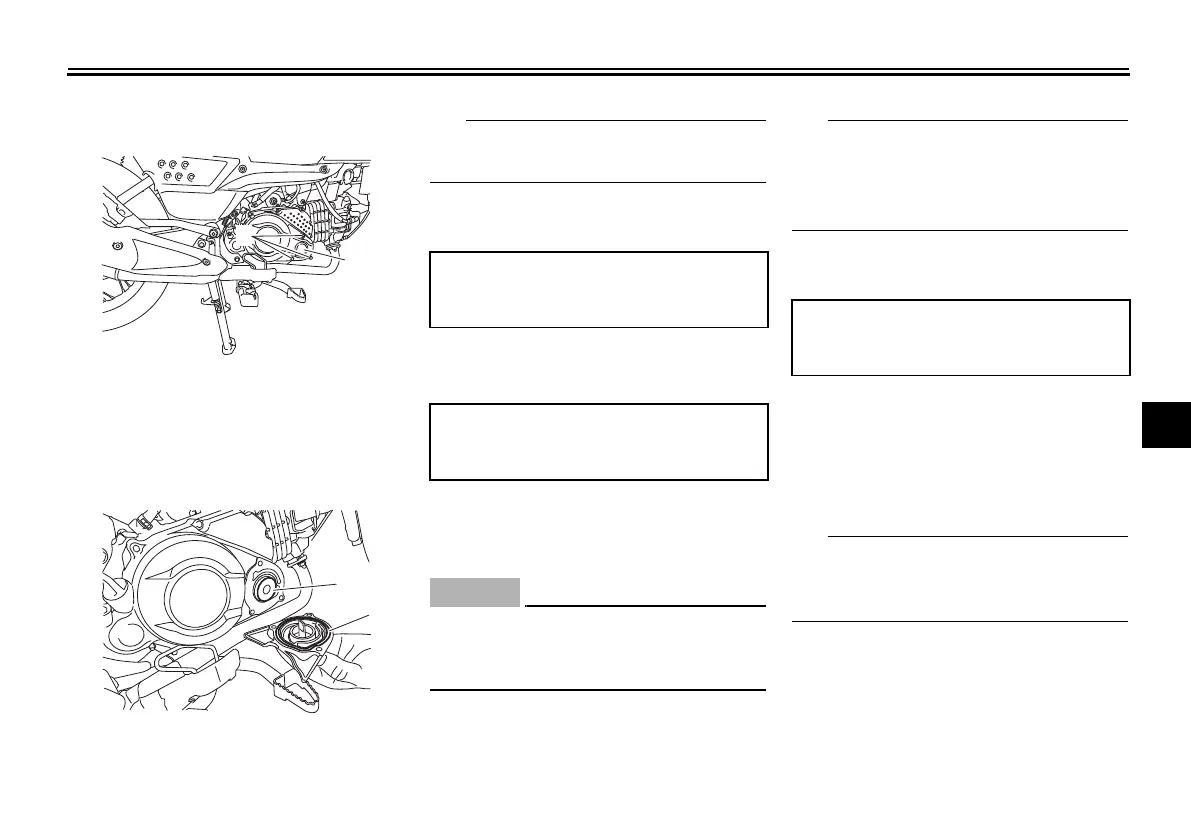
5. Remove the oil filter element cover
by removing the bolts.
6. Remove the used oil filter element
and O-rings. Replace with new
parts.
Make sure the O-rings are properly
seated.
7. Install the oil filter element cover
and tighten the bolts.
8. Install the engine oil drain bolt with
a new gasket and tighten the bolt.
9. Refill the crankcase with the spec-
ified amount of engine oil, and
then install the oil filler cap.
ECA10441
After changing the engine oil, be
sure to check the oil pressure as de-
scribed below.
10. Remove the bleed bolt, start the
engine and keep it idling until oil
flows out, then install the bleed
bolt.
If no oil comes out after one to two
minutes, stop the engine. Consult your
Yamaha dealer for inspection before
riding the vehicle again.
11. After checking the oil pressure,
tighten the bleed bolt.
12. Start the engine and let it idle for
several minutes. Check for oil
leakage.
13. Turn the engine off, and check the
oil level one last time.
Be sure to wipe off spilled oil on any
parts after the engine and exhaust sys-
tem have cooled down.
1. Oil filter element cover
2. Bolt
1. Oil filter element
2. O-ring
Tightening torque:
Oil filter element cover bolt:
10 N·m (1.0 kgf·m, 7.4 lb·ft)
Tightening torque:
Engine oil drain bolt:
20 N·m (2.0 kgf·m, 15 lb·ft)
Tightening torque:
Bleed bolt:
7 N·m (0.7 kgf·m, 5.2 lb·ft)
UBKWE0E0.book Page 11 Tuesday, July 18, 2023 8:34 AM