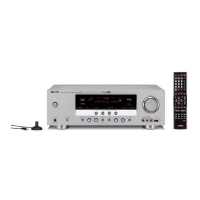
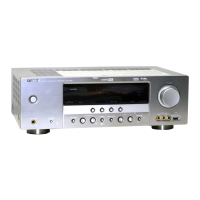
RX-V4600/DSP-AX4600
21
RX-V4600/
DSP-AX4600
Fig. 14Fig. 13
Upgraderxxxxのまま表示が切り替わらない場合は、も
う一度手順1からやり直します。
ディスプレイに232CBOOTxxxxと表示されたら、
MAINの書き込み手順hから作業を続けます。
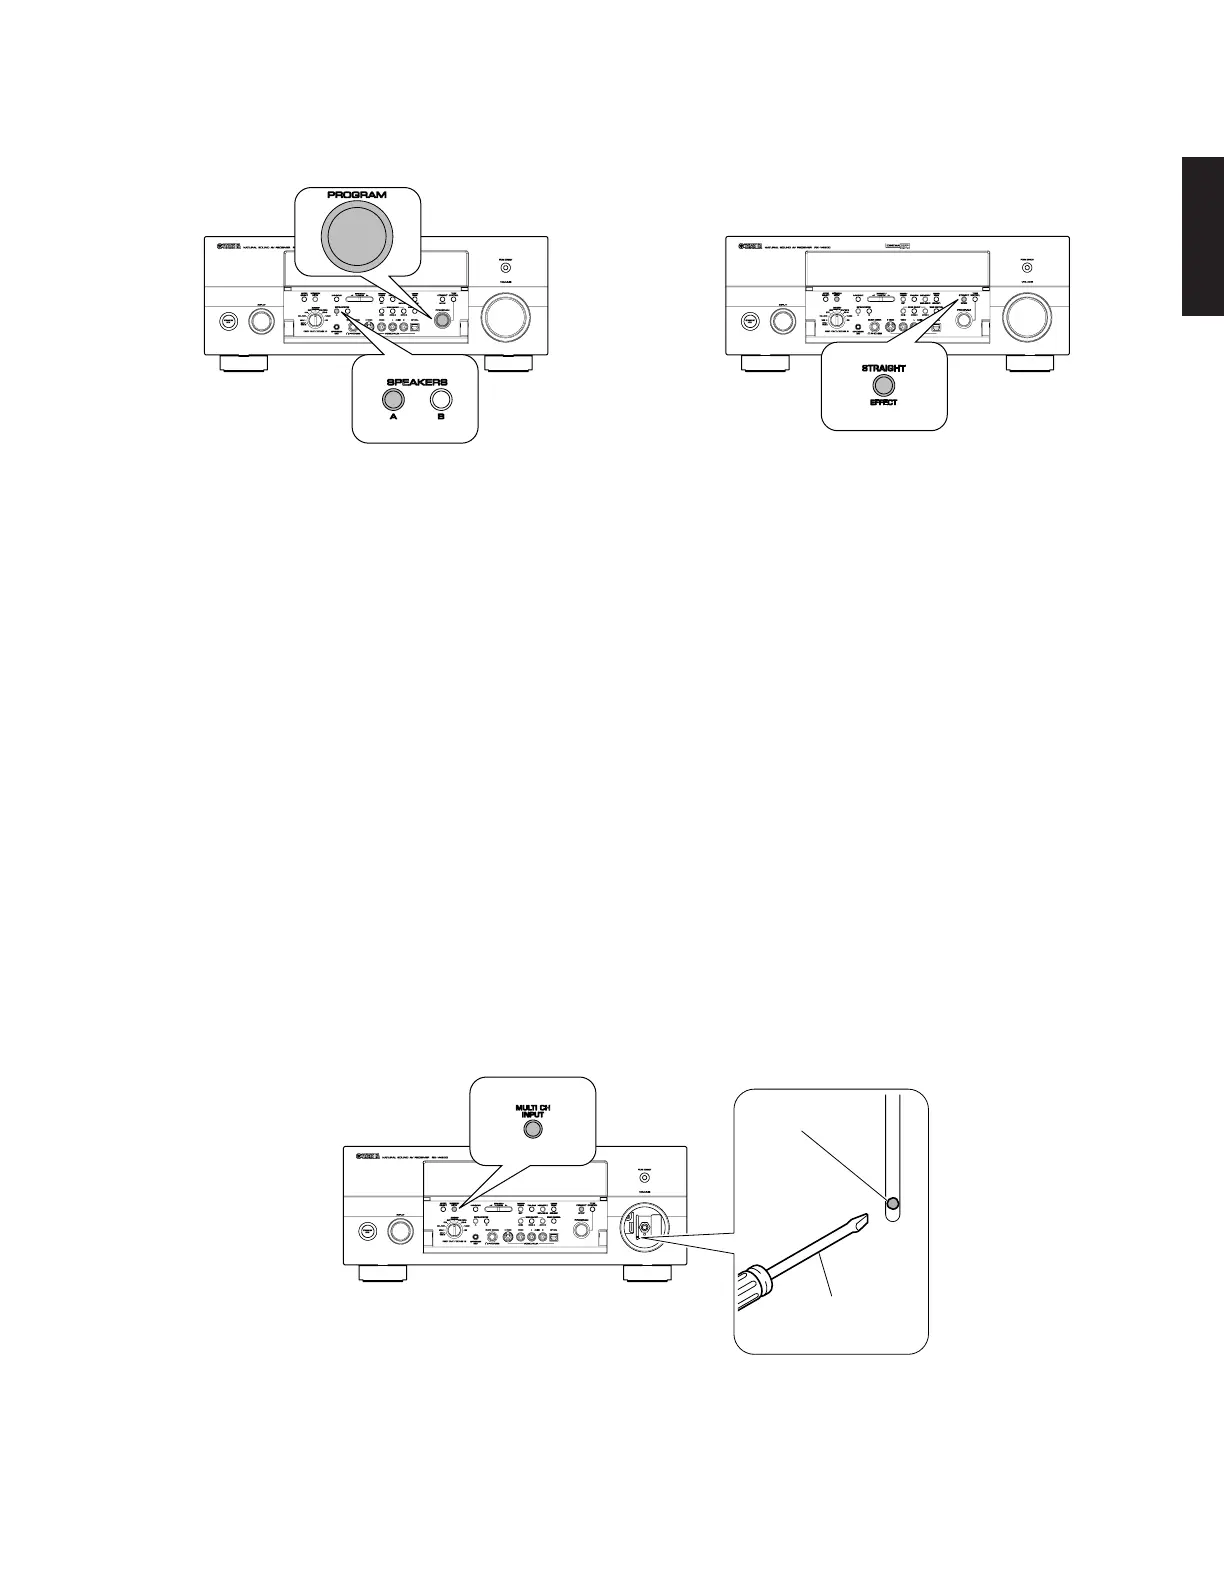
RESET SWITCH
Flatblade Screwdriver /
マイナスドライバー
If the display remains unchanged from "Upgrader xxxx",
start all over from Step 1.
When "232C BOOT xxxx" is displayed, go to Step h of
MAIN writing procedure and continue the procedure.
* If writing is not successful or the power cannot be
turned on after writing, it is possible to enter the
updating mode by using "FORCED BOOT MODE" and
execute writing again.
Preparation
• Perform Steps a to d of MAIN writing procedure.
• Remove the "VOLUME" knob from the front panel of the
main unit.
• Connect the power plug to the AC outlet.
• Prepare a flatblade screwdriver.
1. While pressing the "MULTI CH INPUT" key of the main
unit, press the "RESET SWITCH" key using a flatblade
screwdriver.
2. Immediately after releasing above two keys ("MULTI
CH INPUT" key and "RESET SWITCH" key), press and
hold the "MULTI CH INPUT" key until "232C BOOT
xxxx" is displayed.
※ 書き込みの途中で失敗したり、書き込み終了後に電源が
入らない場合、「強制BOOTモード」で書き込みモードに
入ることができ、再度書き込みを行うことができます。
準備
・ MAINの書き込み手順a〜dを行なっておきます。
・ 本体前面のVOLUMEノブを外しておきます。
・ 電源プラグをACコンセントに接続します。
・ マイナスドライバーを用意します。
1. 本体のMULTICHINPUTキーを押しながらマイナス
ドライバーを使いRESETSWITCHキーを押します。
2. 2つのキー(MULTI CH INPUT キー、RESET
SWITCHキー)を離してすぐに、MULTI CH INPUT
キーを押し、ディスプレイに232CBOOTxxxxと表
示されるまで押しつづけます。

 Loading...