13
TSX-100
TSX-100
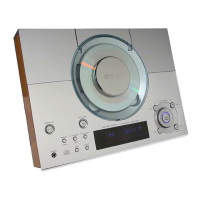
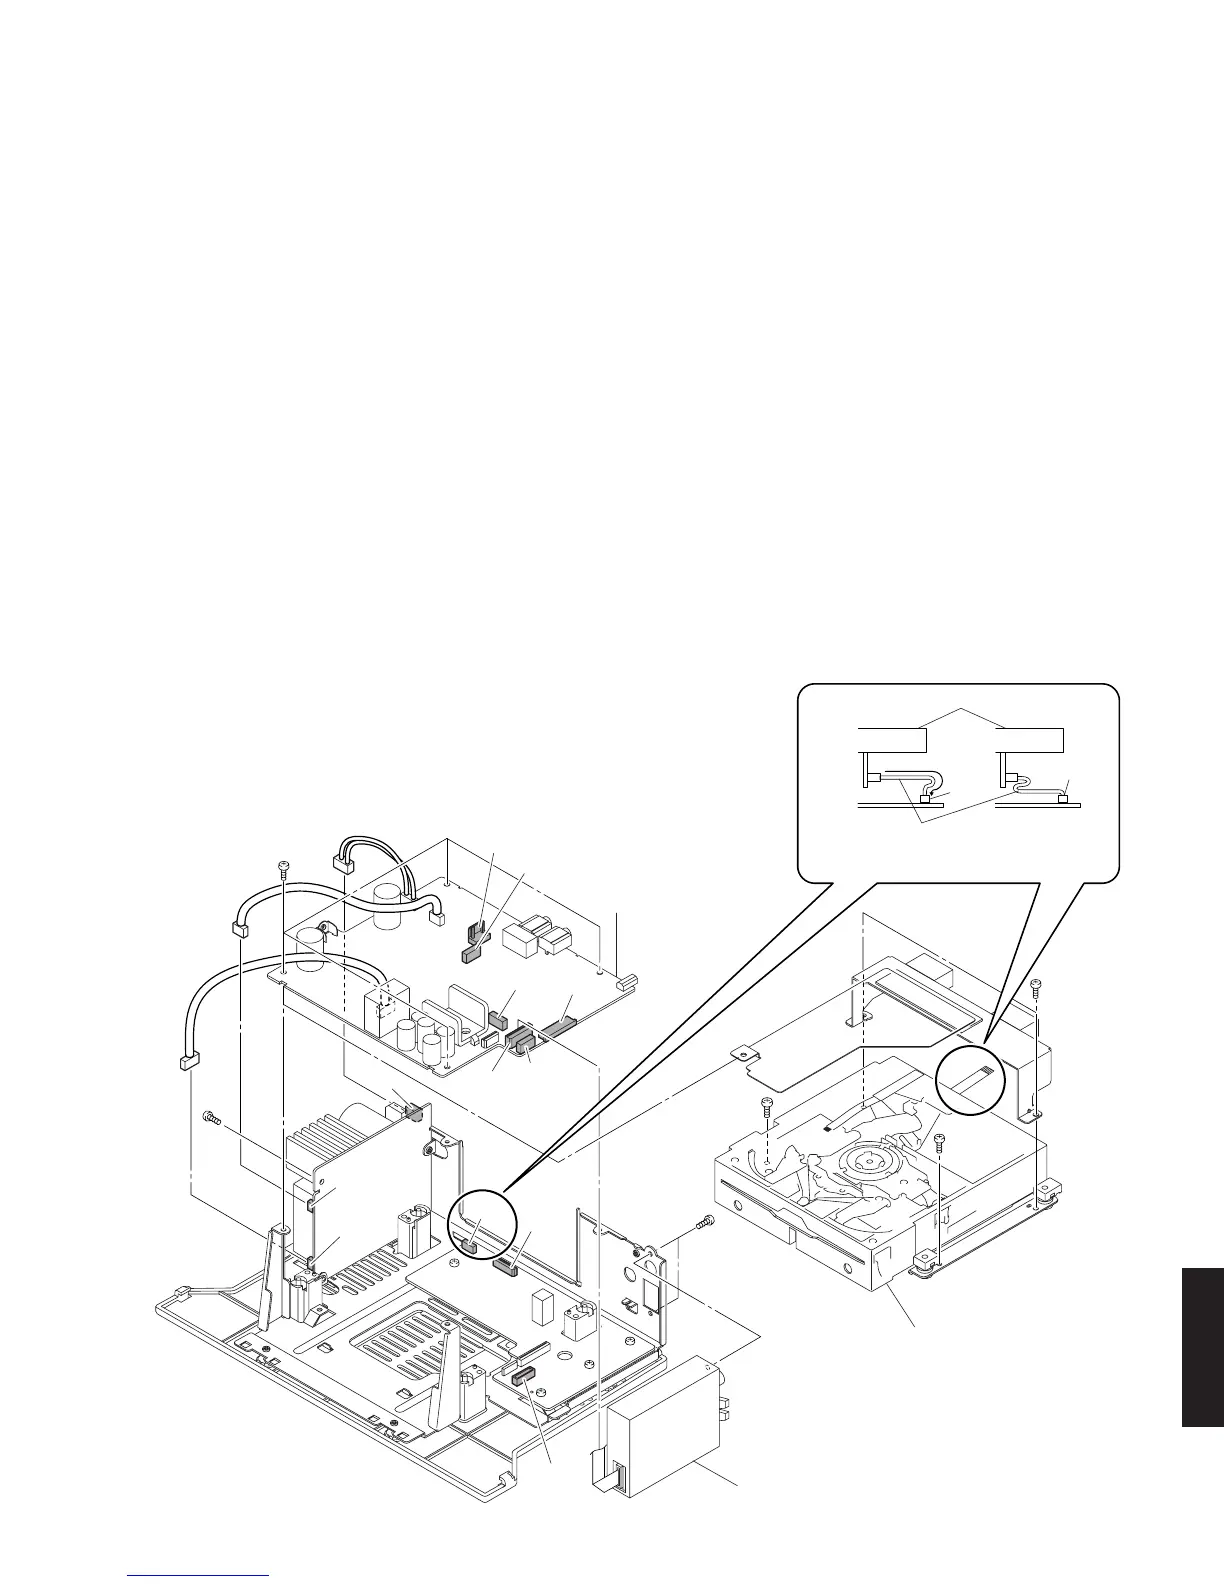
Fig. 3
CD mechanism unit
CD mechanism unit
Flexible flat cable
CDメカユニット
AM/FM tuner module
AM/FMチューナー
CN95
CN35
CN15
(B model)
CN12
CN91
CN92
CN31
CN31
CN33
CN32
CN93
MAIN (1) P.C.B.
CN42
CN11
8
9
7
0
0
0
CN31
OK NG
*
4. Removal of AM/FM Tuner Module
a. Remove 2 screws (7). (Fig. 2)
b. Remove CN12. (Fig. 2)
c. Remove the AM/FM tuner module. (Fig. 2)
5. Removal of MAIN(1) P.C.B.
a. Remove 4 screws (8) and screw (9). (Fig. 2)
b. Remove CN11, CN35, CN42, CN91-93 and CN95.
(Fig. 2)
c. Remove CN15. (Fig. 2) (B model)
d. Remove the MAIN (1) P.C.B.. (Fig. 2)
6. Removal of CD Mechanism Unit and Optical
Pick-Up
a. Remove 4 screws (0). (Fig. 2)
b. Remove CN31-33. (Fig. 2)
c. Lift up the rear side of the CD mechanism unit, then
remove it rearward. (Fig. 2)
*
When installing the CD mechanism unit, install the
flexible flat cable as shown in Fig. 3.
4. AM/FMチューナーの外し方
a.
7
のネジ2本を外します。(Fig.2)
b. CN12を外します。(Fig.2)
c. AM/FMチューナーを取り外します。(Fig.2)
5. MAIN(1)P.C.B.の外し方
a.
8
のネジ4本、
9
のネジ1本を外します。(Fig.2)
b. CN11、CN35、CN42、CN91-93、CN95を外します。
(Fig.2)
c. MAIN(1)P.C.B.を取り外します。(Fig.2)
6. CDメカユニットおよびオプティカルピックアッ
プの外し方
a.
0
のネジ4本を外します。(Fig.2)
b. CN31-33を外します。(Fig.2)
c. CDメカユニットの後ろを持ち上げ、後方へ取り外しま
す。(Fig.2)
※ CDメカユニットを取り付ける場合、カード電線は
Fig.3に示すように取り付けます。
Fig. 2
 Loading...