14
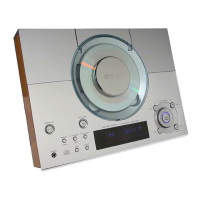
TSX-100
TSX-100
Fig. 4
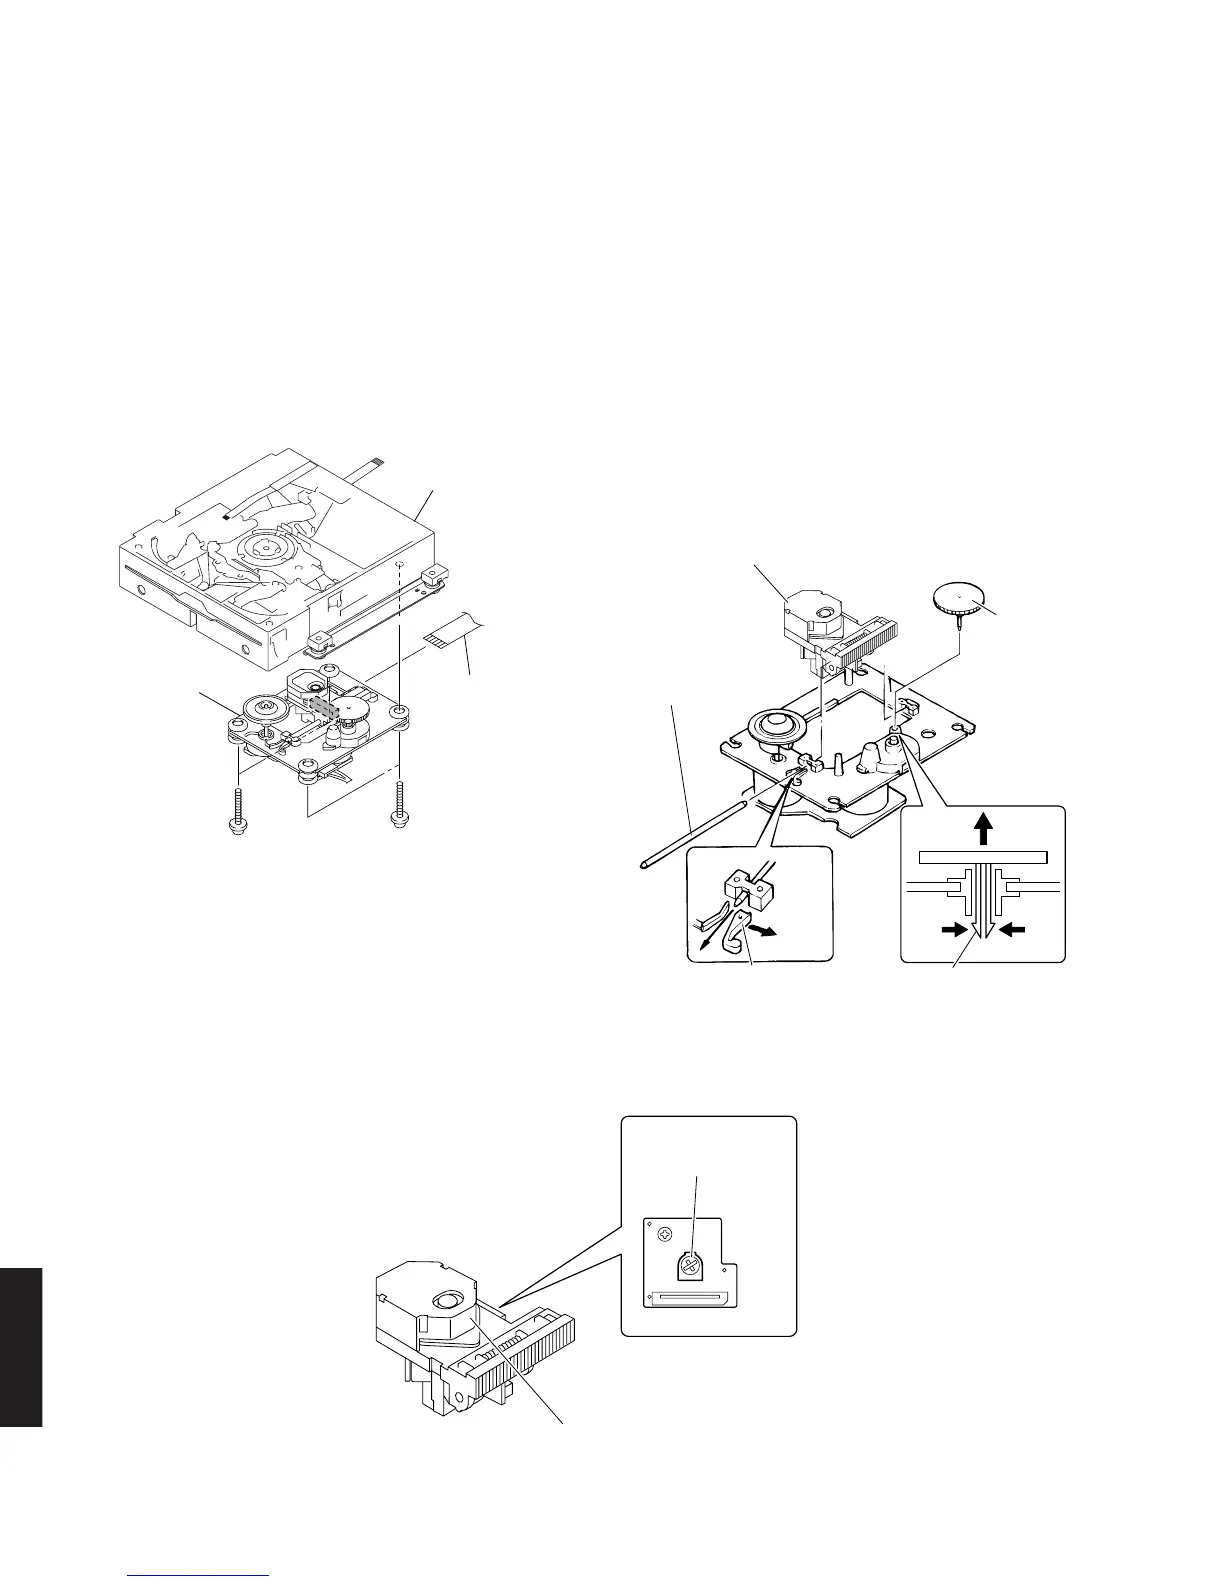
d. Remove 4 screws (A) and then remove the drive unit.
(Fig. 4)
e. Remove flexible flat cable. (Fig. 4)
f. Remove stopper gear A and then remove the gear A.
(Fig. 4)
g. Remove stopper sled shaft and then remove the sled
shaft. (Fig. 4)
h. Remove the optical pick-up unit. (Fig. 4)
* Never touch the potentiometer installed to the opti-
cal pick-up unit. (Fig. 5)
d.
A
のネジ4本を外し、ドライブユニットを取り外しま
す。(Fig.4)
e. カード電線を外します。(Fig.4)
f. ギアAストッパーを外し、ギアAを取り外します。
(Fig.4)
g. スレッドシャフトストッパーを外し、スレッドシャフ
トを取り外します。(Fig.4)
h. オプティカルピックアップユニットを取り外します。
(Fig.4)
※ オプティカルピックアップユニットに搭載されてい
る可変抵抗は、絶対に触らないでください。(Fig.5)
A
A
CD mechanism unit
CDメカユニット
Drive unit
ドライブユニット
Flexible flat cable
カード電線
Optical pick-up unit
オプティカルピックアップユニット
Sled shaft
スレッドシャフト
Stopper sled shaft
スレッドシャフトストッパー
Stopper gear A
ギアAストッパー
Gear A
ギアA
Optical pick-up unit
オプティカルピックアップユニット
Potentiometer
可変抵抗
Fig. 5
 Loading...