8 Disassembly and Reassembly and Adjustment of Timing Belts
8.2 Disassembly and Reassembly of R-Axis Timing Belt
8-3
176183-1CD
HW1483638
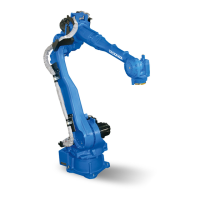
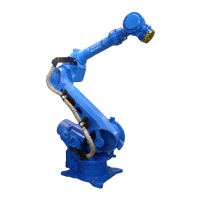
MH5S(II)/MH5F
8.2 Disassembly and Reassembly of R-Axis Timing Belt
• Refer to Fig. 8-2 “Disassembly & Reassembly of R-Axis Timing Belt”.
Disassembly
1. Turn OFF the DX100/DX200/FS100 power supply.
2. Connect the backup batteries with the R-, B- and T-axes motors.
3. Unscrew the hexagon socket button head screws and remove the
cover .
4. Remove the internal wiring harness in the wrist unit and the casing to
the L-arm side. (Refer to Chapter 10 “Cable Wiring”.)
5. Unscrew the GT-SA bolts and remove the pipe .
6. Unscrew the GT-SA bolts and remove the R-axis motor . (Refer to
section 5.4 “Disassembly and Reassembly of the R-Axis Motor”.)
7. Remove the R-axis timing belt .
Reassembly
1. Mount the R-axis timing belt .
2. Mount the R-axis motor . (Refer to section 5.4.) Then hang the
timing belt .
3. Adjust the initial tension of the timing belt. (Refer to section 8.4
“Adjustment of Timing Belts”) Then tighten the GT-SA bolts with the
tightening torque shown in Table 8-2 “R-Axis Timing Belt Parts
Checklist”.
4. Mount the pipe and tighten the GT-SA bolts with the tightening
torque shown in Table 8-2.
5. Connect the internal wiring harness to the casing and the wrist unit.
(Refer to chapter 10.)
6. Remove the backup batteries from the R-, B- and T-axes motors.
7. Mount the cover and tighten the hexagon socket button head
screws with the tightening torque shown in Table 8-2.
8. Turn ON the DX100/DX200/FS100 power supply.
 Loading...