JOHNSON CONTROLS
25
SECTION 1 – INSTALLATION
FORM 160.81-NOM1
ISSUE DATE: 10/3/2020
1
9. Assemble nuts to studs on the evaporator suction
ange. Tighten nuts alternately and evenly, to in-
sure a leak tight t.
10. Remove the hoist from the compressor-motor as-
sembly.
11. Place gasket on the condenser discharge connec-
tion and then place the condenser shut-o valve
on the discharge connection. Make sure the han-
dle of the shut-o valve is perpendicular to the
condenser shell. Place gasket on the top side of
the shut-o valve.
12. Remove all cover closures from the oil separator
anges and wipe all connection surfaces clean.
Lower the oil separator carefully keeping it level
and horizontal to the condenser shell. Line up the
compressor discharge port with the oil separa-
tor connection. Push the oil separator connection
until it seats itself. Use cap screws and washers
to fasten the oil separator connection to the com-
pressor. Complete the connection to the condenser
shell using cap screws and nuts. Keep hoist rig-
ging attached to the oil separator.
13. Fasten the support bracket between the condenser
and the end of the oil separator with the proper
hardware.
14. Tighten all screws and nuts on the discharge ange
and the support bracket.
15. Assemble the Control Center to the unit (Refer
to Figure 11 on page 26). Also refer to Wiring
Diagram (Forms 160.81‑PW1 or 160.81‑PW2).
16. Solid State Starter (Optional) – Install starter
per Figure 11 on page 26. Also install piping
connections.
17. Install refrigerant piping, oil lines, and oil return
system lters.
18. Pressure test. NOTE: Relief valves must be
plugged (or capped). Refer to SECTION 5 –
MAINTENANCE of this manual.
19. Evacuate and charge with refrigerant.
20. Charge the oil separator with the proper type and
quantity of YORK oil.
21. All Units – Complete installation and nally level
the unit. Refer to SECTION 1 – INSTALLATION
of this manual.
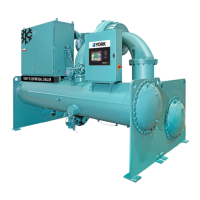
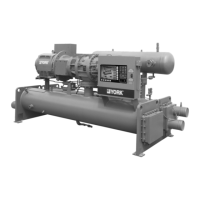
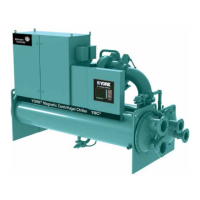
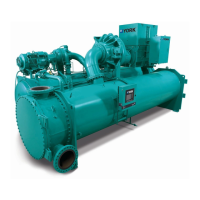
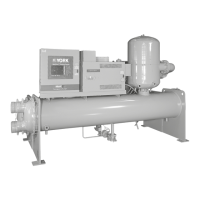
TABLE 6 - FORM 7 FIELD ASSEMBLY PARTS
ITEM NO. DESCRIPTION
1 COMPRESSOR WITH MOTOR
2 GASKET 6-3/4" I.D.
3 DISCHARGE LINE
4 SCREW M20 X 60 MM
5 NUT M20
6 LOCKWASHER
7 VALVE, BUTTERFLY
8 SCREW M20 X 150 MM
9 SCREW M20 X 90 MM
10 OIL SEPARATOR
11 NUT M16
12 SCREW M16 X 90 MM
13 STUD M20 X 105 MM
14 SEAL, O-RING 6" I.D.
15 HOT GAS BYPASS
16 CONDENSER
17 STARTER
18 CONTROL PANEL
19 LIQUID LINE
20 NUT 5/8 - 11 UNC
21 GASKET 2-3/8" I.D.
22 SCREW 5/8 - 11 UNC
23 EVAPORATOR
24 GASKET 8-23/32" I.D.
25 ISOLATOR KIT
26 WASHER 13/16 I.D.
27 STRAINER
28 SHIMS
29 STUD M20 X 170 MM
 Loading...