JOHNSON CONTROLS
27
SECTION 1 – INSTALLATION
FORM 160.81-NOM1
ISSUE DATE: 10/3/2020
1
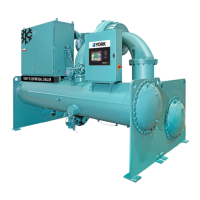
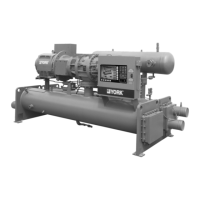
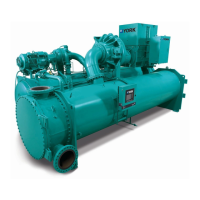
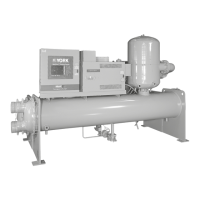
Form 8 Shipment
1. Assemble vibration isolators to the unit. (Refer
to Locating and Installing Isolator Pads on page
16.)
2. Level shells in both directions. The longitudi-
nal alignment of the shell should be checked by
placing a level on the top of the shell, next to the
discharge connection. The transverse alignment
should be checked by placing a level on the tops
of both end sheets. After shell is leveled, wedge
and shim each corner of the shell to solidly sup-
port it while assembling the other parts.
3. Remove all cover closures from the oil separator
anges and wipe all connection surfaces clean.
Lower the oil separator carefully keeping it level
and horizontal to the condenser shell. Line up the
compressor discharge port with the oil separa-
tor connection. Push the oil separator connection
until it seats itself. Use cap screws and washers
to fasten the oil separator connection to the com-
pressor. Complete the connection to the condenser
shell using cap screws and nuts Keep hoist rigging
attached to the oil separator. (Refer to Figure 12
on page 28.)
TABLE 7 - FORM 8 FIELD ASSEMBLY PARTS
ITEM NO. DESCRIPTION
1 COMPRESSOR WITH MOTOR
2 GASKET 6-3/4" I.D.
3 DISCHARGE LINE
4 SCREW M20 X 60 MM
5 NUT M20
6 LOCKWASHER
7 VALVE, BUTTERFLY
8 SCREW M20 X 150 MM
9 SCREW M20 X 90 MM
10 OIL SEPARATOR
13 STUD M20 X 105 MM
14 SEAL, O-RING 6" I.D.
15 HOT GAS BYPASS
16 CONDENSER
23 EVAPORATOR
29 STUD M20 X 170 MM
TABLE 8 - OIL QUANTITIES
COMPRESSOR
CODE
FORM 2 SHIPMENT FORM 3, 7, AND 8
PART NUMBER GAL CONTAINER QTY PART NUMBER GAL CONTAINER QTY
T0 011 00549 000 9 2 011 00549 000 9 2
T1 011 00549 000 9 2 011 00549 000 9 2
T2 011 00549 000 15 3 011 00549 000 15 3
T3 011 00549 000 15 3 011 00549 000 15 3
 Loading...