Installation manual 2N® IP Solo
•
•
•
•
•
•
•
•
•
•
Dynamic/Static IP Address Switching
Take the following steps to switch the dynamic and static IP address mode in
2N
®
IP Solo:
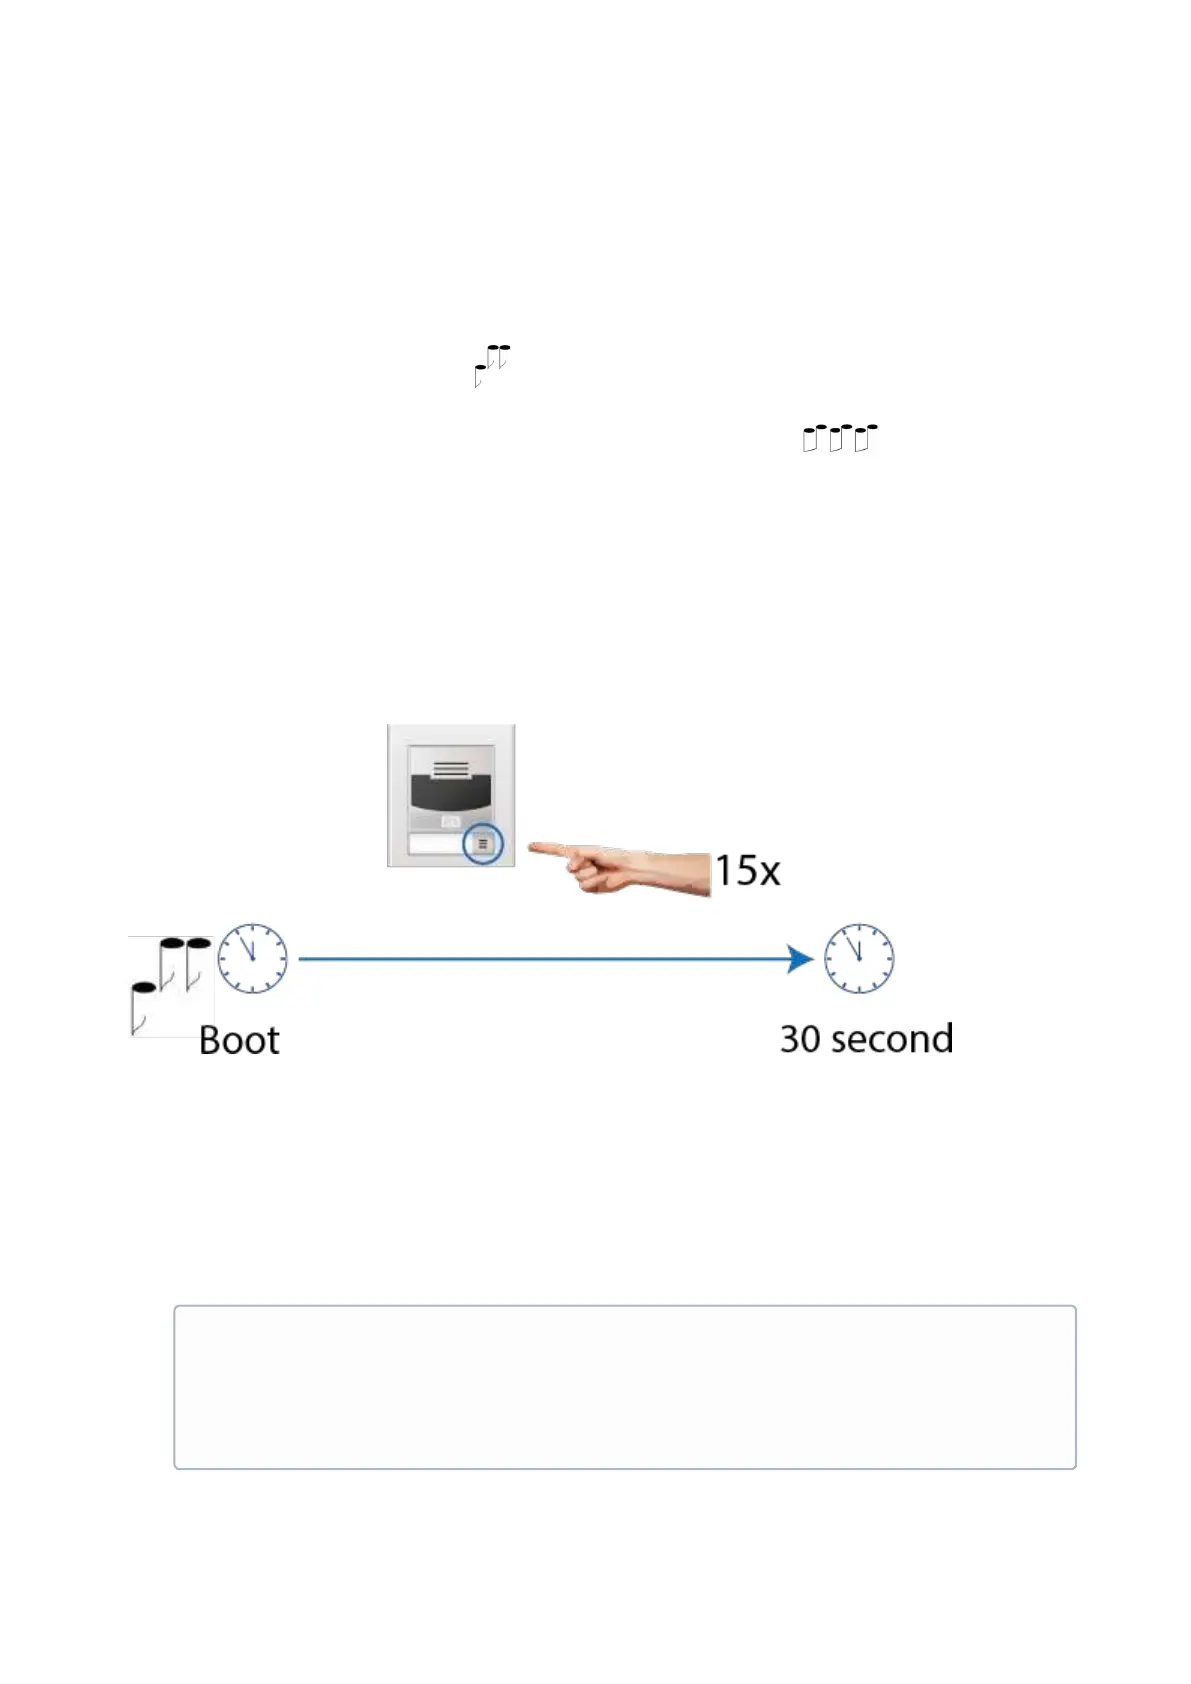
Connect (or, if connected, disconnect and reconnect)2N
®
IP Soloto the power supply.
Wait for the first sound signal .
Press the quick dial button on the main unit 15 times.
Network parameter reset and DHCP switch are signaled by the sound.
For devices with FW versions 2.33 and lower, wait until the device is automatically
restarted.
After restart, the static IP address mode is switched into the dynamic IP address and
vice versa.
Simultaneously, all theSystem / Networkparameters are reset to default values. This is
useful where it is impossible to connect to the device due to wrong VPN configuration, for
example.
The following network parameters will be set after the static IP address mode is switched on and
the device is restarted:
IP address: 192.168.1.100
Network mask: 255.255.255.0
Default gateway: 192.168.1.1
•
Note
Be sure to press the button sequence within thirty seconds after the sound
signal for security reasons. Up to 2 s intervals are allowed between the
presses.