2-2 CHAPTER 2: INSTALLING THE EISA ADAPTER
Inspecting the Adapter
CAUTION: Each adapter is packed in a clear plastic
antistatic container to protect it during shipment. To avoid
damaging any static-sensitive components after removal
from the container, be sure to reduce any static electricity on
your person. One way to do this is to touch the metal chassis
of your computer. You can maintain grounding by wearing a
wrist strap attached to the chassis.
1 Open the shipping container and carefully remove its
contents.
The package should contain the following items:
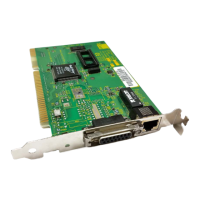
■ 3Com EtherLink III Parallel Tasking EISA bus master
adapter
■ EtherLink III Parallel Tasking EISA Bus Master Network
Adapters User Guide
■ 3C59X EtherDisk
diskette
2 Verify that you have received all items, and inspect each
item for damage.
If you find any damage, contact your network supplier and
the carrier that delivered the package.
Installing the Boot PROM
The boot PROM is optional and can be purchased separately.
If you are installing it onto the adapter, follow the
instructions that accompanied the boot PROM.
Inserting the Adapter
To insert the adapter into the computer, follow these steps:
1 Turn off the computer and disconnect the unit from its
power source.
2 Remove all jewelry from your hands and wrists.