9
2 Setup
This sections covers everything you need to set up Solo out of the box.
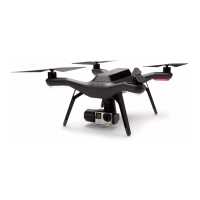
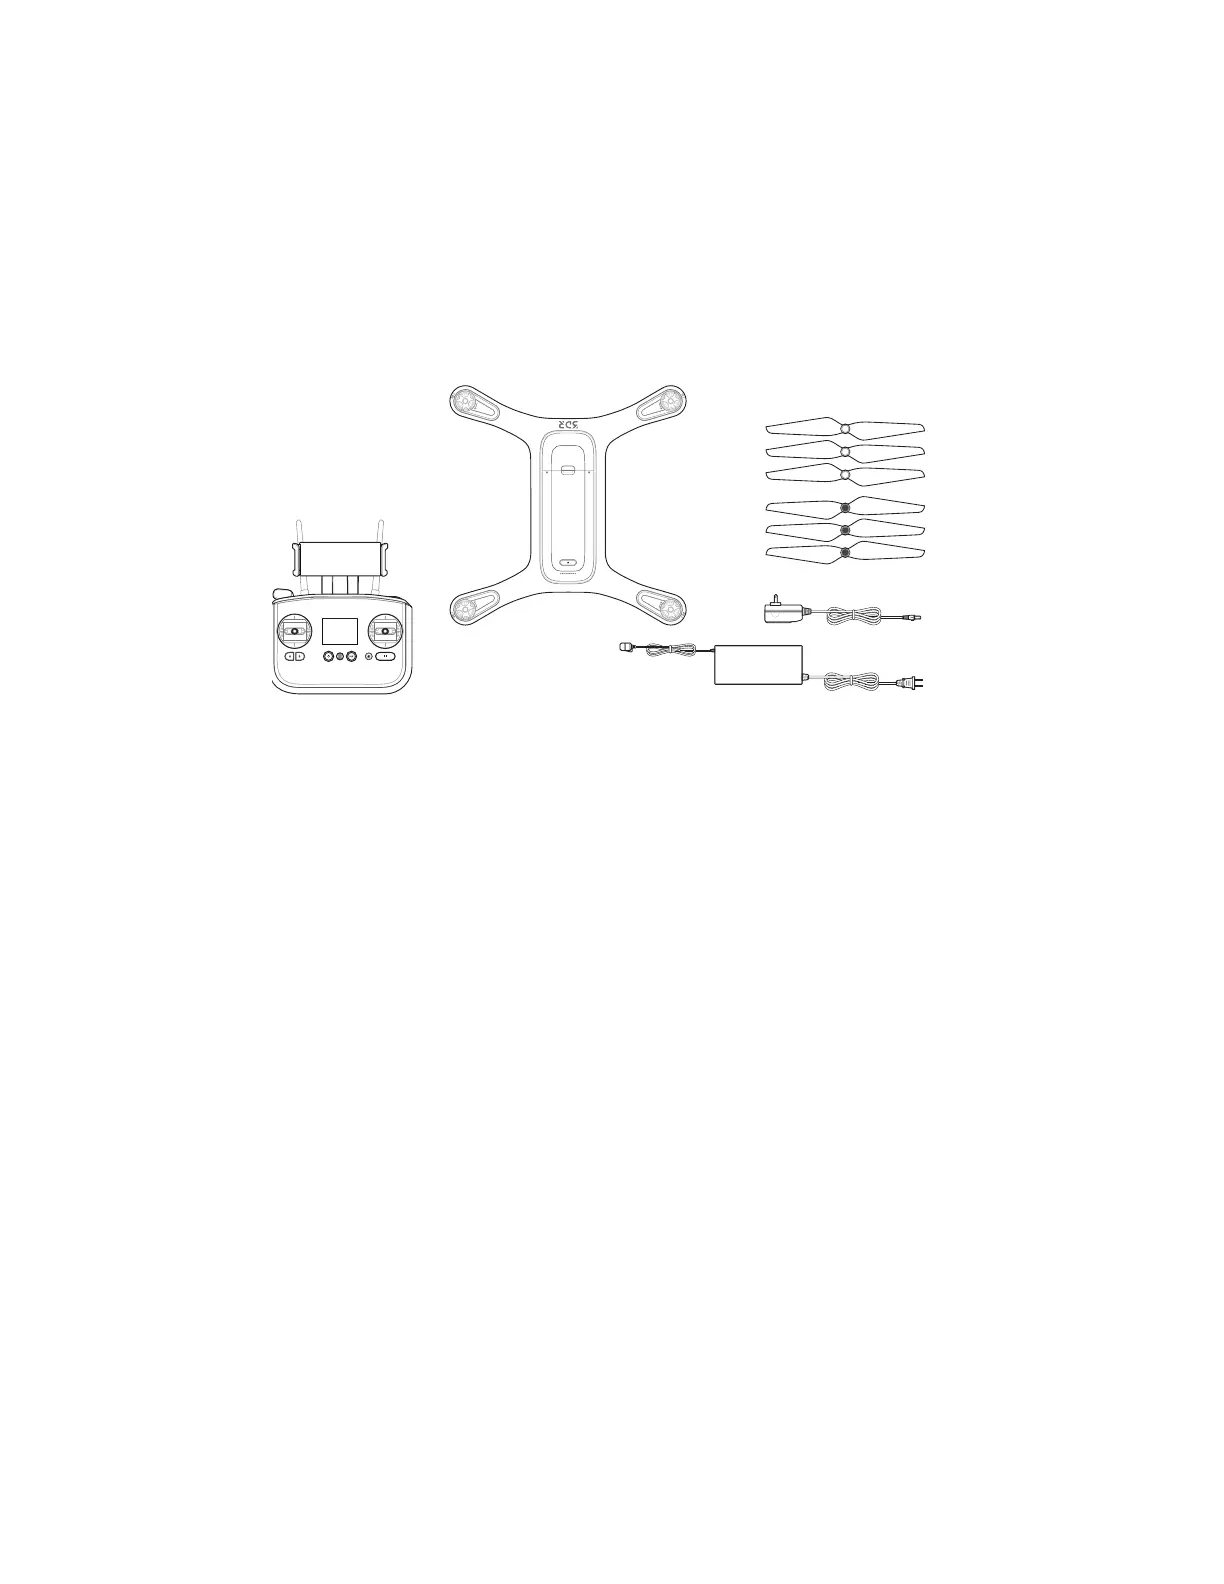
2.1 In the Box
Solo includes the quadcopter vehicle, controller, propellers (four plus two spares), Solo charger, and controller
charger.
Figure 2.1.1: Solo Parts
2.2 Battery
Solo is powered by the rechargeable Solo Smart Battery that provides approximately 25 minutes of flight time per
full charge. (Keep in mind that flight time depends on payload, wind conditions, elevation, temperature, humidity,
flying style and pilot skill, so the actual flight time may vary.) As a lithium polymer battery, the Solo Smart Battery
requires specific handling practices to ensure safe operation and prevent accidents. For more information about
battery safety, see section 20.
Charging
The level of the battery is indicated by the lights below the power button. Press the power button once to display
the current power level. The Solo battery ships with approximately 50% charge, so charge fully before your first
flight for maximum flight time.
Remove the battery from Solo before charging. Only charge the battery using the designated Solo charger; using a
different charger can damage the battery or cause a fire. Charge the battery in conditions between 32° F and 113° F
only.
To charge the battery, connect the Solo charger to the battery and a wall outlet. While charging, the indicator lights
pulse at the current level, and when fully charged, the lights turn off. There is an additional indicator on the battery
charger that turns from red to green when the battery is fully charged. The battery takes approximately 1.5 hours to
charge fully.
Solo
Three silver-top props
& three black-top props
Controller
Solo charger
Controller charger