3 INSTALLATION AND USE HoloSea S7
microscope. Note that you should be using both this user guide, as well as the user guide for
Octopus for complete setup. You will also notice that much of the information listed below is also
listed in the Octopus User Guide.
3.5.1 Acquisition setup for Octopus and the microscope
• Ensure that the point source and camera are clean, free of dust, smudges, etc., as the
presence of dust/dirt can greatly affect the quality of holograms, especially at the micron
level.
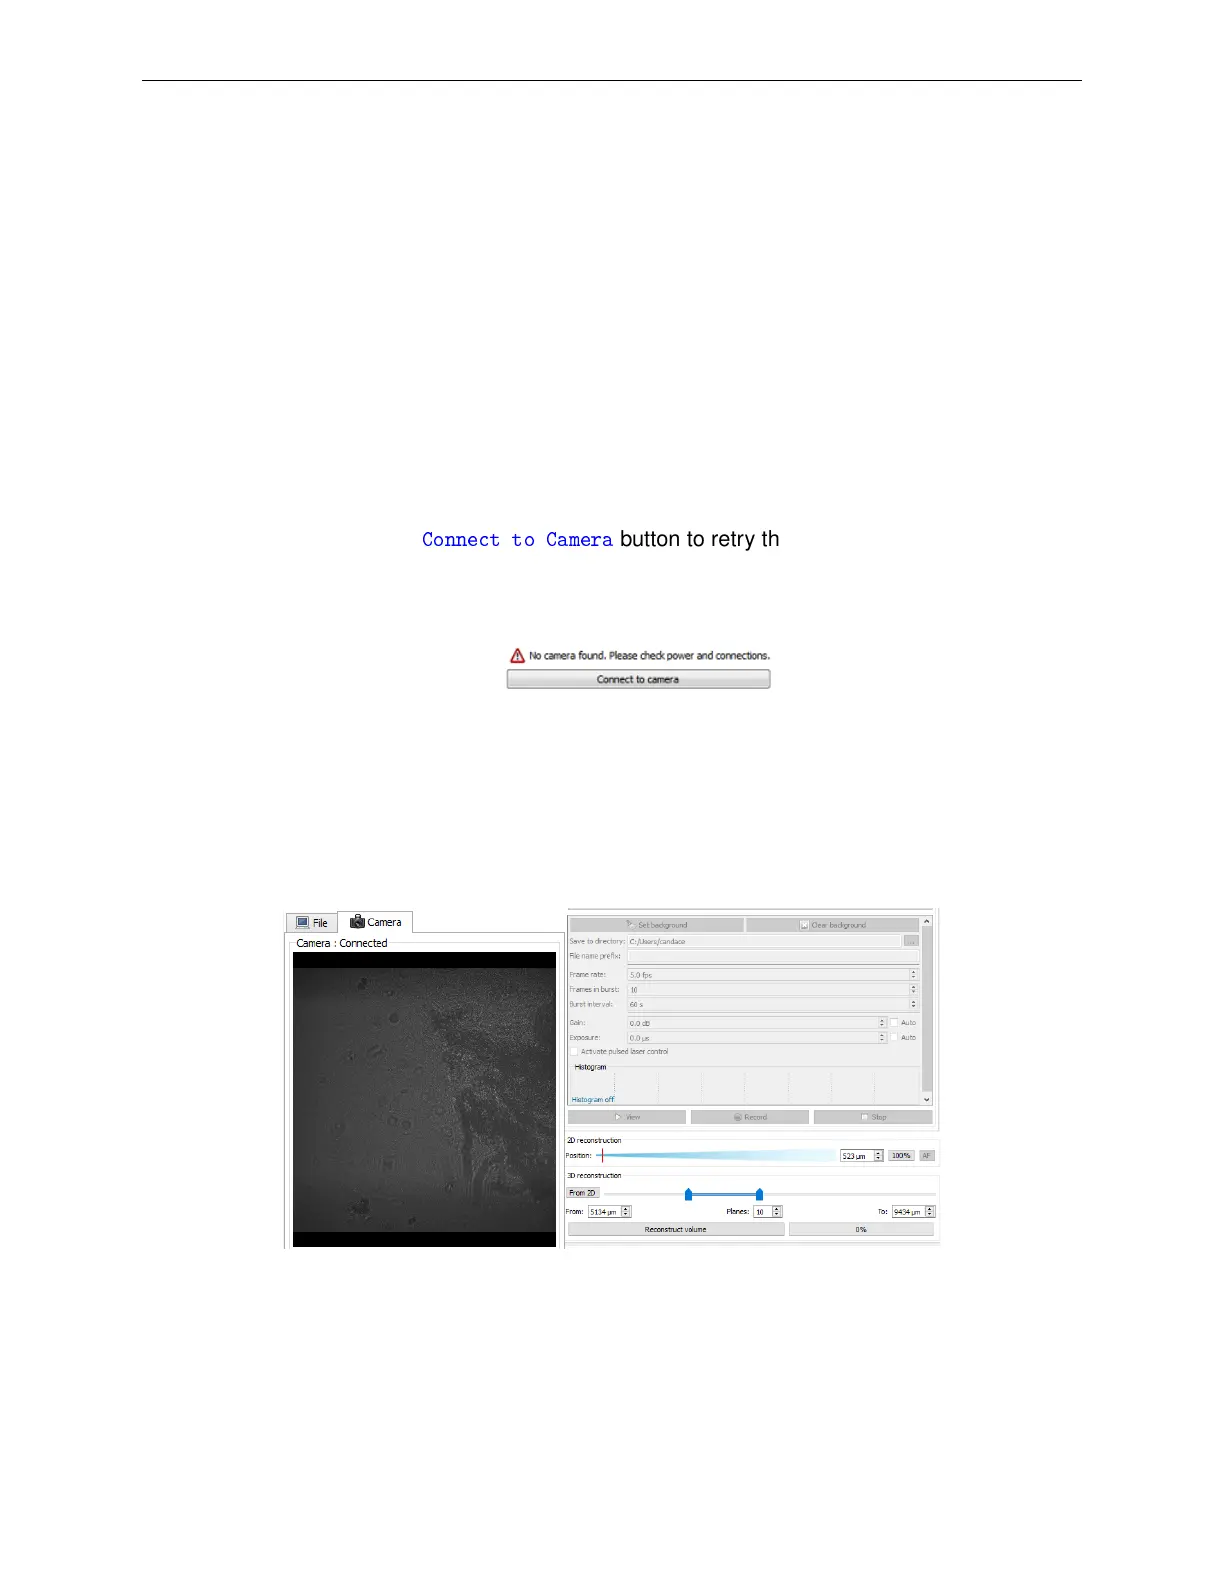
• Start Octopus and click on the Camera Tab to connect Octopus to the camera (see Octopus
User Guide for more details) .
– If camera is not connected, check that the camera cables are properly attached, and
power is on. Click
Connect to Camera
button to retry the connection. Note: it may take
several seconds to connect to the camera. For more help on connecting the camera,
see the Troubleshooting Guide (Section 5).
– The live view from the camera appear in the preview and hologram reconstructions will
be performed in real time at the rate of up to 16 frames per second. Higher frame
rates are possible with reduced image sizes (ex: 50 fps for 1024x1024 pixels). All
reconstruction parameters can be applied to the real time reconstructions, including the
reconstruction position and mode.
Figure 17: Camera tab view (left panel) and the camera options (right panel)
• Click the “View” button to start viewing (but not recording) the feed
• To properly reconstruct holograms, settings including the source-to-screen distance need to
be added to Octopus.
14