12
Device installation
ǽ By default, the analyzer prints measurement results automatically. The auto-
matic printing function on the Main » Options » User Options screen can be
disabled.
3.5.3 Connecting the device to a computer
The device can interface with a computer via the female 9-pin D-sub serial port
on its rear panel. The connections are the following:
DocUReader 2 Pro
Host (PC 9-pin pinout)
1 1
3 RxD 3
4 4
6 6
7 7
9 9
ǽ The connected PC must comply with EN 60950 requirements.
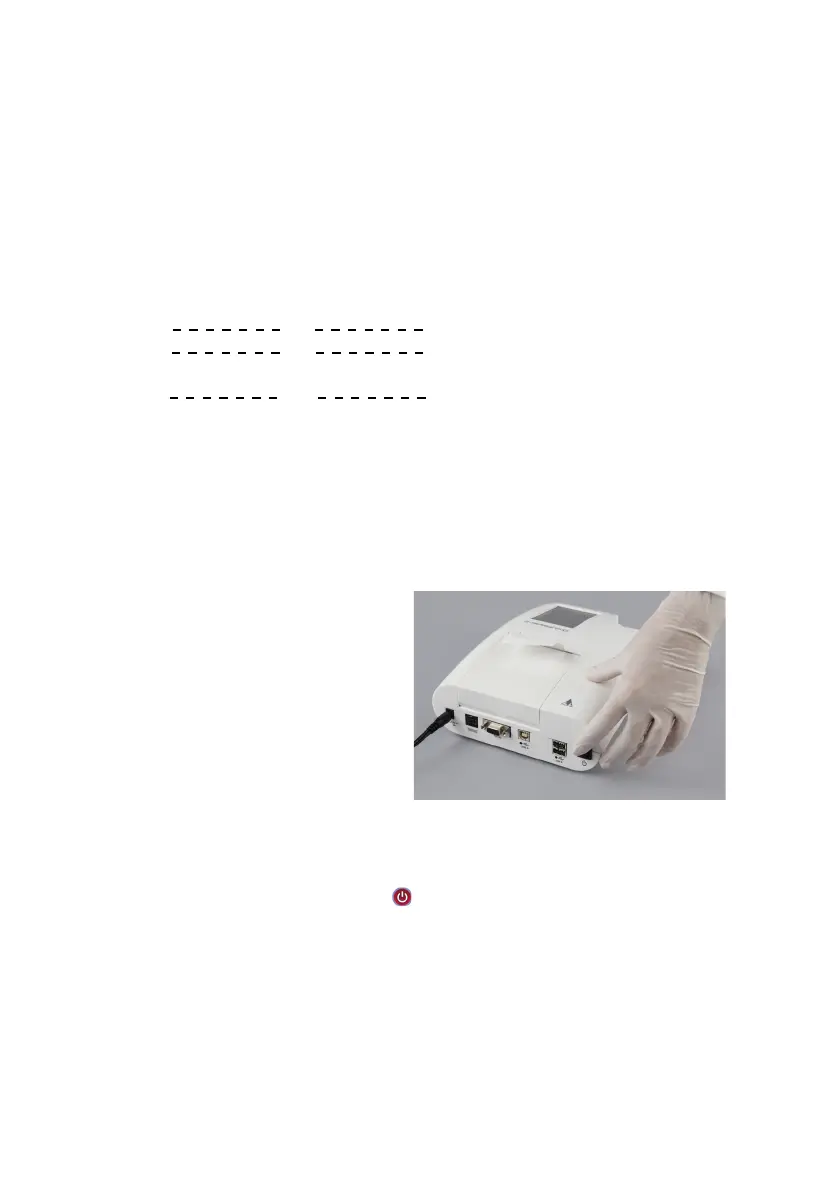
3.5.4 Switching the device on and off
• Connect the device to the electric
mains via the AC adapter and switch
it on by pressing the On/Off switch
at the back. The system starts up
with a single beep and runs a self-
check.
ǽ The device does not require a cali-
bration before performing measure-
ments. The analyzer software checks
the system each time the analyzer is
turned on. During testing, the ana-
lyzer automatically checks and cor-
rects its performance based on the
independent internal sensor.
• Switch off the device by tapping the button on the Main or the Login screen.
Fig. 5: Switching on the device
 Loading...