1110
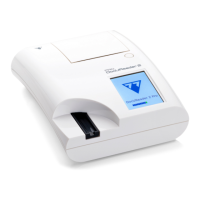
Device installation
only make accurate measurements if nothing obstructs or touches the
test strip tray during the measurement process.
Make sure that there is enough room at the back of the device to oper-
ate the On/Off switch. Make sure that there is enough room at the back
of the device so that the power supply cable, the USB devices, and the
cables of other peripherals are not bent, strained, or twisted.
Do not put anything on top of the device while it is in operation. Objects
placed on top of the device may damage the touchscreen and block the
printer cover.
3.5 Setup
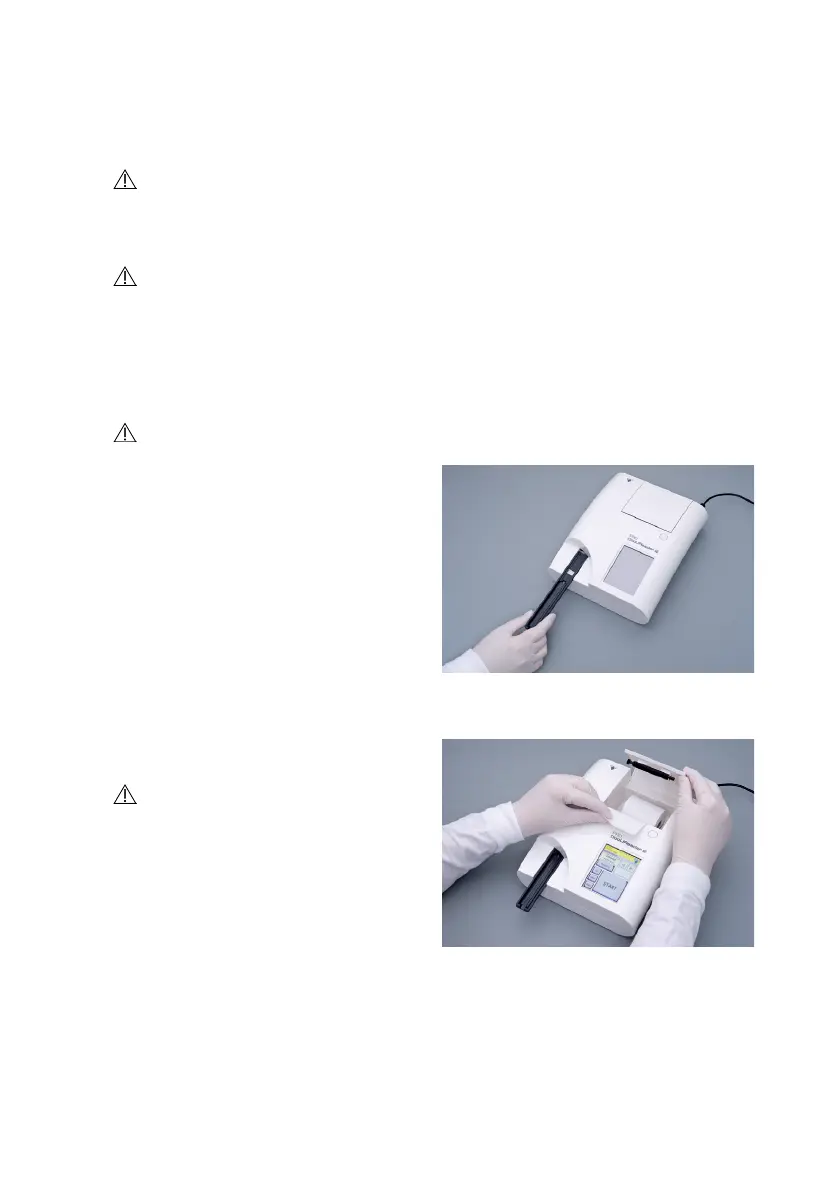
3.5.1 Inserting the test strip tray
Never touch the top surface of the reference pad on the test strip tray.
1. Handle the test strip tray by the end
where the test strip channel opens,
opposite the reference pad. Make
sure that the test strip channel is fac-
ing upwards.
2. Push the test strip tray into the open-
ing on the front of the device to the
left of the touchscreen. Make sure
that the serrated edge at the bottom
of the tray engages with the stepper
motor inside.
3.5.2 Loading the printer
1. Push the printer cover button and
open the printer cover.
Do not touch the printer head; it
may be hot.
2. Place a roll of thermal paper into
the printer roll compartment. The
roll should sit straight inside the de-
pression in the bottom. Position the
loose end of the roll so that it faces
the printer head and not the rear of
the device. This should ensure that
the paper is aligned properly. Let a
few centimeters (about an inch) of paper hang over the edge of the compart-
ment.
3. Close the printer cover until click.
Fig. 3: Inserting the test strip tray
Fig. 4: Loading the printer
 Loading...