APPENDIX B
MODGAS-XWR2 Technical Guide
36
MODGAS-XWR2 Replacement of the MODGAS-XWR
Replacing the MODGAS-XWR with the
MODGAS-XWR2
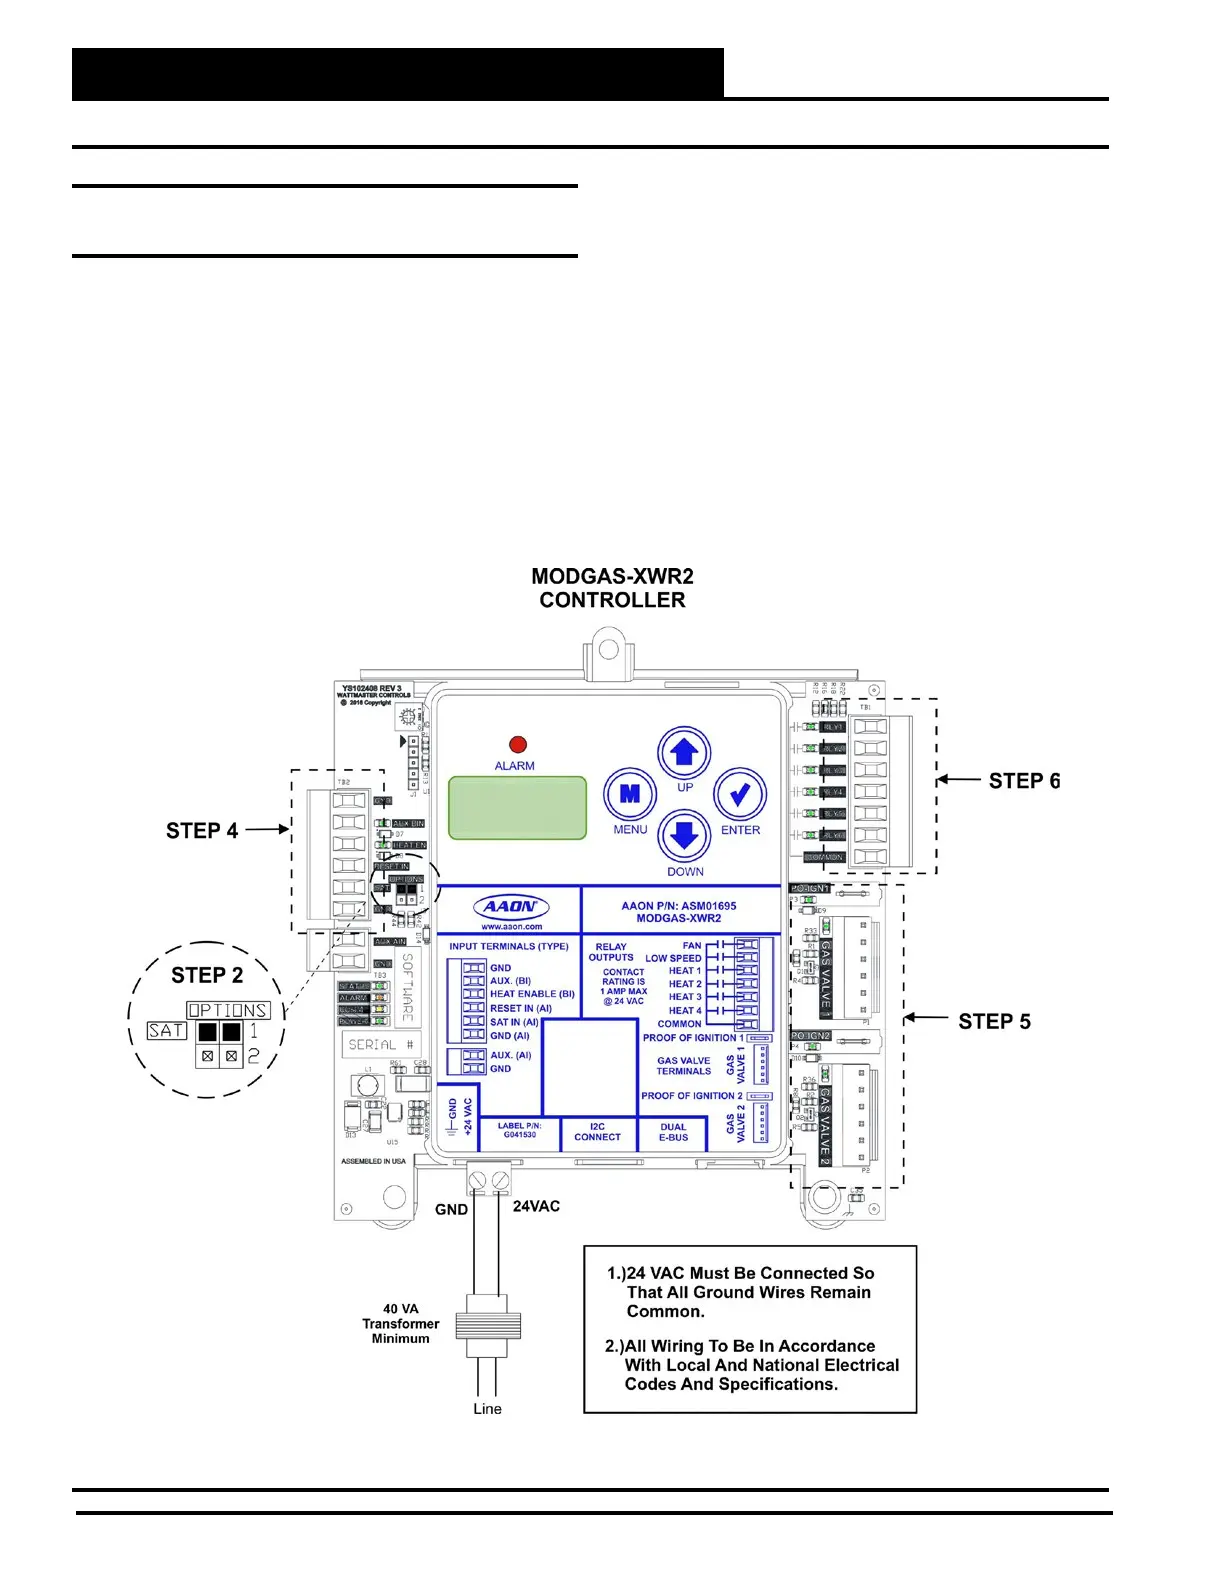
The retrot replacement involves a few easy steps. Refer to Figure
18, below.
Step 1: Disconnect power from the MODGAS-XWR Controller.
Step 2: Set the SAT Options Jumper to the same settings as
before.
Step 3: The Supply Air Temperature Sensor needs to remain
installed on whatever controller it is currently on.
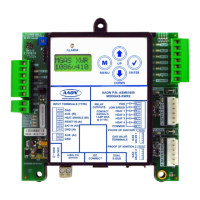
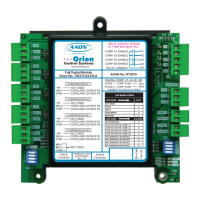
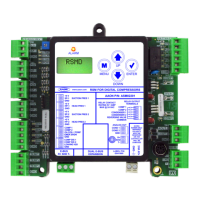
Figure 18: MODGAS-XWR2 Controller
Step 4: Unplug the TB2 Input Terminal Block from the
MODGAS-XWR and replug it into the MODGAS-
XWR2 board.
Step 5: Unplug the Ignition blocks and Valve headers from the
MODGAS-XWR and replug them into the MODGAS-
XWR2 board.
Step 6: Wire the MODGAS-XWR2 relays according to the
valve conguration you will be using.
Step 7: Connect power to the MODGAS-XWR2 Controller.
Step 8: Congure the MODGAS-XWR2 Controller using the
LCD Display Screens.
 Loading...