PR16 - 2 WBPEEUI240751C0
Procedure
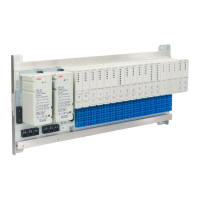
b. Align and insert the relay into the socket. Insure that it
is seated flush with the socket.
c. Tighten the attachment screw.
□
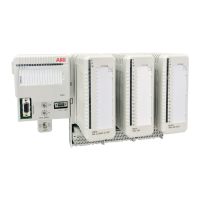
2. Install the proper fuse in each fuse holder XF17 through
XF24. The fuse is dependent on the type of relay installed
(Table PR16-1).
Table PR16-1. Fuse s
Relay Fuse Description
24 VDC 3.15 A, 250 V 5 x 20 mm, fast-acting, l ow break capacity (IEC 127-2/II)
125 VDC 1.0 A, 250 V 5 x 20 mm, fast-acting, low break capacity (IEC 127-2/II)
120 VAC 3.15 A, 250 V 5 x 20 mm, time-lag, high break capacity (IEC 127-2/V)
240 VA C

 Loading...