Note that natively supported Control Surfaces for Live will be
recognized by Push in Standalone Mode.
Once configured, when you play notes on your instrument, you will see
the corresponding pads light up in green on Push.
Then connect a line cable from your instrument to one of the In ports
on Push so you can set up the audio configuration. If your instrument
can be recorded in stereo, use In 1 for the left channel and In 2 for the
right channel.
Finally, add an External Instrument device to a MIDI track by pressing
the Add button to enter Browse Mode.
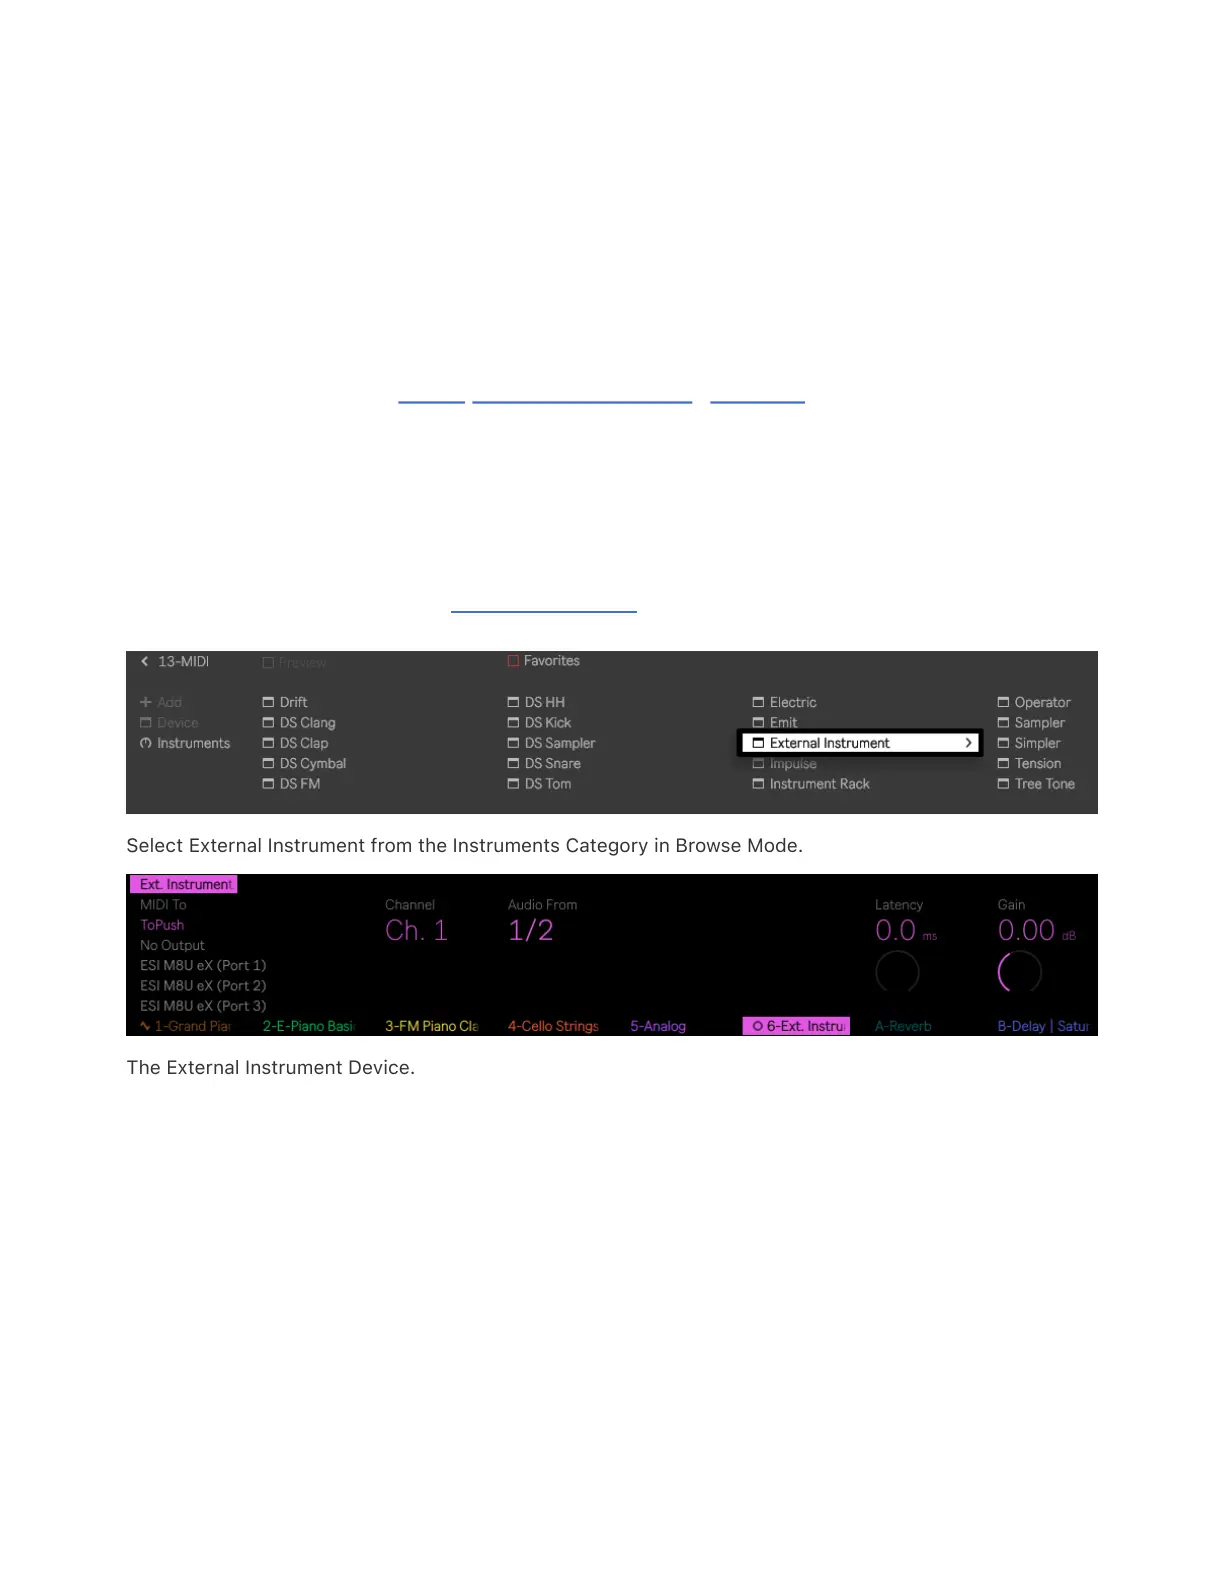
Select External Instrument from the Instruments Category in Browse Mode.
The External Instrument Device.
You can use the leftmost encoder to select which device to route MIDI
data to. If your instrument is connected to Push’s USB-A port, you
should see it show up in the list of available devices. If your instrument
is connected to Push’s MIDI Out port, you can select the Push 3 MIDI
Out entry.
You can use the encoder above Channel to set your preferred MIDI