Copyright 2017 ACETEL Co., Ltd. All Right
Reserved
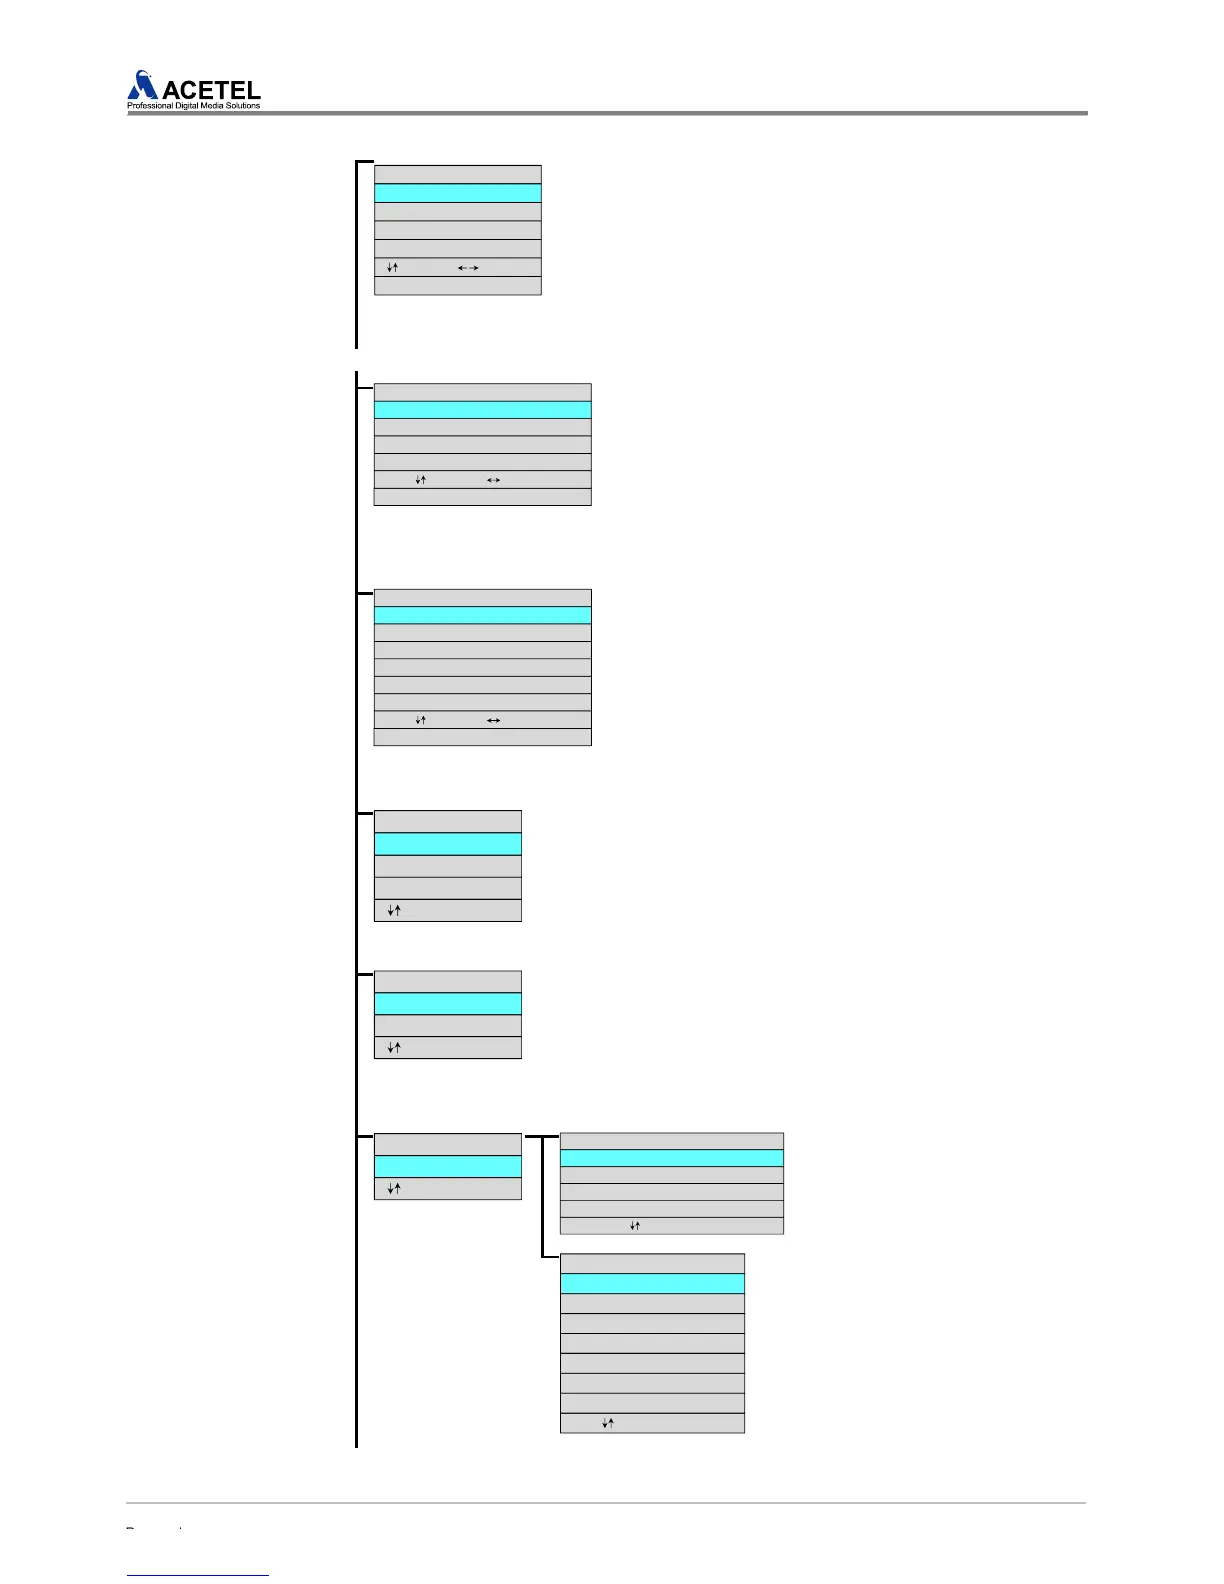
NTP SETUP : NTP Setup
[Refer to “4.1.6” on Page 31 for Details ]
1. Button/Menu for Setup Change
① Move between menu : [Up/Down] on the front of the product
② Move between set values : [Right/Left ] on the front of the product
③ Change of a set value : [Up/Down] on the front of the product
④ Select & save of a set value : [ENTER] on the front of the product
⑤ Apply of the setup change : APPLY menu
⑥ Cancel of the setup change : CANCEL menu
2. Setup Item
① NTP Server Link Setup : ON/OFF
① NTP Server IP Address Setup
CURRENT TIME SETUP : Product Date/Time Setup
[Refer to “4.1.7” on Page 32 for Details ]
1. Button/Menu for Setup Change
① Move between menu : [Up/Down] on the front of the product
② Move between set values : [Right/Left ] on the front of the product
③ Set value change : [Up/Down] button or number button [1]~[10]
④ Select & save of a set value : [ENTER] on the front of the product
⑤ Apply of the setup change : APPLY menu
⑥ Cancel of the setup change : CANCEL menu
2. Setup Item
① Date Setup : MM/DD/YY Format
② Time Setup : HH:MM:SS Format
IP SETUP : Product IP Setup
[Refer to “4.1.8” on Page 33 for Details]
1. Button/Menu for Setup Change
① Move between menu : [Up/Down] on the front of the product
② Move between set values : [Right/Left ] on the front of the product
③ Set value change : [Up/Down] button or number button [1]~[10]
④ Select & save of a set value : [ENTER] on the front of the product
⑤ Apply of the setup change : APPLY menu
⑥ Cancel of the setup change : CANCEL menu
2. Setup Item
① IP/Subnet Mask/Gateway Setup
② Product MAC ADDRESS Confirmation : Required for the NMS
setup
UPDATE : Product Software Update
[Refer to “4.1.9” on Page 34 for Details]
1. Button/Menu for Setup Change
① Move between menu : [Up/Down] on the front of the product
② Move between set values : [Right/Left ] on the front of the product
③ Apply of the setup change : APPLY menu
④ Cancel of the setup change : CANCEL menu
2. Setup Item
① Used for the product software update
INITALIZATION : Product Initialization
[Refer to “4.1.10” on Page 34 for Details]
1. Button/Menu for Setup Change
① Move between menu : [Up/Down] on the front of the product
② Select & save of a set value : [ENTER] on the front of the product
③ Apply of the setup change : APPLY menu
④ Cancel of the setup change : CANCEL menu
2. Setup Item
① Product setup initialization
MISCELLANEOUS : SNMP
Setup
[Refer to “4.1.11” on Page 35 for
Details]
1. Button/Menu for Setup Change
① Move between menu :
[Up/Down] on the front of the
product
② Move between set values :
[Right/Left ] on the front of the
product
③ Set value change : [Up/Down]
button or number button [1]~[10]
④ Select & save of a set value :
[ENTER] on the front of the
product
⑤ Apply of the setup change :
APPLY menu
⑥ Cancel of the setup change :
CANCEL menu
[NTP SETUP]
NTP SYNC : OFF
IP ADDRESS : 192.168.001.010
NUM(1~10) : 1~0 ENTER : Select
APPLY
CANCEL
: Move(ADJUST) : Contents
[CURRENT TIME SETUP]
DATE : 12/11/13 (DATE FORM : MM/DD/YY)
TIME : 15:25:40 (TIME FORM : HH:MM:SS)
NUM(1~10) : 1~0 ENTER : Select
APPLY
CANCEL
: Move(ADJUST) : Contents
[IP SETUP]
MAC ADDRESS : 00-D1-D7-FF-F9-02
IP ADDRESS : 192.168.011.011
NUM(1~10) : 1~0 ENTER : Select
APPLY
CANCEL
: Move(ADJUST) : Contents
SUBNET MASK : 255.255.255.000
GATEWAY : 192.168.011.001
[UPDATE]
APPLY
CANCEL
: Move ENTER : Select
No File Found
[INITIALIZATION]
APPLY
CANCEL
: Move ENTER : Select
[MISCELLANEOUS]
SNMP CLIENT SETUP
: Move ENTER : Select
[FAN CONTROL]
FAN : ON
MODE : AUTO
: Move ENTER : Select
THERMAL RANGE (MAX~MIN) : 080~010 (0~127)
TEMPERATURE : 43
[SNMP CLIENT SETUP]
CLIENT 1 : 127.000.000.001
CLIENT 2 : 127.000.000.001
: Move ENTER : Select
CLIENT 3 : 127.000.000.001
APPLY
CANCEL
CLIENT 4 : 127.000.000.001
CLIENT 5: 127.000.000.001



 To Next Page