2° - CHECK THE SELECTED PARAMETER
Before making the exposure, check that the parameter selected on the control panel (from Step 1 to Step 8) are
suitable for the radiographic exam.
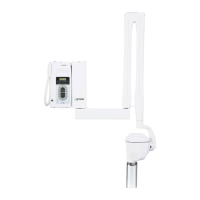
STEP 1 : check the selected tubehead
The LED of the desired tubehead should be turned on
LED Rx 1 ON
indicates that the tubehead connected to the timer X-ray1 terminal block is selected
LED Rx 2 ON
indicates that the tubehead connected to the timer X-ray2 terminal block is selected
to change the selection press again the button
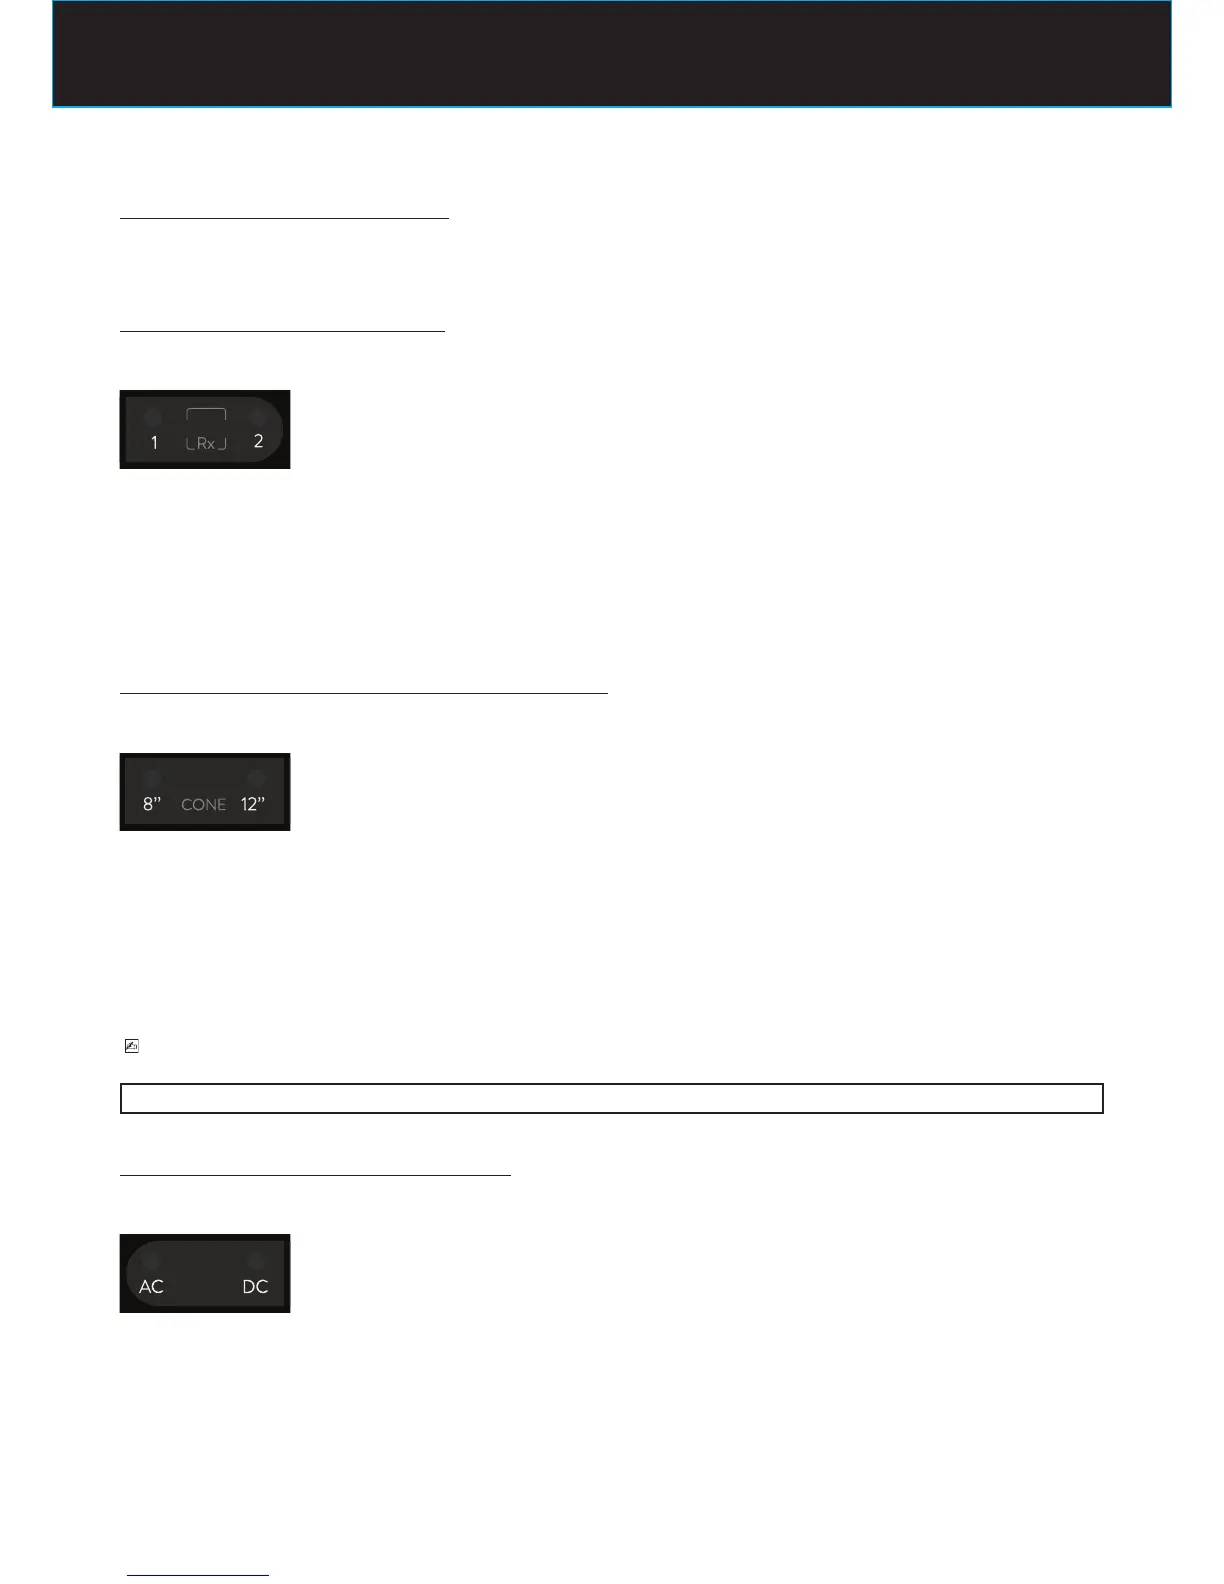
STEP 2 : check the selected radiographic distance CONE
The LED of the cone length (source-skin distance = SSD) in use should be turned on
LED 8” ON
indicates that the selected tubehead is equipped with 8” = 20cm (SSD) cone
LED 12” ON
indicates that the selected tubehead is equipped with 12” = 31cm (SSD) cone
to change the selection call the “Assistance Service”
PLEASE NOTE
After the modication, default exposure values will be automatically changed.
STEP 3 : check the selected type of tubehead
The LED of the type of selected tubehead should be turned on
LED AC ON
indicates that the selected tubehead works in alternate current technology
LED DC ON
indicates that the selected tubehead works in direct current technology
It is not possible to change the selection: an ac device has to be used only in combination with an ac tubehead