Hardware Manual
22
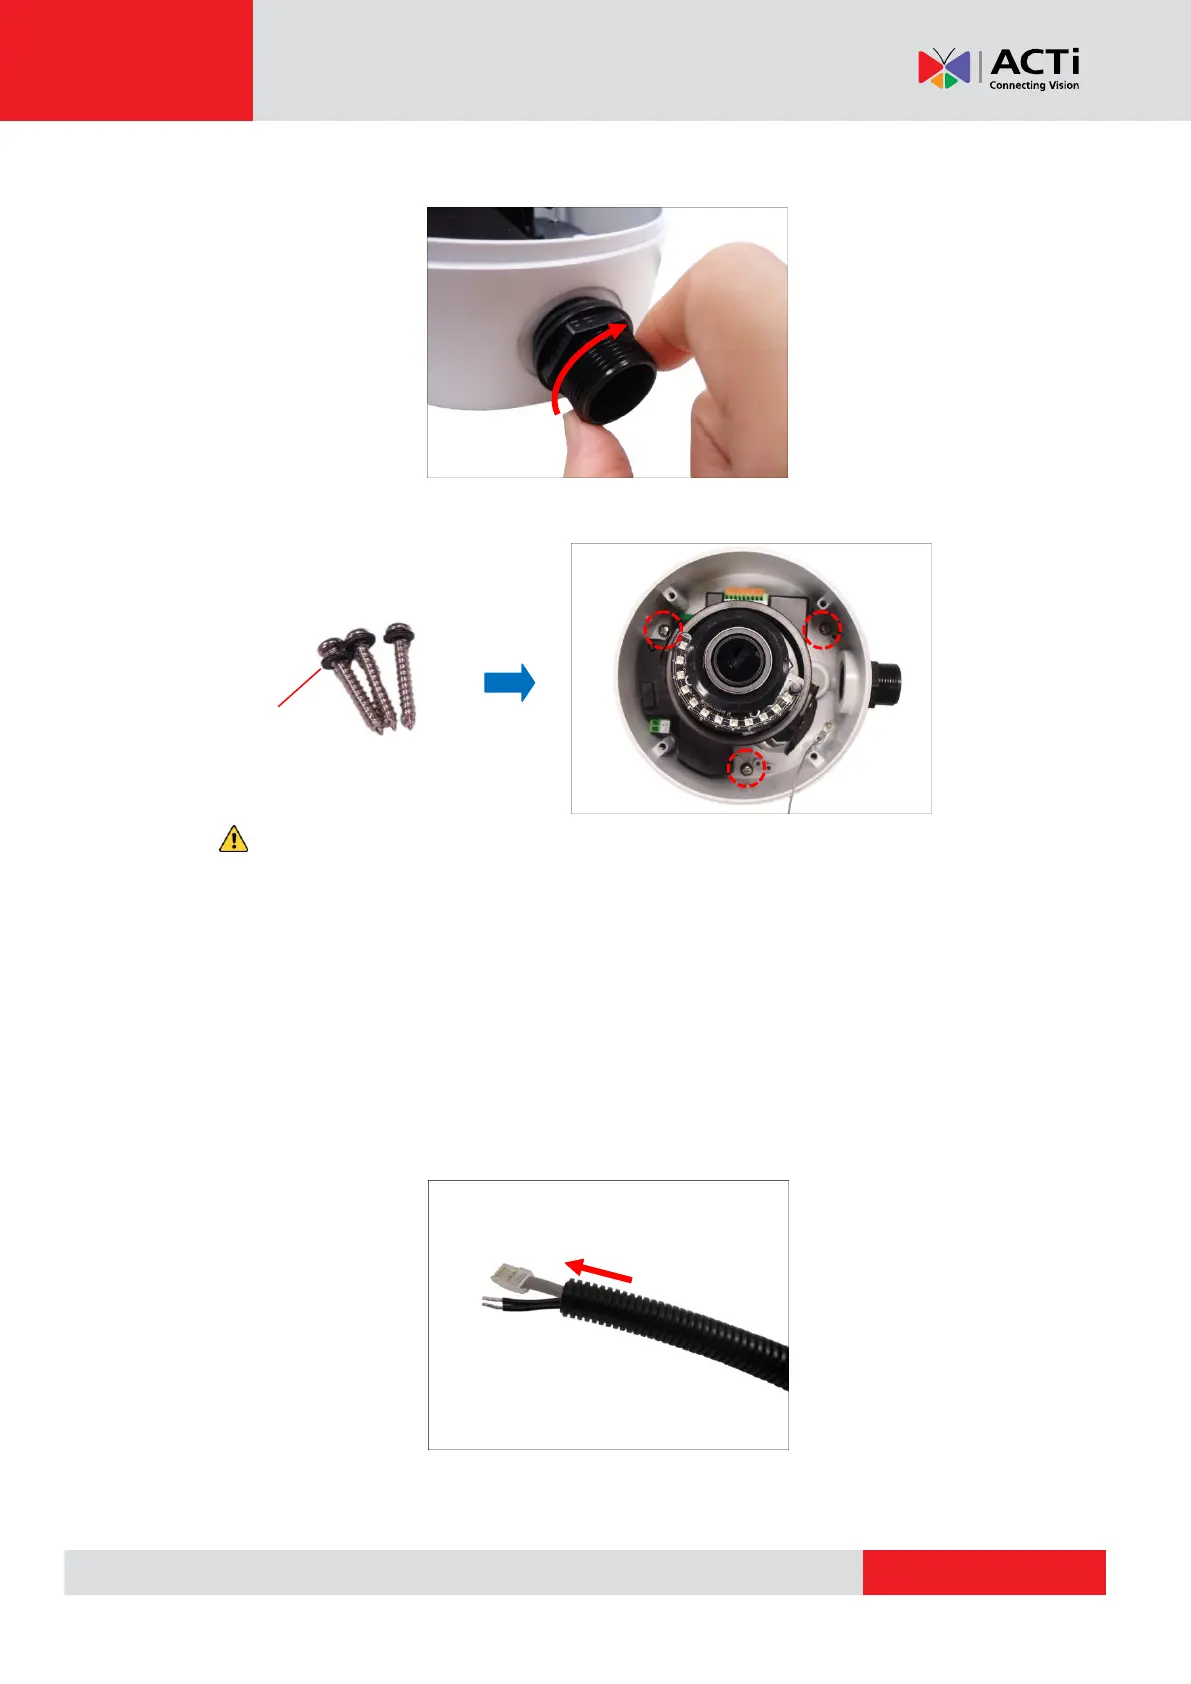
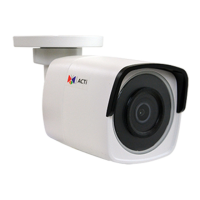
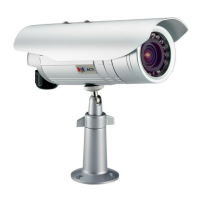
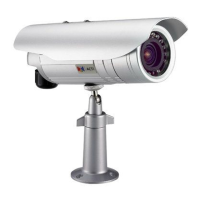
3. Screw the conduit gland body to the conduit hole of the camera.
9. Mount the camera onto the surface using the three (3) bundled screws with o-rings.
CAUTION: When using electric screwdrivers, be careful not to touch the internal camera
components while attaching the screws. Since electric screwdrivers vary in sizes, speed, and
force, they may bruise and damage the internal camera components.
DISCLAIMER: ACTi will not be responsible for camera damage caused by improper
installations or the misuse of equipment for installation.
4. Pull the network cable through the flex conduit. If connecting other input/output devices or an
external power adapter, pull the cables through the flex conduit without connectors. The
terminal blocks will be attached once the cables pass through the camera hole later.