15
STEP 3 - MONITOR
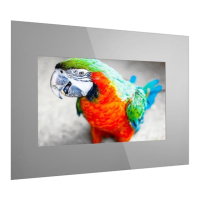
1) The following paragraphs explain how to mount and connect your ad notam monitor. ad notam provides different mounting
combinations. Verify your own
shop
drawing page 6 (Wall View Legend)
and
shop
drawing page 4 (Back View Legend)
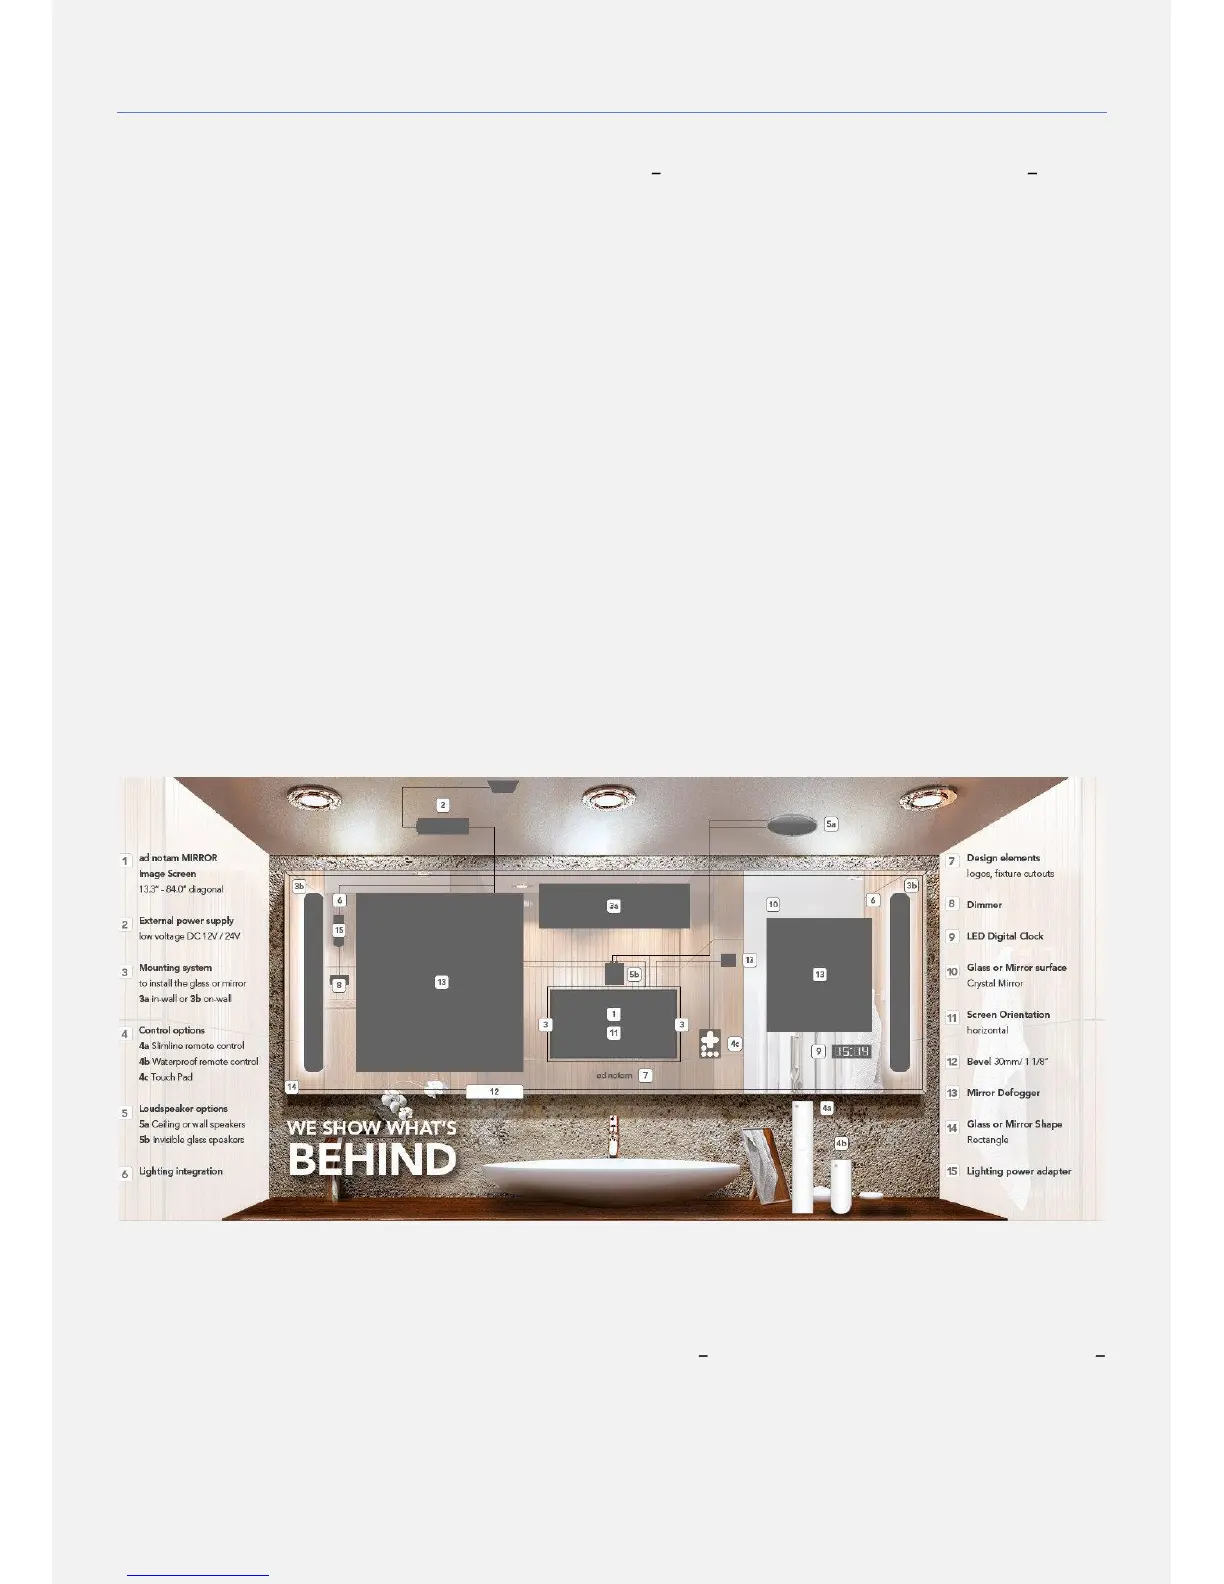
to identify your monitor mounting option. The column Art. Description provides the description of the selected items
necessary for your installation.
ARCHITECTURAL Structural measures must be
accomplished for an on-wall installation. ad notam
declines any liability for the screws and screw anchors
used on site.
ENVIRONMENT. ad notam mounting systems are
engineered for vertical use only. Verify walls´ verticality
and items vertical and horizontal alignment to prevent
serious injuries and product damage.
ENVIRONMENT. Clean the handling and installation
environments properly before installation.
HANDLING. Cushions the floor properly using soft
anti-slip mats near the handling areas. Lay the items
gently on these cushioned anti slip surfaces when
needed.
HANDLING. Tilt the mirror and DFU top to the wall
with an adequate angle of incidence when resting.
EXTERNAL POWER ADAPTER External power
adapters require a minimum air volume to avoid
overheating and proper long-lasting operations. Allow
at least 10cm all around a 12V DC model or 20cm all
around a 24V DC model.
EXTERNAL POWER ADAPTER Install the external
power adapter in accessible service friendly location, if
you require extension cables refer to your ad notam
specialist. Install the external power adapter on a
steady flat surface, do not hang nor cover.
ELECTRICITY. Do not overload wall outlets, extension
cords or adaptors above their capacity, since this can
result in fire or electric shock.
ELECTRICITY. Before you connect the product to the
power outlet ensure that the power voltage matches
the value printed on the back of the product. Never
connect the product to the power outlet if the voltage
is different.
2) You prepared the wall marking the point and pre-installing the necessary items. After cleaning the installation environment
you can proceed with the monitor test and installation.
EXPERT TIPS. Before proceeding with the monitor handling evaluate your installation requirement. Your own unique ad
notam has been pre-assembled at factory and additional items, wiring and connections need to be prepared on site.
Evaluate your handling clearance considering cables lengths and connections. Cushion the handling area properly using
soft anti-slip mats. Lay the items gently on these cushioned anti slip surfaces when needed.
3) Art. Description Verify your own
shop
drawing page 6 (Wall View Legend)
and
shop
drawing page 4 (Back View
Legend)
to identify your monitor mounting option. The column Art. Description provides the description of the selected
items necessary for your installation