9
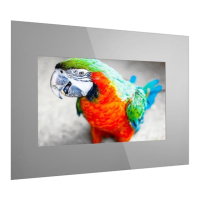
MOUNTING YOUR AD NOTAM
ON WALL MOUNTING - WALL PREPARATION
Your own ad notam has been pre-assembled according to your configuration instruction. The product back view including pre-
assembled items is visible on your
shop drawing Page 3 (Back View)
you can find additional information on the visible items on
page 4 (Legend - Back View).
To determine the proper position of your ad notam on the wall the ad notam configuration provides an ideal Wall View
preparation. The Wall View (including necessary items) is visible on
shop drawing
page 5 (Wall View)
. Consult your
shop drawing
page 6 (Legend - Wall View)
for additional information concerning spare parts necessary for installation. Refer to these pages
during installation.
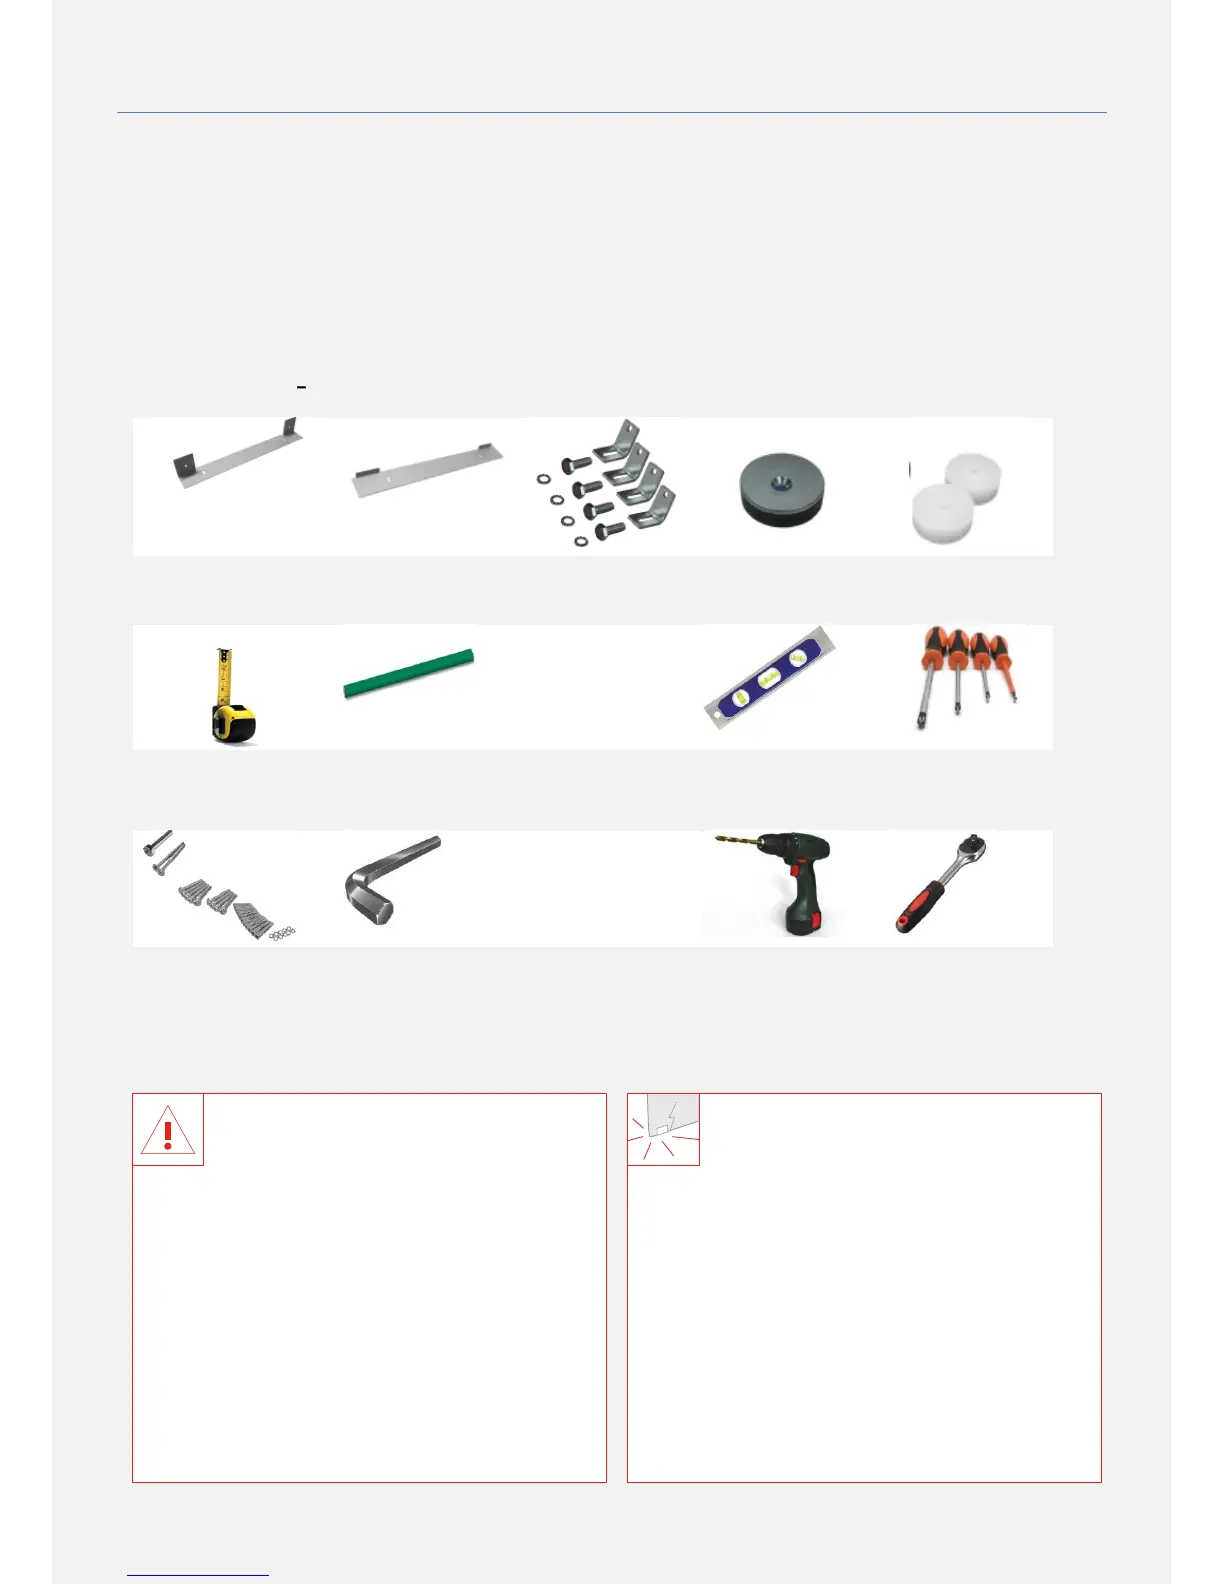
EXPERT TIPS TOOLS
Please read the safety precautions before
positioning the product. Always use the
supplied wall brackets and parts. Wall
mounting this product requires special skills and
should only be performed by qualified personnel.
Electrical connections are to be performed by a
skilled technician following local regulations.
Two people are required to lift and carry a product
that weights more than 25kg or 55lbs. ad notam
does not guarantee the efficiency of screws and
dowels delivered with this product. Those may
be replaced on site considering the construction
environment, type of wall, product weight and
positioning. ad notam bears no responsibility for
improper mounting or any mounting that results in
Please Note:
The corners and edges of the glass are
very delicate. Take care that they do not
hit the wall, ceiling or floor in any way to avoid
damages and split-offs.