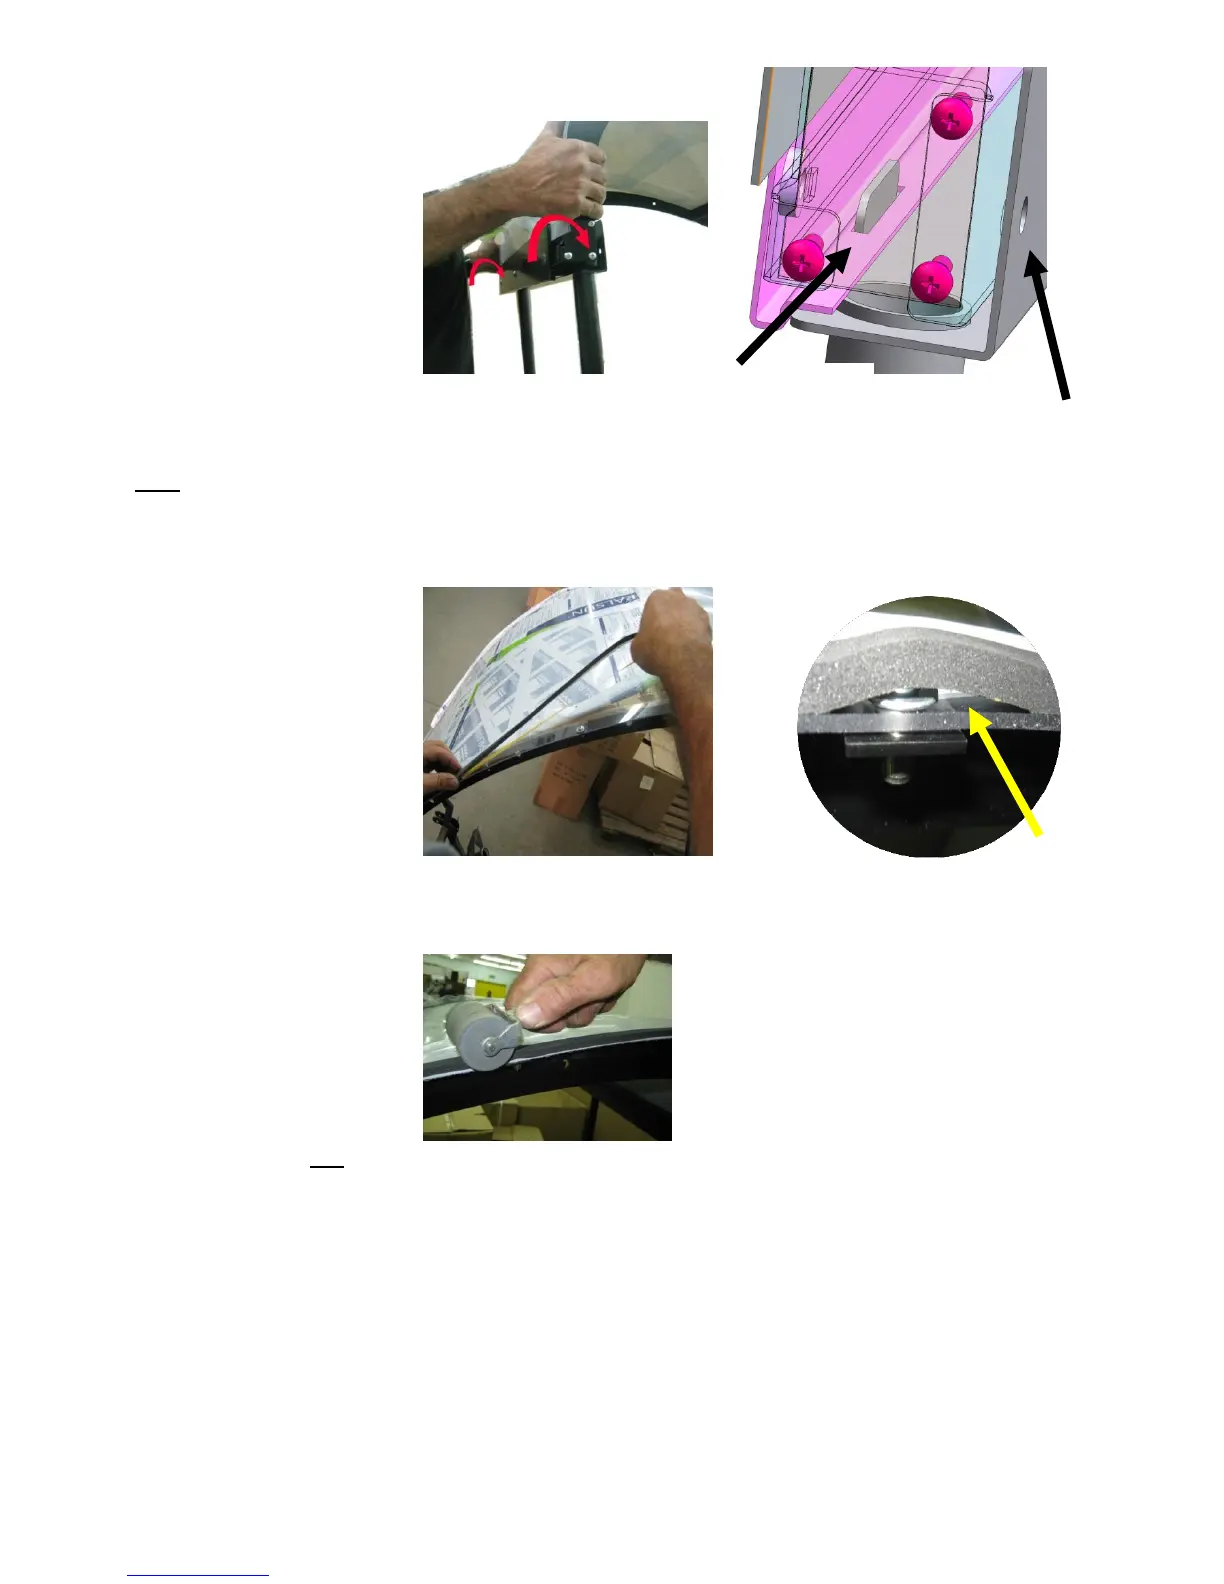
7.
Place the top-beam assembly
into its proper position on
the rear frame and reinstall
the hex socket screw.
Hold the end of the railings
firmly with both hands.
Lift the assembly on top of
the rear frame, the slot and
the flat pins fits each over.
Note: If using a chassis as a
jig, ensure that the chassis is
secure, so that the complete
chassis will not be lifted up.
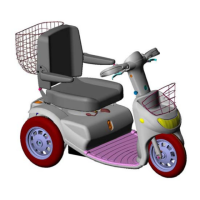
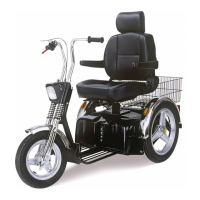
8.
Apply the rubber strip upon
the assembly plastic sheets,
from edge to edge
(top to bottom).
Make sure to cover the
screws and washers to avoid
water drips inside the
canopy.
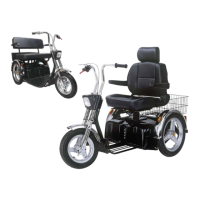
9.
Press the rubber strip over
all upon the plastic sheets
and HP2 profile.
Make sure that the gap on
the screw area is closed.