79034308 B Rev. 01-19
Safety
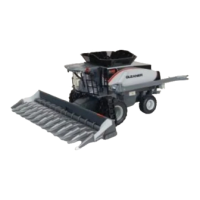
FIG. 42: The left-hand end shield (1) shown in the closed
position.
The divider shield (2) shown in the operating position.
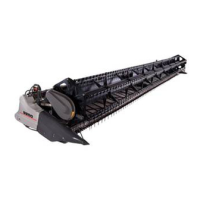
FIG. 43: To remove the end shield (1), first remove the
two cotter pins (2).
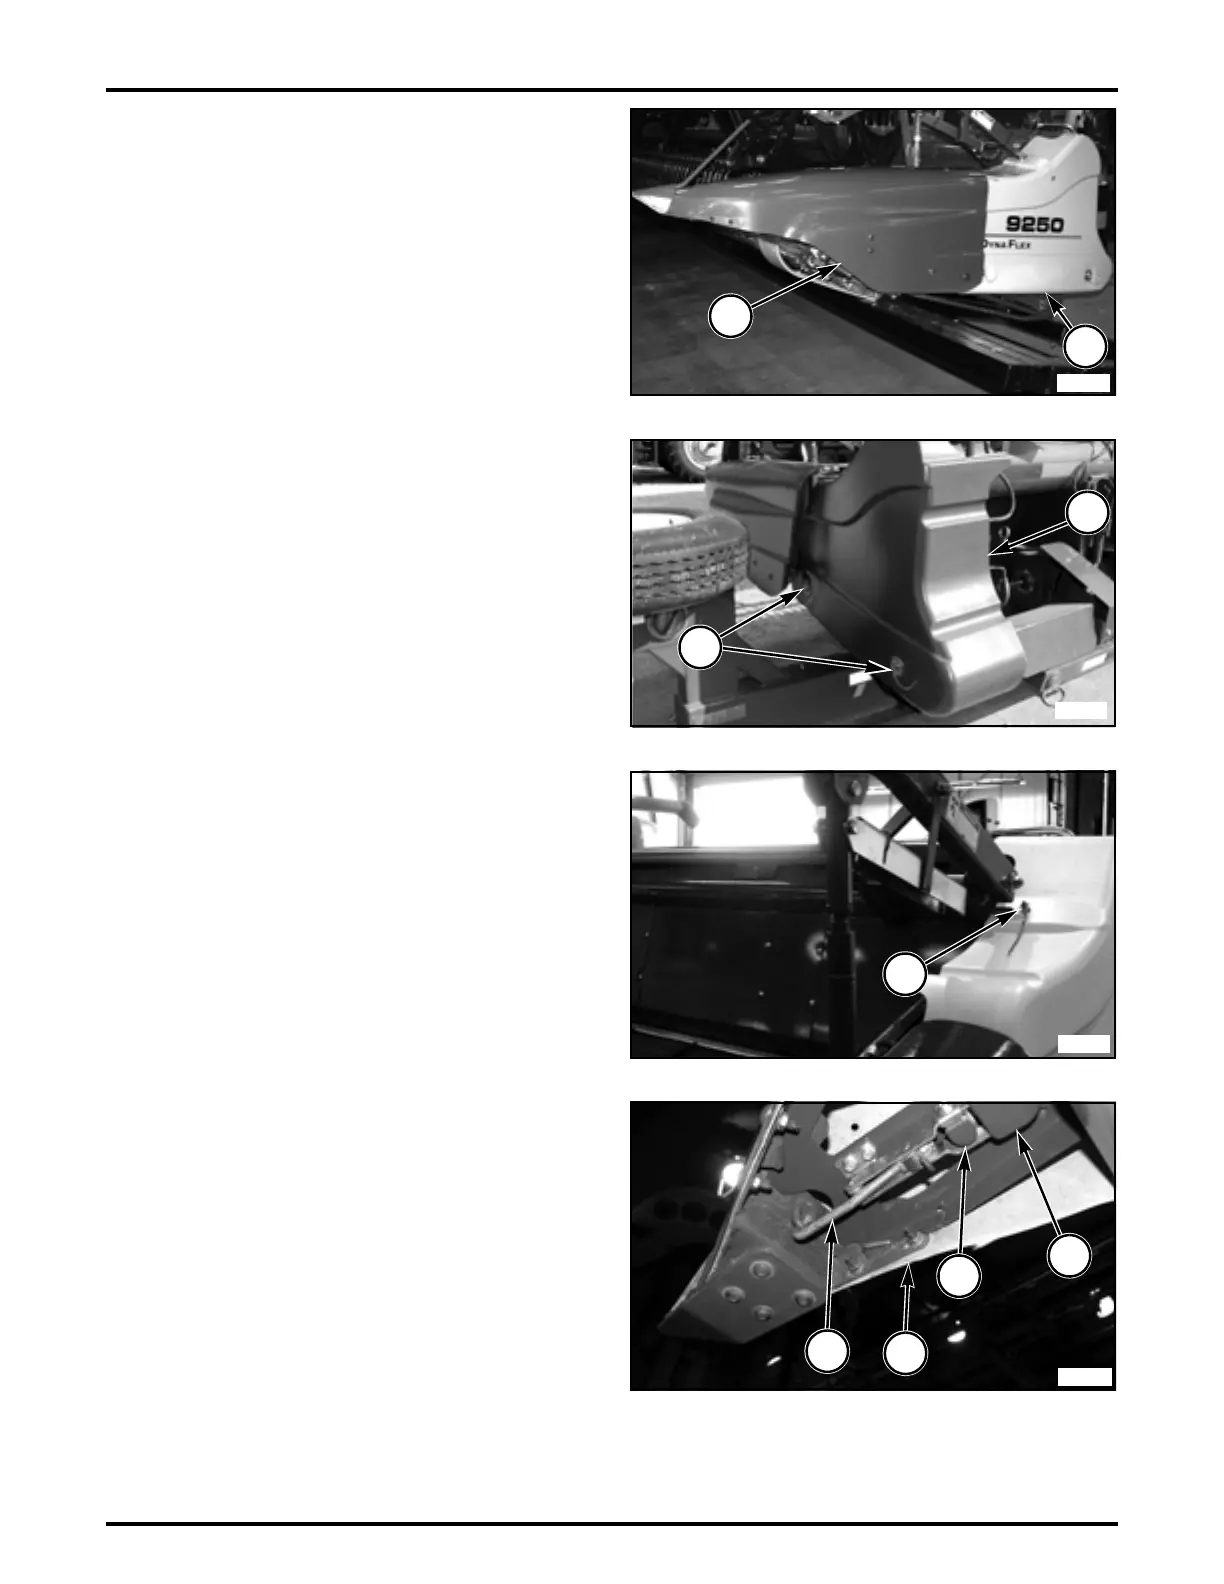
FIG. 44: Remove the third cotter pin (2). Pull the end
shield away from the two bottom pins and then lift the end
shield from the upper pin.
To properly install the end shield, reverse the removal
procedure.
FIG. 45: To release the divider shield (1), press the
release tab (2) and pull down on the paddle (3) to release
the latch (4). Pull the divider shield forward from the
header.
The divider shield latch is located under the very front of
the divider shield.
FIG. 42
FIG. 43
FIG. 44
FIG. 45
 Loading...