Appendix A — Using the transparency option 36
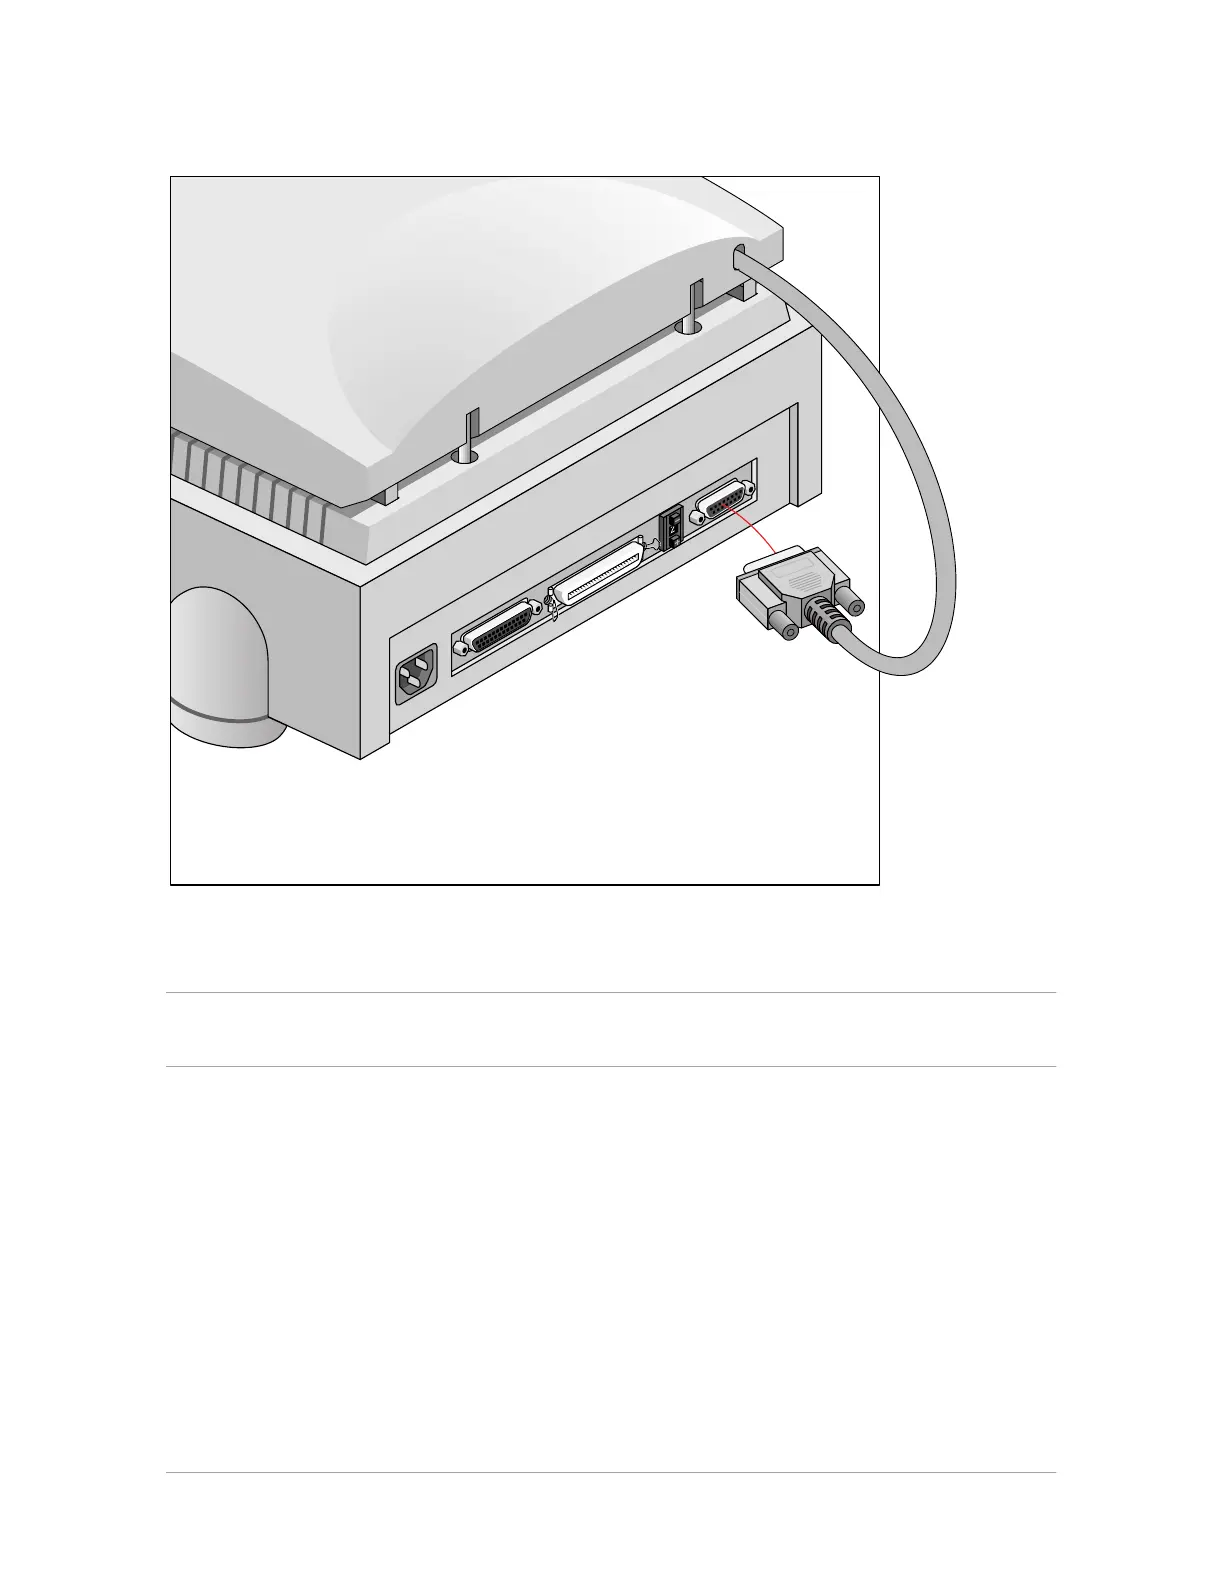
7. Connect the male DB 15-pin connector of the transparency option to the female DB 15-pin
connector at the rear of the scanner.
8. Place the template that came with your transparency option on the glass plate as shown in the
figure.
Caution: Make sure that the clear opening rectangle of the template faces the front of the scanner and is not
covered by the transparent originals.