Maintenance
26 Cary 50 Spectrophotometer Hardware Manual
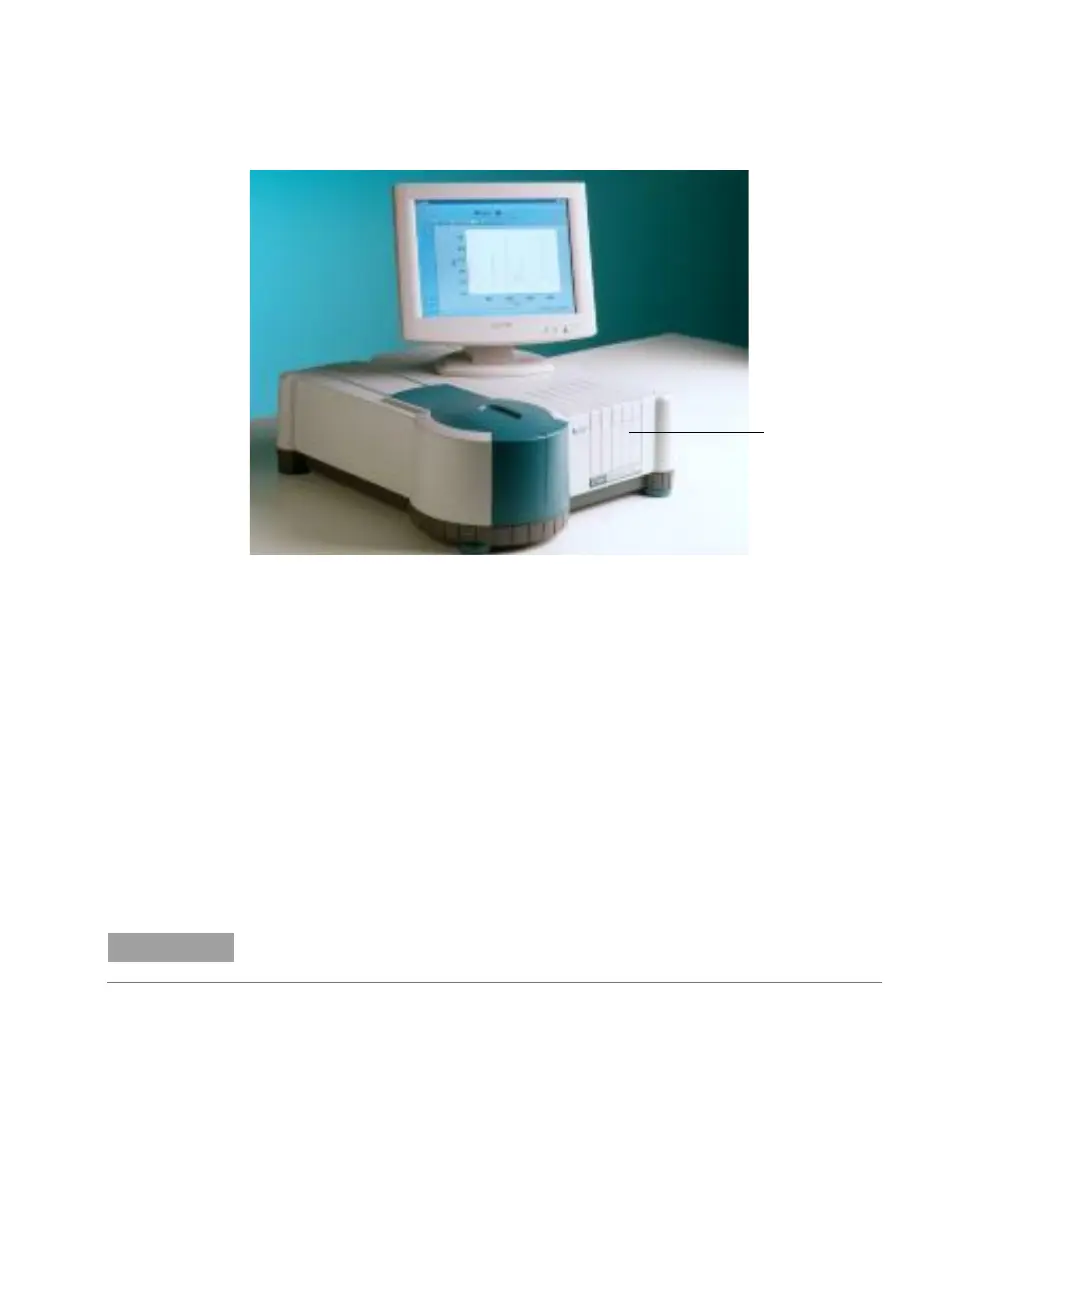
Figure 5. The snap-out panel (1) on the front of the Cary 50
5 On the Lamps tabbed page, monitor the aqua-colored ‘Current
Signal’ bar as you use the supplied 2.5 millimeter hexagonal ball
driver to slowly adjust one of the adjustment screws at the front
of the instrument. If the length of the ‘Current Signal’ bar
decreases, slowly turn the screw in the other direction. (You can
expect to see some fluctuation due to noise). If the signal is out of
range or excessively weak or strong, click ‘Rescale’ to bring the
signal back into range for display. Continue to adjust the screw
until the length of the ‘Current Signal’ bar is maximized. When
the length of the ‘Current Signal’ bar is at its greatest, repeat for
the other adjustment screw.
It does not matter in which order the adjustment screws are aligned.
6 Replace the snap-out panel on the front of the instrument.
The source mirror is now aligned and the instrument is ready for use.
 Loading...