Using Your GTA
Agilent Graphite Tube Atomizer GTA 120 User’s Guide 31
2 Remove the instrument left panel, and remove the cut-out fill
plate, if applicable. To do this, lift the bottom of the panel
upward and then pull it forward (see Figure 4).
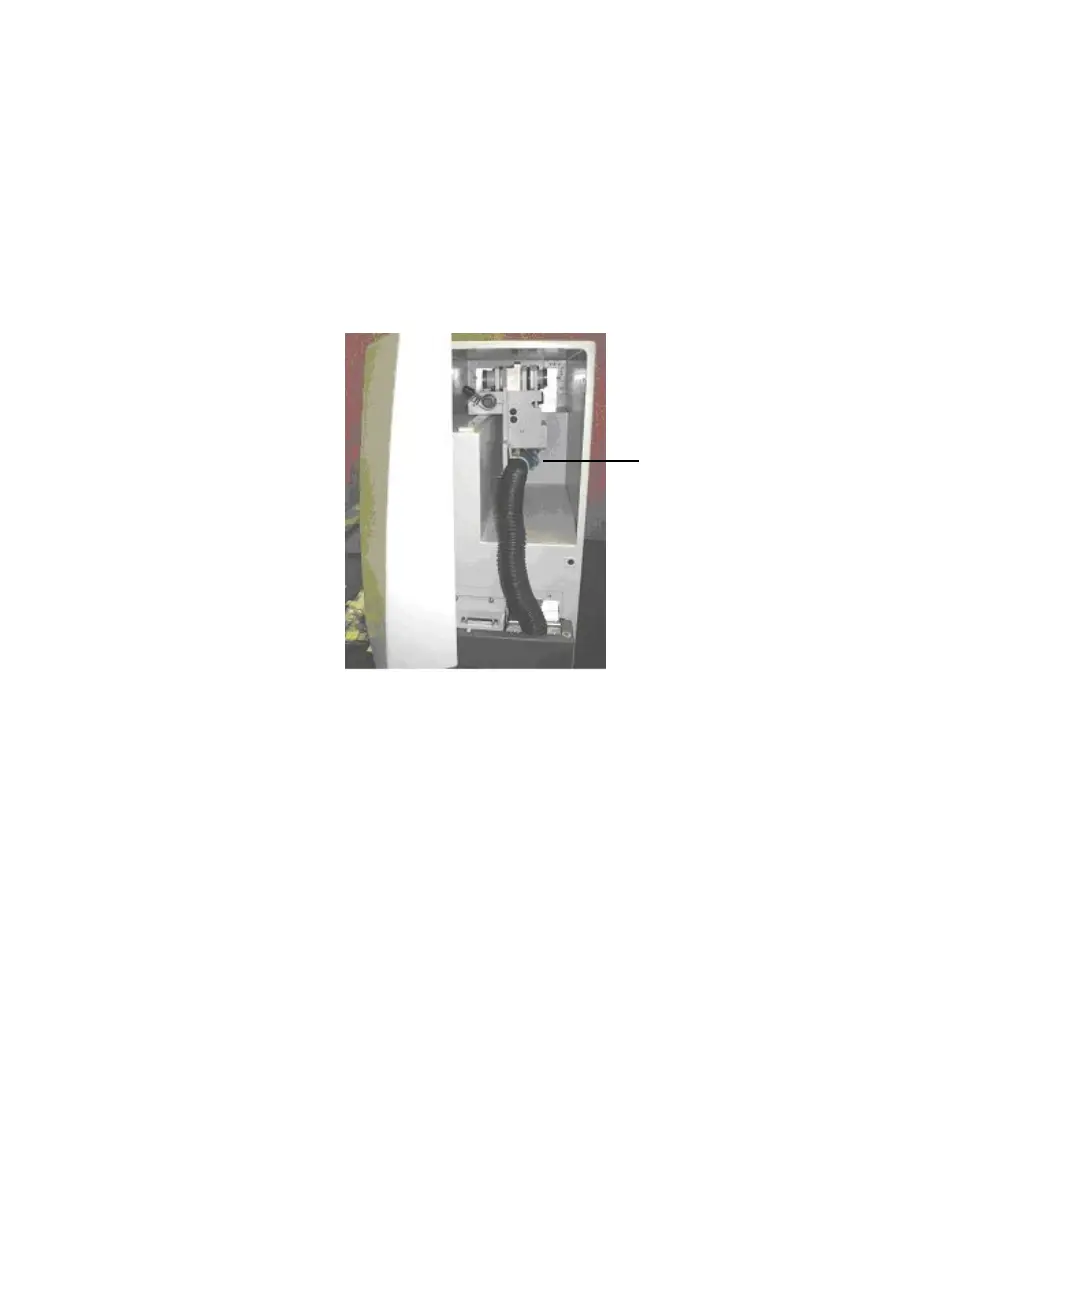
3 Undo the retaining screw (see Figure 3), then remove the GTA
workhead from its storage position in the power supply
compartment.
Figure 3. Location of the retaining screw
4 Look under the furnace and note the position of two spigots
(near the toggle lever). These will fit into the two holes on the top
of the burner adjuster on the left side of the sample
compartment. Similarly, note the presence of one stainless steel
spigot near the base of the furnace. When you install the furnace,
this will be inserted into a slot in the burner adjuster.
5 Tilt the furnace slightly to the left and engage the two spigots in
the top of the burner adjuster. Then insert the metal spigot into
the slot.
6 Tighten the securing screw on the bottom right-hand side of the
furnace so that the furnace is firmly secured to the mounting
block.
Retaining screw

 Loading...


